Beast Restoration: Engine

If there was thing that the Beast always did, it was Start First Time. It was so good mechanically, that I’d go so far as to say that it was the most trustworthy Motor I have owned, so work done to the Engine would be to refresh it; new Belts, Rubbers, Plugs etc. There was however to be a big change to the Exhaust setup, since the existing system was restrictive, heavy and harboured a potential timebomb.
Visiting Hellbent, I looked upon the much maligned 3VZ-E Lump on a Trolley, marvelling at its size relative to its almost pitiful power output, but it would Fire into Life again soon..!

Exhaust
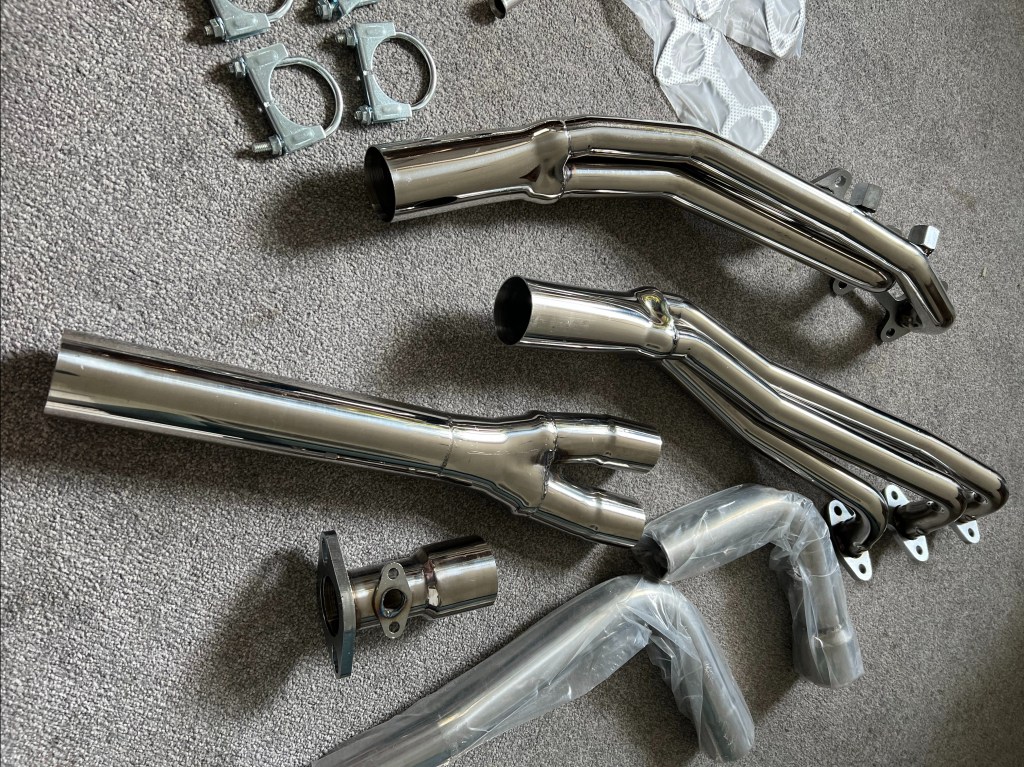
Stainless Steel Headers, Crossover Pipe Delete & EGR Delete
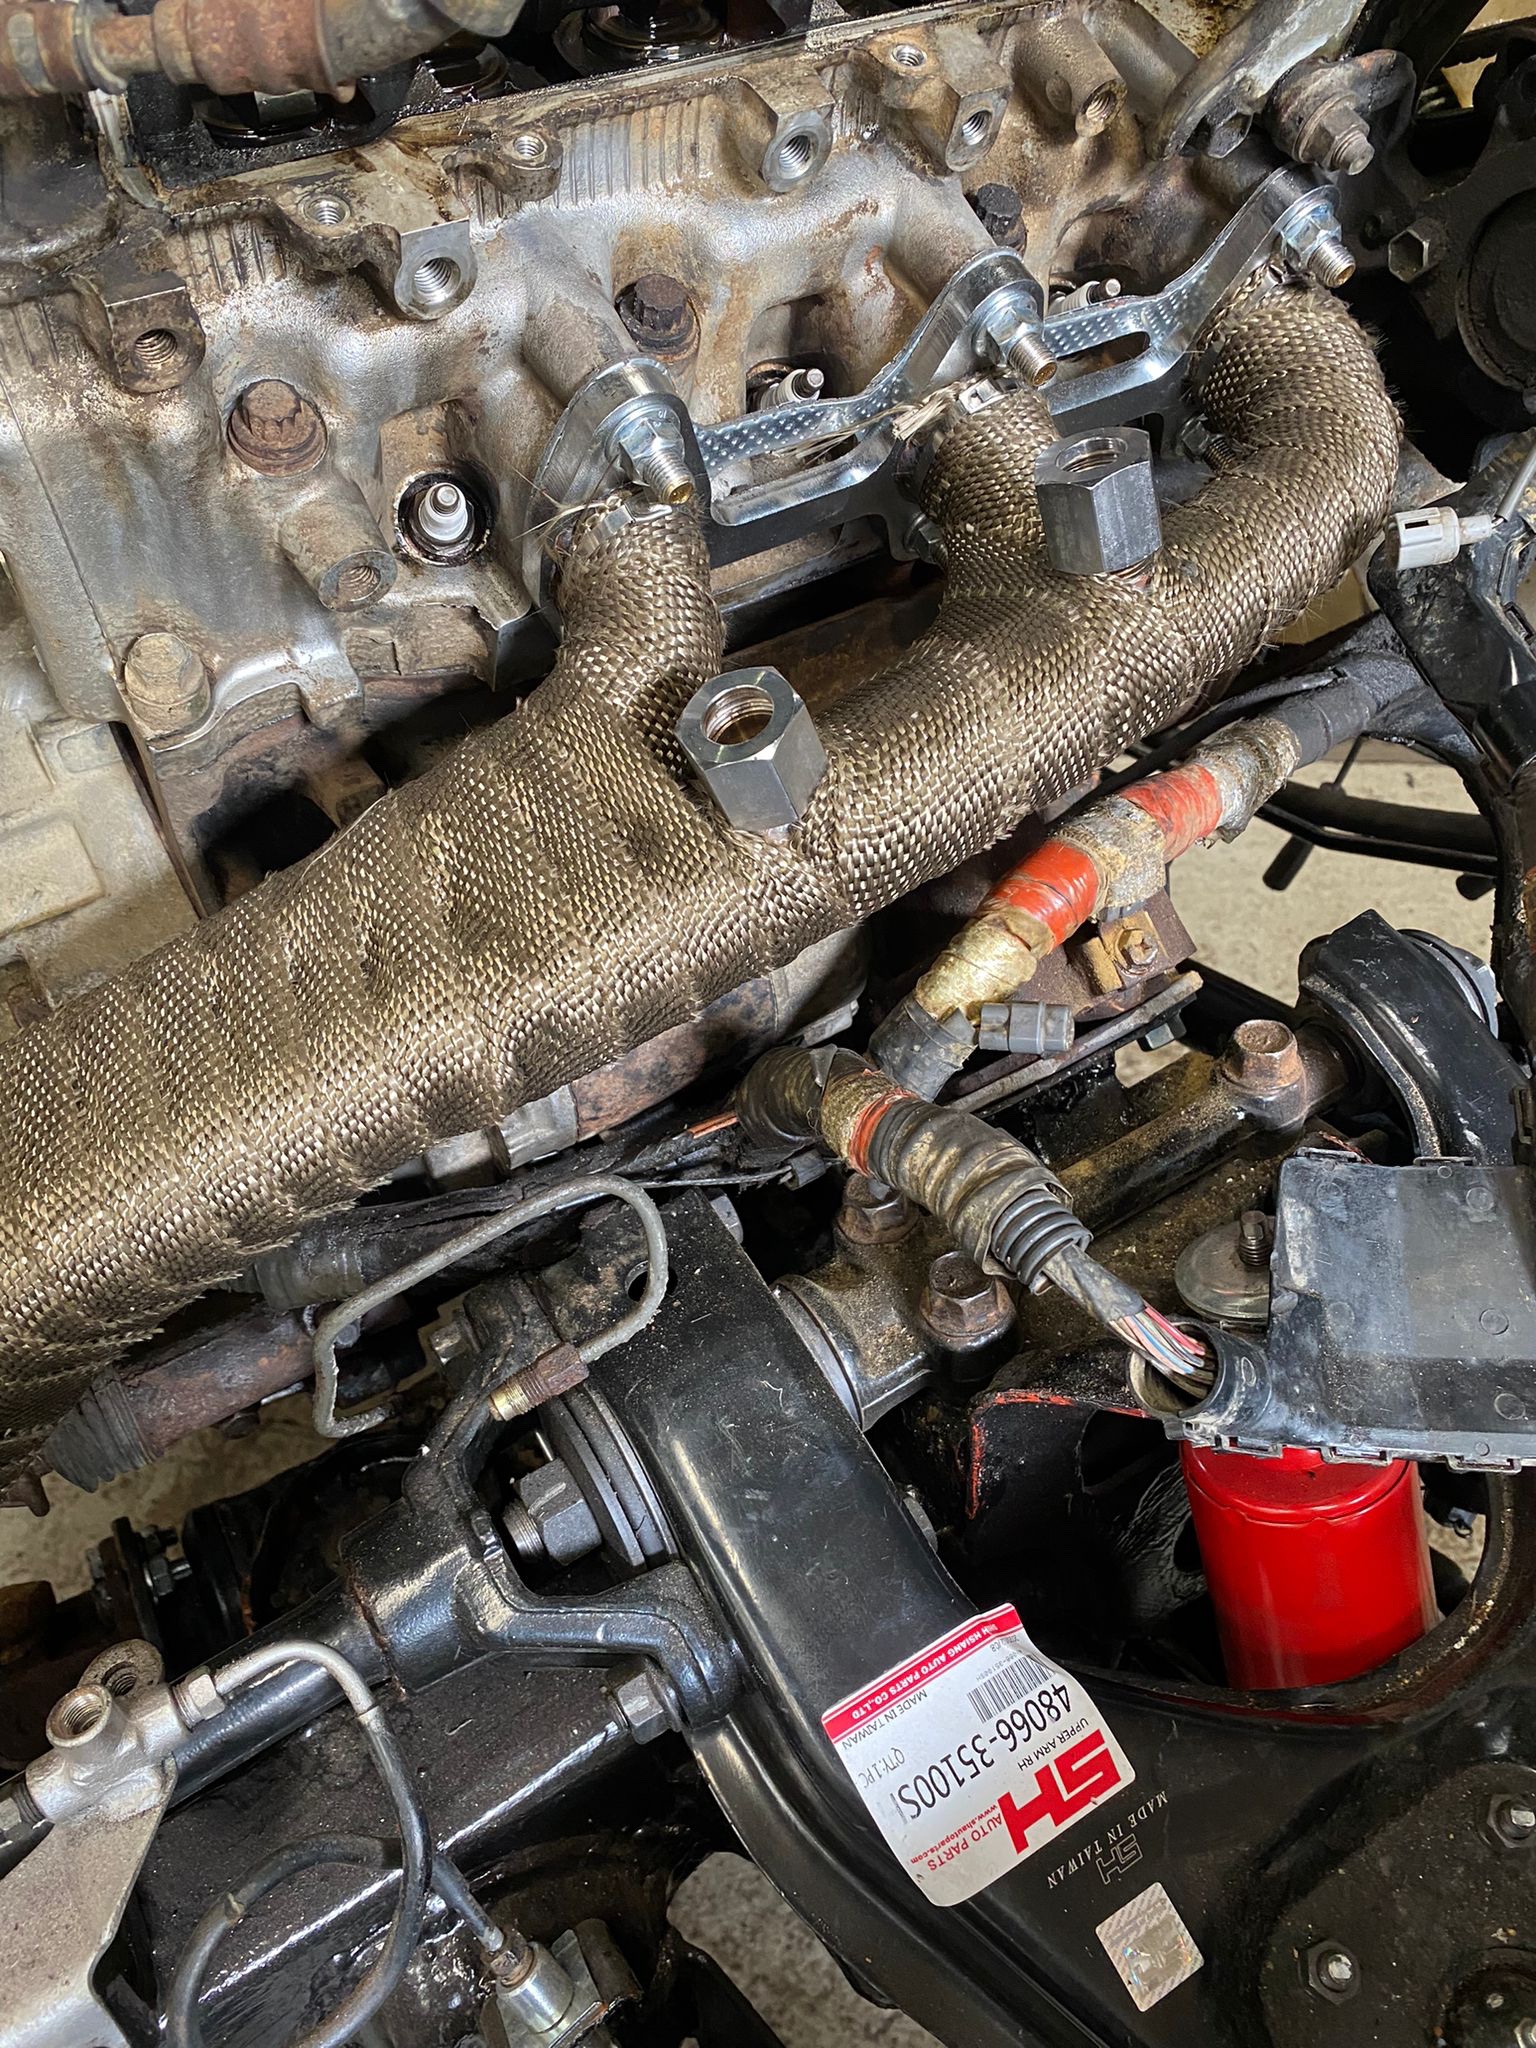
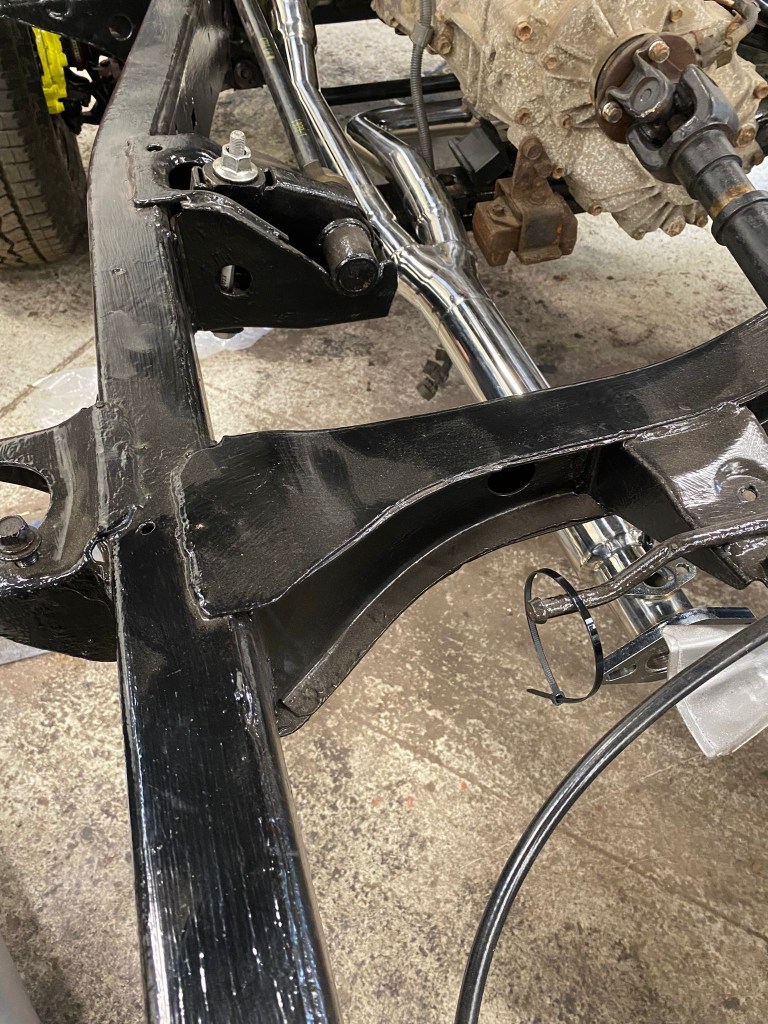
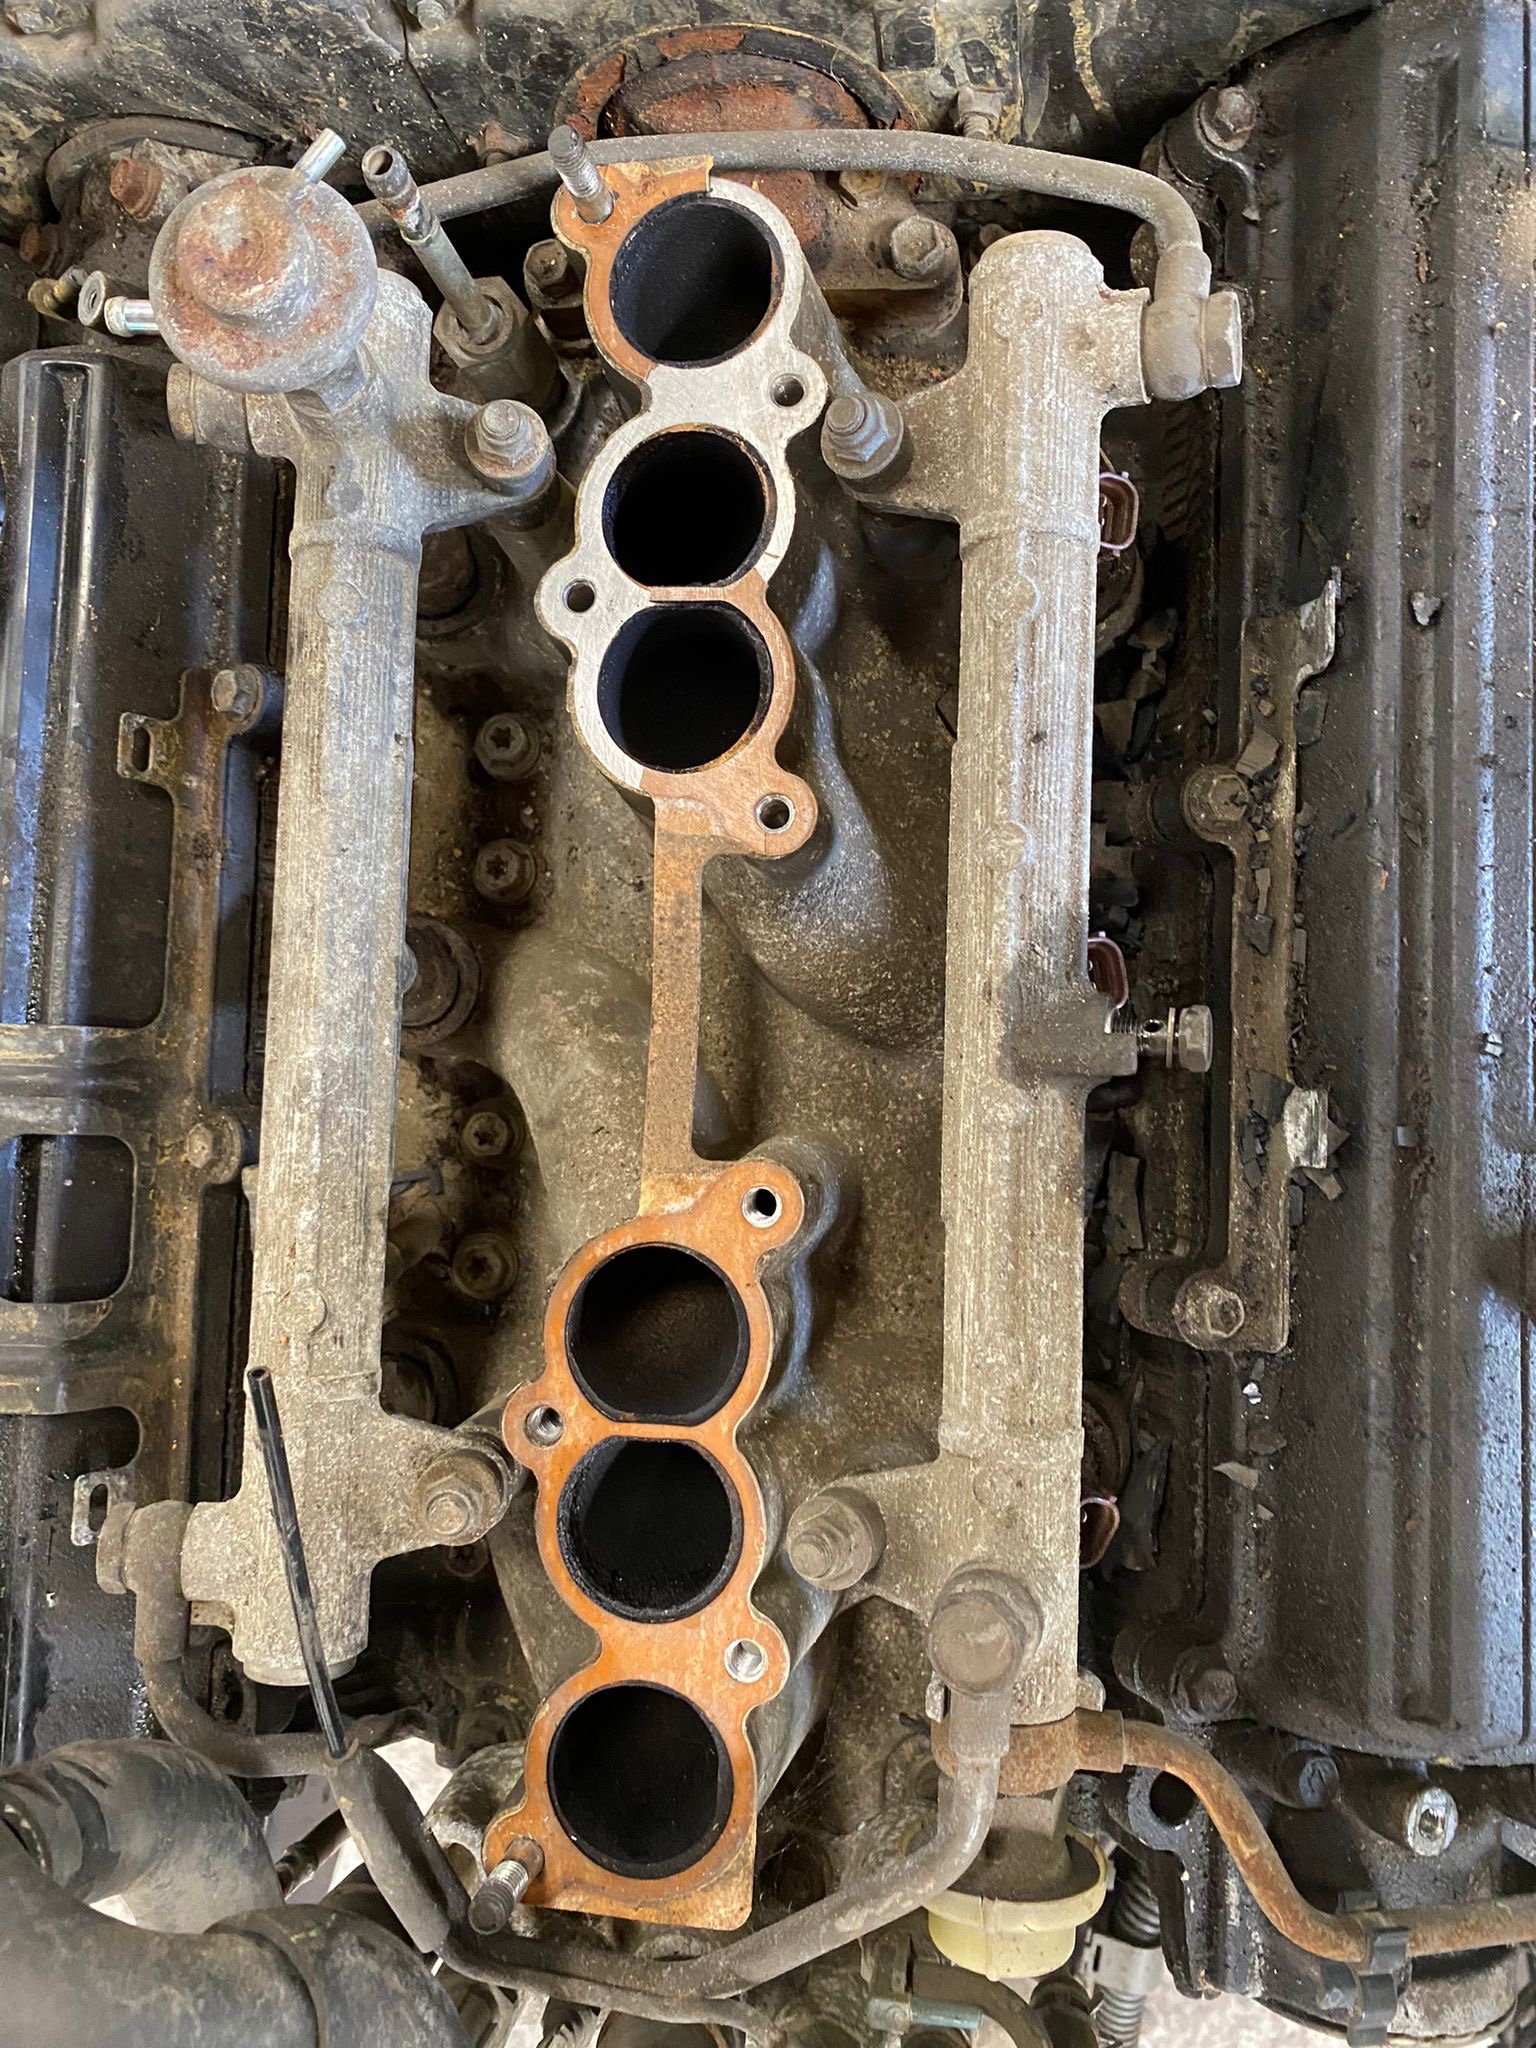
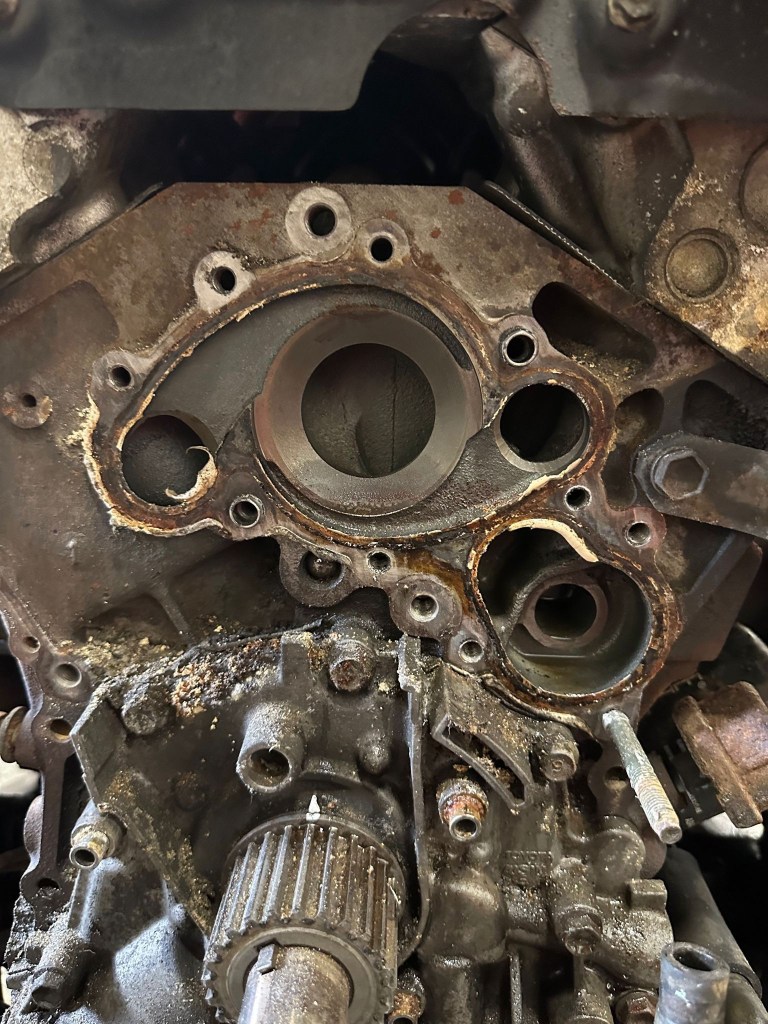
Head Gasket Failure is a common fault with the 3VZ-E Engine, thought to be attributed in some cases to the Crossover Pipe at the rear of the Engine that channels Engine Exhaust from the Offside to the Nearside Manifold [you can see it in the Photo above, just above the Bell Housing]. The proximity of this crossover Pipe to the “back” of the Block invites extreme Heat exposure to Cylinder 6, cooking the Head Gasket in that area.
I have never had an overheating incident with the Beast, which can exacerbate the scenario, so have no fear that the Head Gasket is on its way out; I am keen nonetheless to remove the Crossover Pipe with its restrictive EGR System and Cast Exhaust Manifold in favour of Stainless Steel Headers.


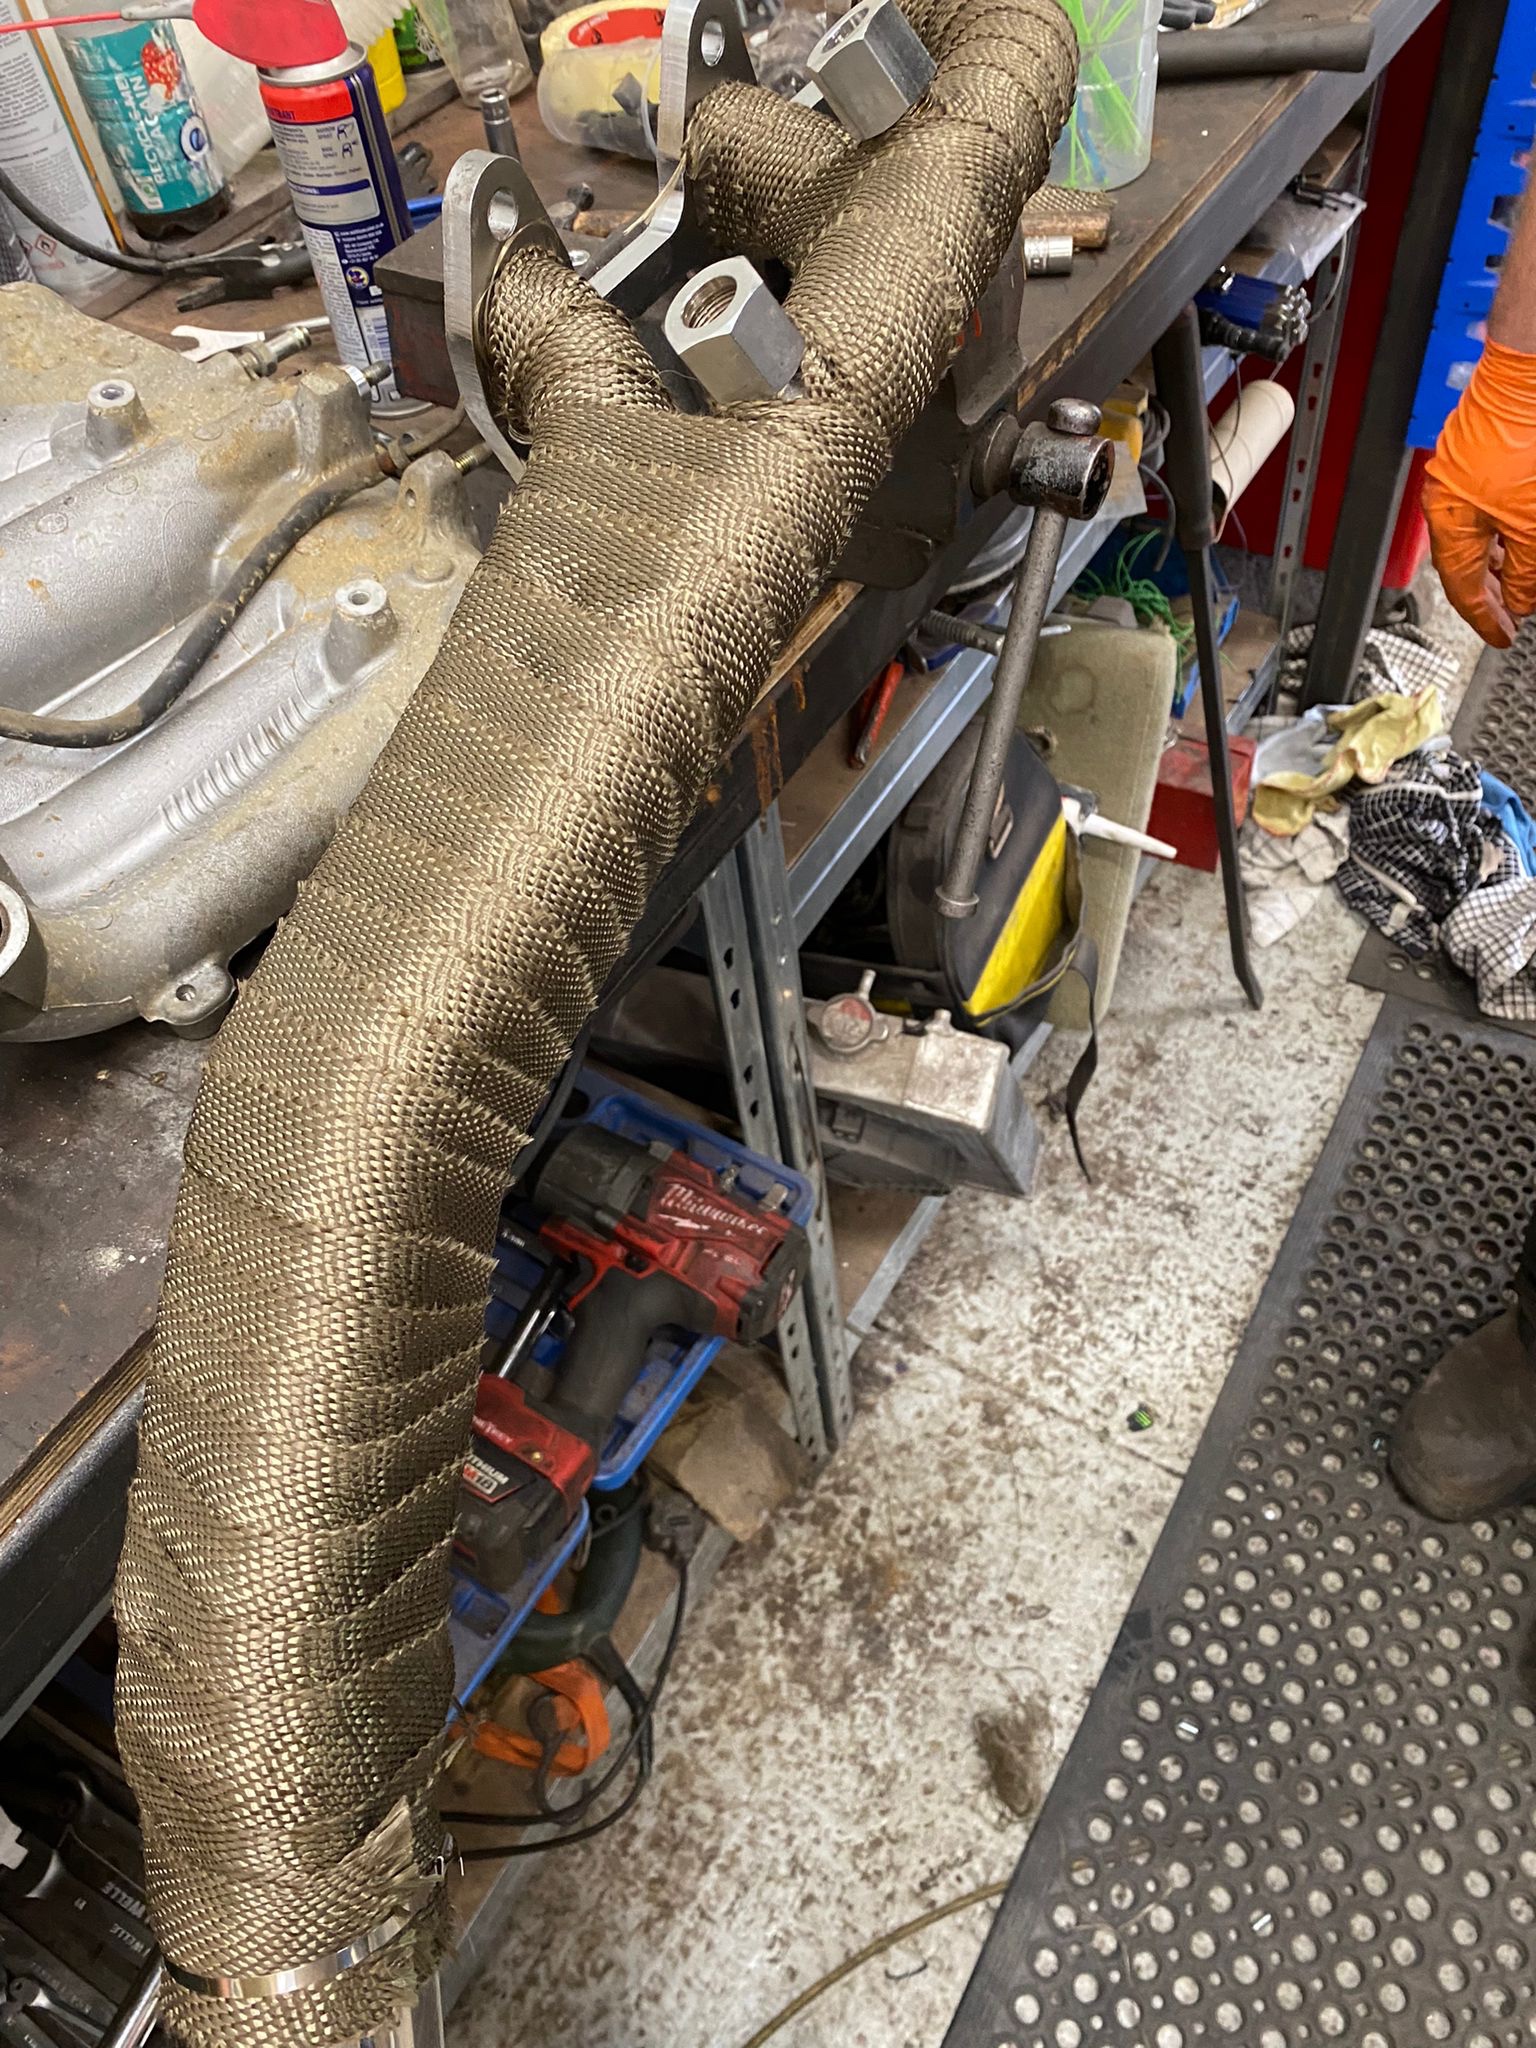
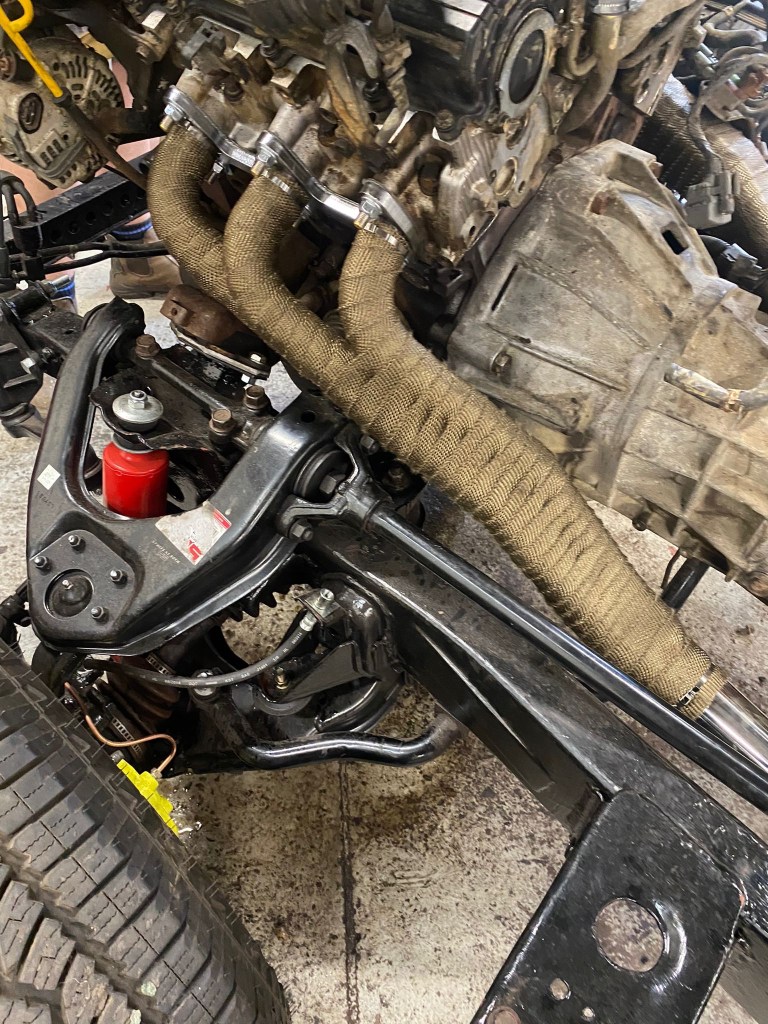
The introduction of Headers to the Offside of the Engine Bay will expose Components on that side to radiated Heat, so it is advised that the Headers be Heat Wrapped. Like a Race Car..? Oh, hell yes.. Once wrapped, offering the Offside Header up to its position nearly had me in tears, this was going to be the Fastest-Looking Slowest Toyota on the road.

The remaining sections of Exhaust I had intended to keep as close to Stock as possible so that the inevitable MOT Emissions Check would go as smoothly [and with as much chance of a Pass] as possible. But we all know the adage Best Laid Plans o’ Mice and Men, and typically mine would be scuppered by the fitment of the Headers.

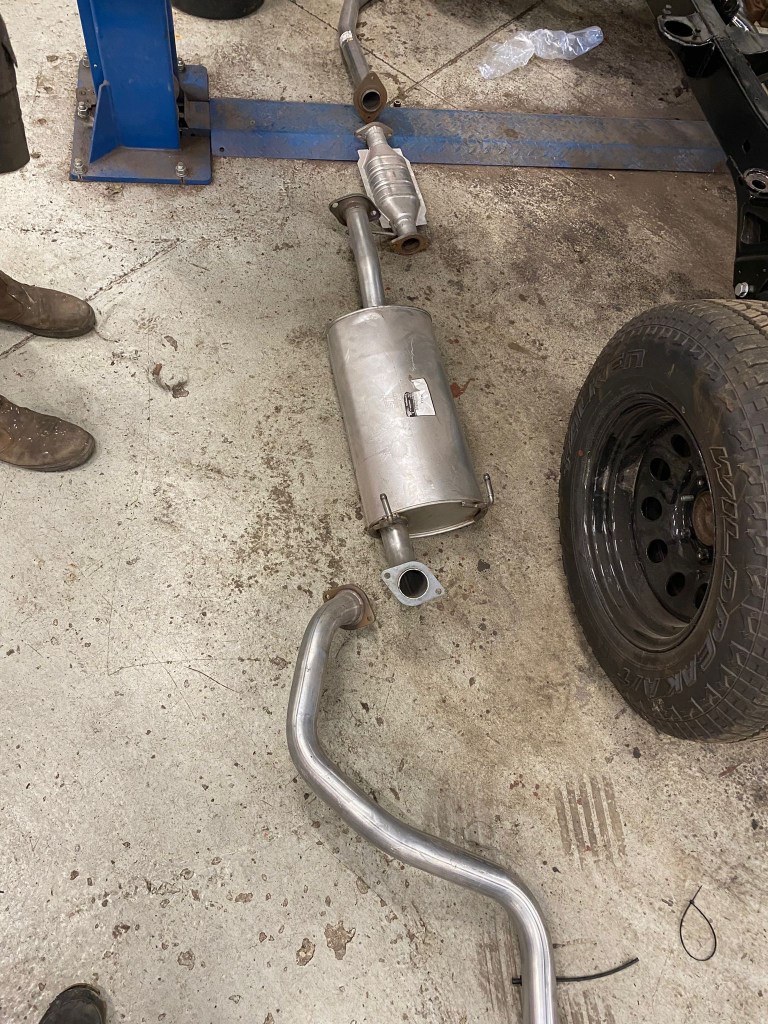
In the third of the three Photos in the Slideshow above, you can see that the Union Pipe Clamp sits rather annoyingly quite far back in the Chassis, so that bolting on the Silencer/Muffler here would mean the Hangers would not align with those of the Chassis, where the Poly Exhaust Hangers I had bought, would secure the System. What to do.
Side Pipes..? Straight Through..? ..or Surgery..?

Given that the objective for the Exhaust at this stage is to sail through the MOT Emissions Standard, it is necessary that the Standard Catalytic Converter & Silencer/Muffler are part of the system which means surgery.


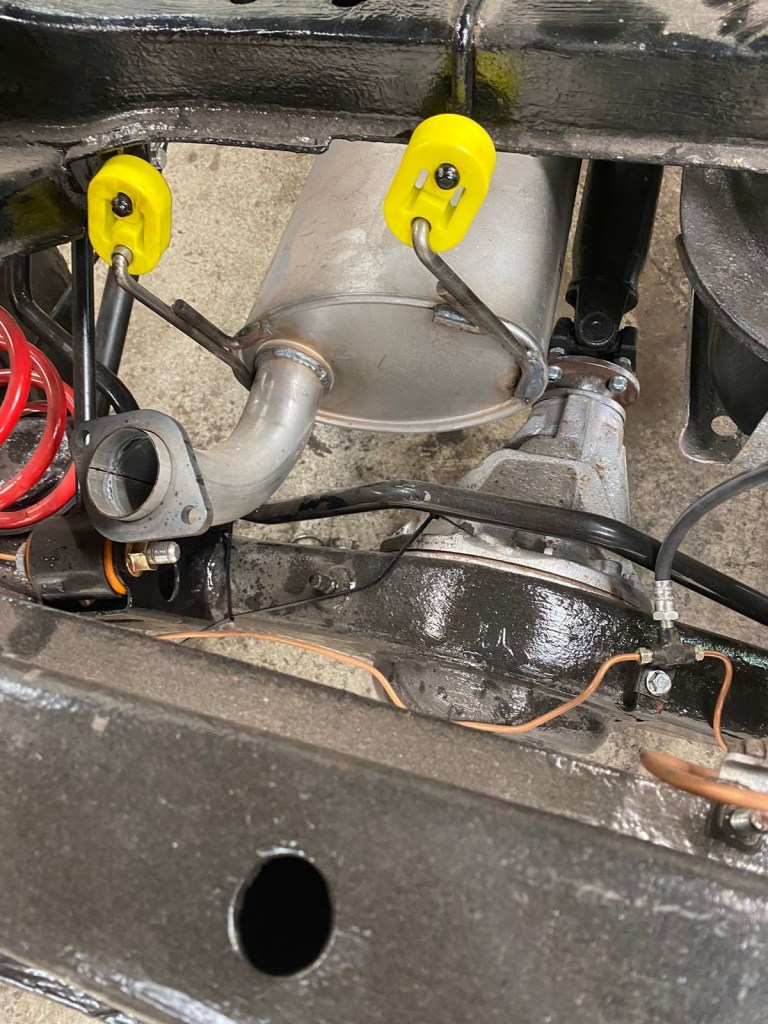
Hellbent waited until the Body and Chassis were reunited to work out the Exhaust routing, omitting the OEM Silencer and instead using a compact unit that would do the necessary work, but nothing more restrictive. Should the Beast sound like a Growling V6 Monster would certainly be a Side Effect, but damn, what a sound. I think I played this Video 50 or so times since Kye sent it.
Parts List
- DNA Motoring Headers [+ £43.76 Duty]
- Catalytic Converter
- EGR Block Off Plate
- GT Exhausts Central Silencer & Pipe
Joe Cool
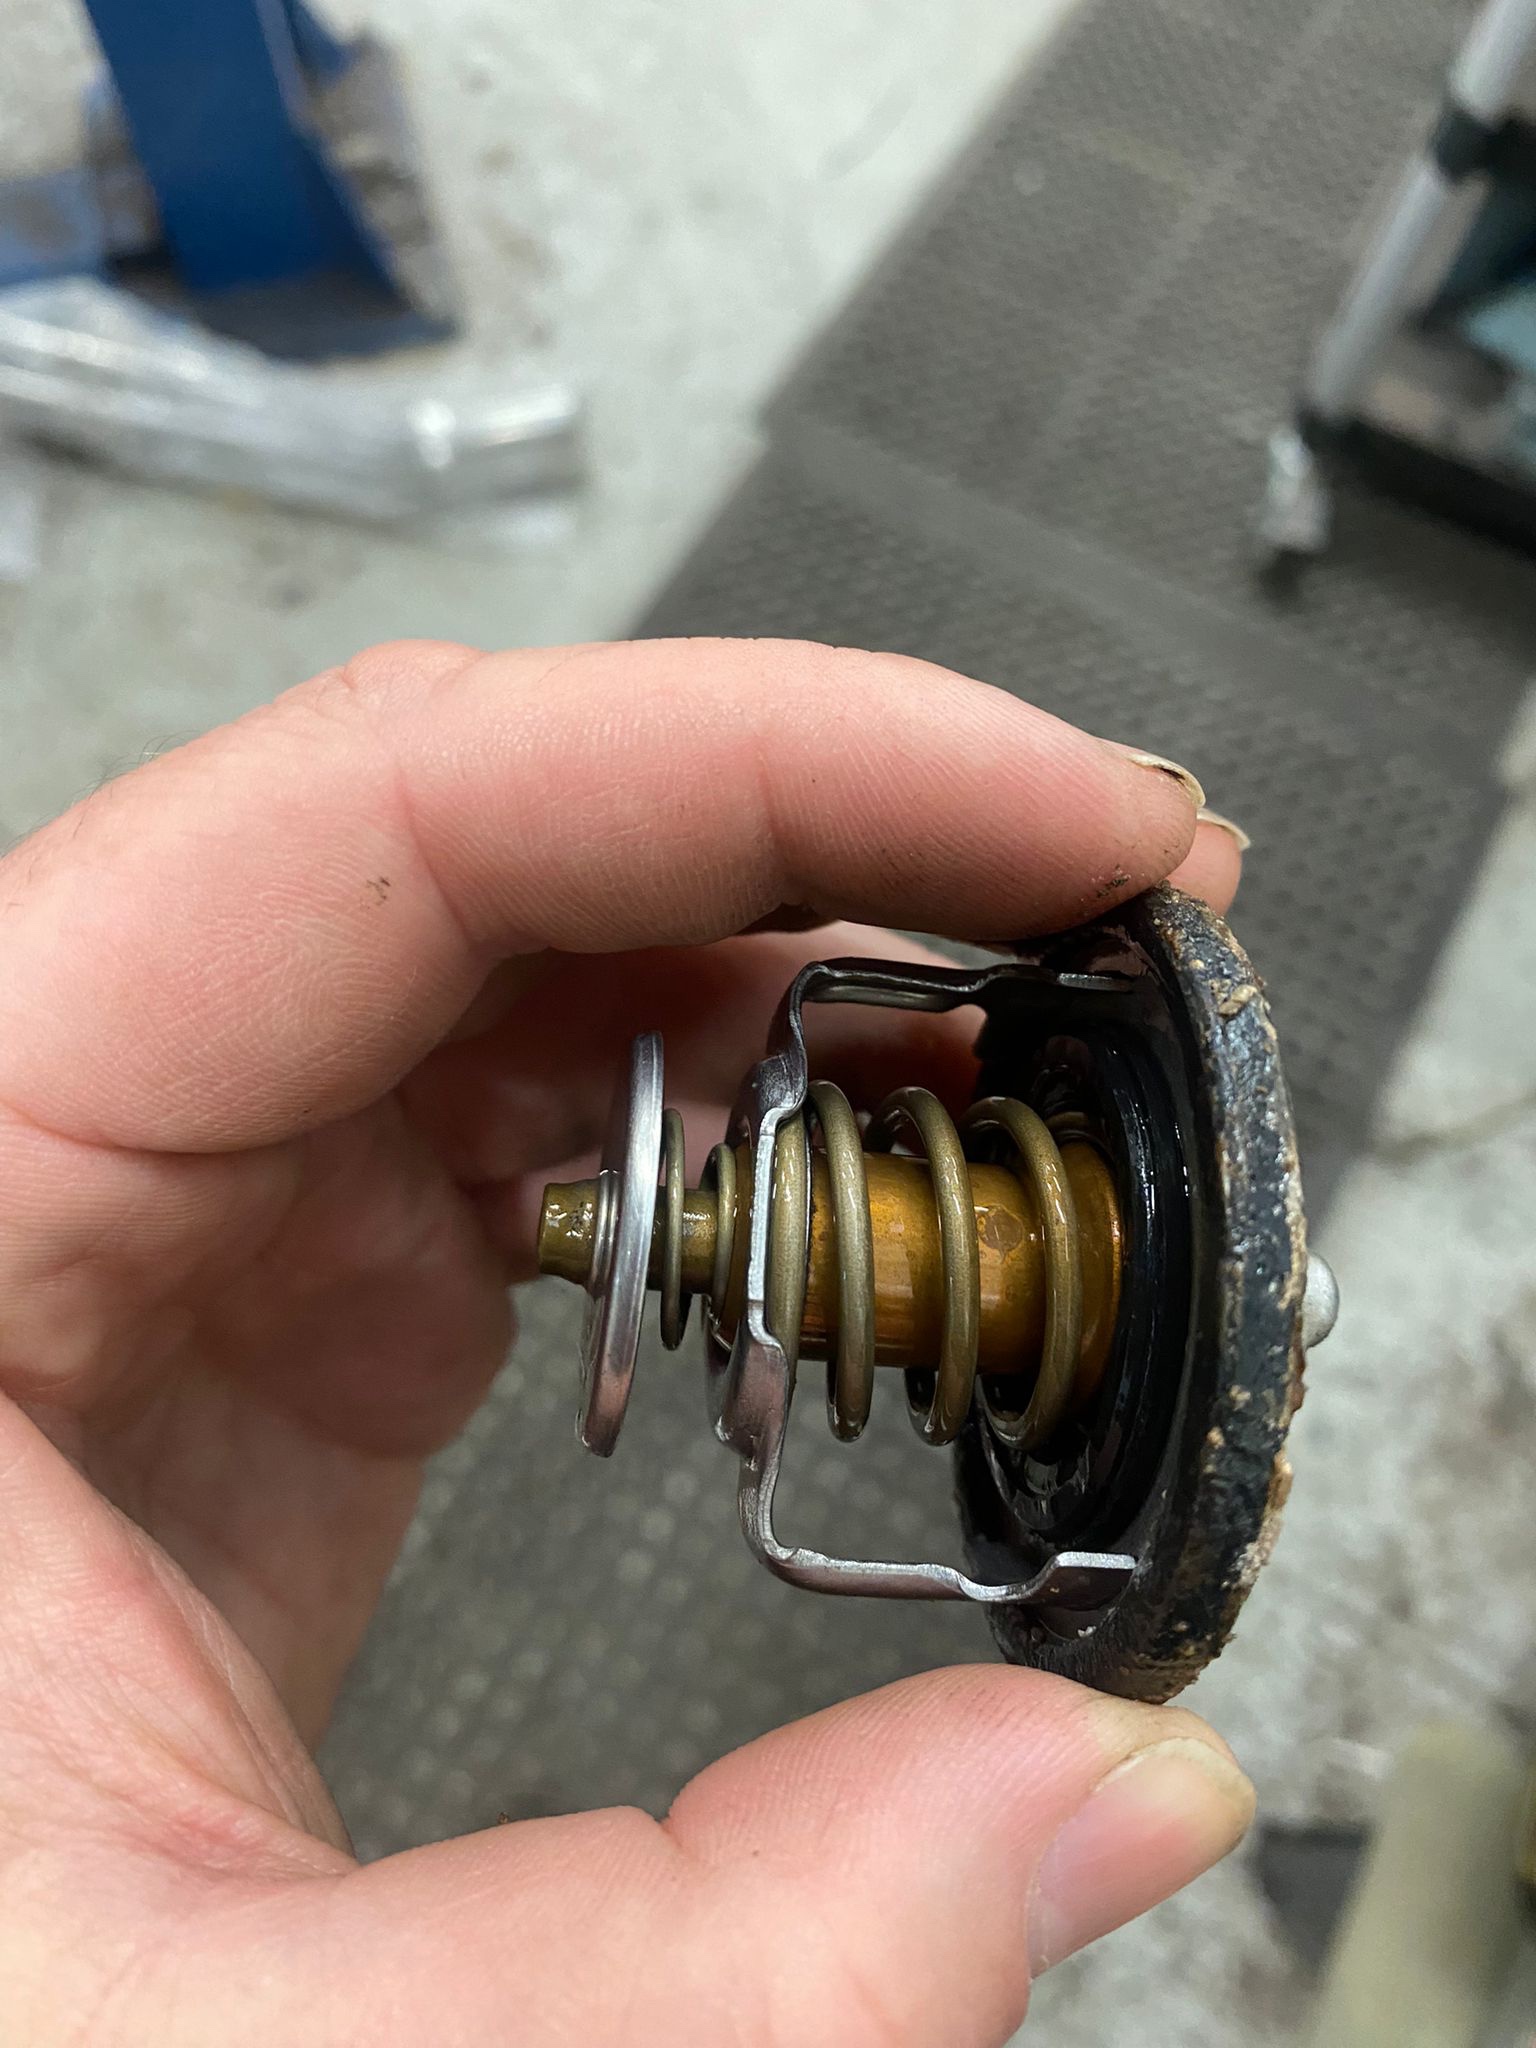
Upgrading the Coolant System with a 4 Core Aluminium Radiator was going to have the right kind of impact to the 4Runner, along with new Silicone Coolant Hoses and an Electric Fan hooked up to the Thermostat. The old Clutch Fan had worn to the point that the Clutch bit was a permanently engaged feature i.e. when the Engine started, so did the Fan, making unnecessary noise and parasitically drawing power from the Block via resistance of the spinning Fan Blades.


The new Electronic Fan is controlled by a Digital Thermostat and, set to activate at 92C in the 4Runner, is adjustable almost on the fly; certainly easily. The 3 Core Aluminium Radiator also makes the Colling System much more efficient, radiating heat more freely.
Parts List
Gas Guzzling
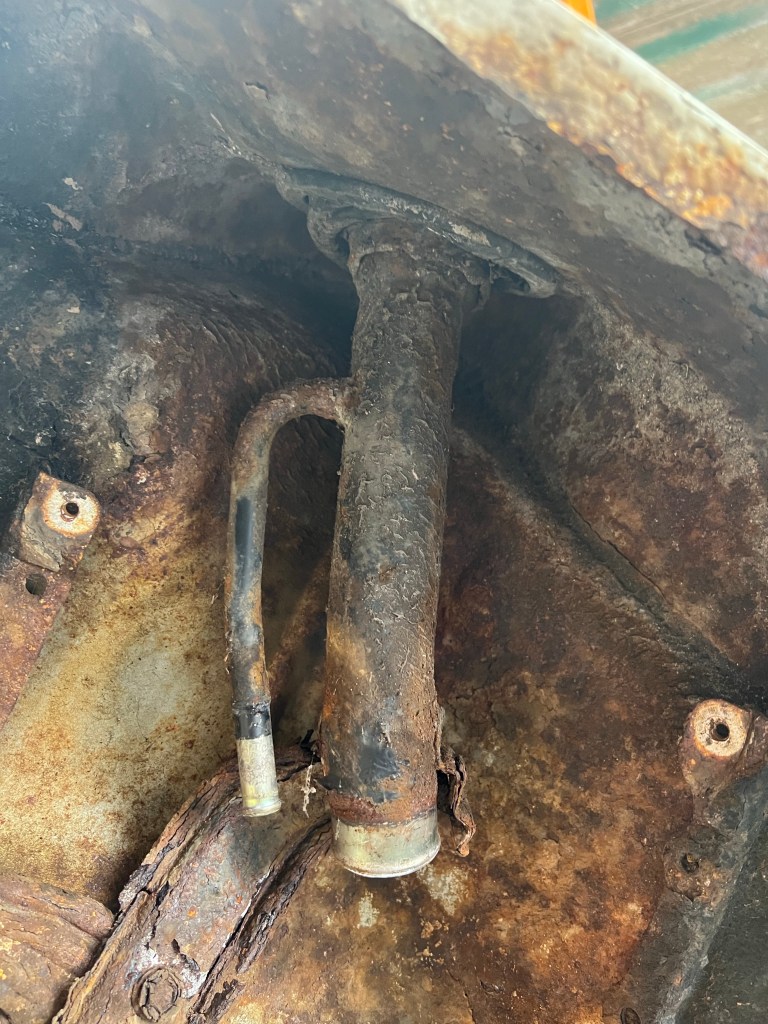
Continuing along the Path of Wonderment at how the 4Runner hadn’t fallen to pieces before now, the Fuel Neck and Filler Pipe were in such bad shape, it was a wonder it hadn’t burst into Flames either. But again, the Breakers saved the day, and with a swiftly invested £50 for a used part, the problem was solved.


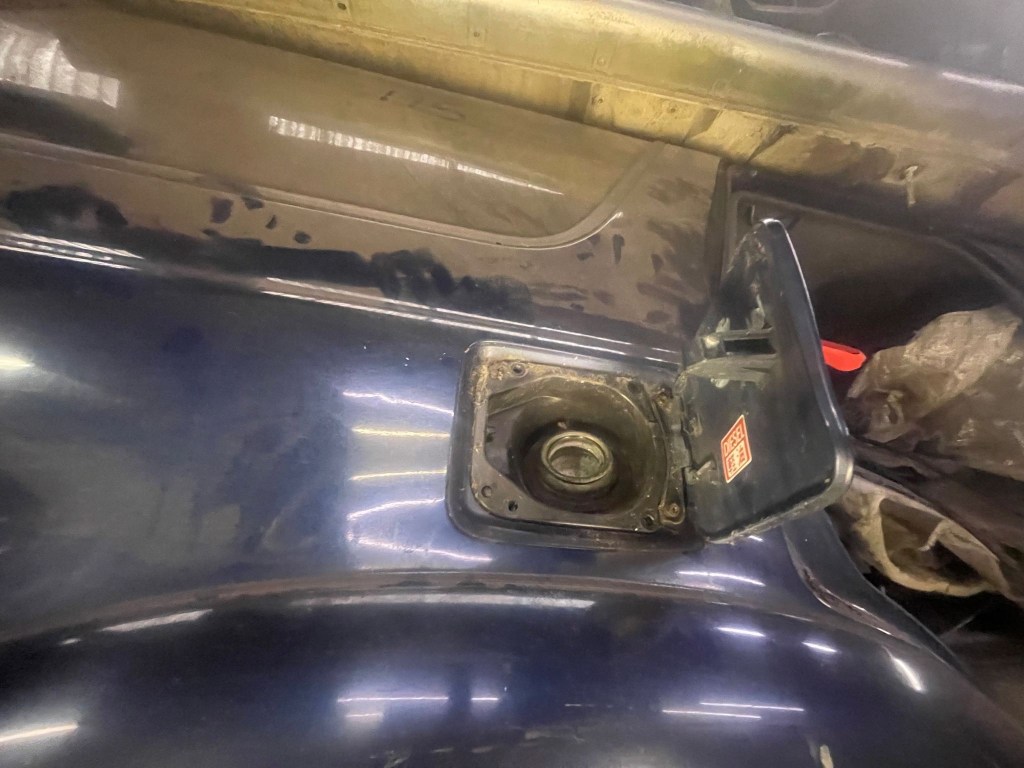
I never let the Tank run dry, top up rather than fill from empty. Nevertheless, rather than bead blasting the unit, the decision was taken to lightly refresh it cosmetically checking for damage, corrosion and leaks etc.

There was a little rerouting work required when the Body & Chassis were unified, as the newly installed Header occupied a previously vacant space where the Fuel Lines ran into the Engine Bay.


Parts List
- Fuel Filler Neck [£50 from a Breaker’s Yard]
- Fuel Lines
- Fuel Filter
Ignition
It’s a miracle given the state of the Ignition System that the Beast even fired up at all, let alone always First Time. I’d guess that they were Factory Parts, and had been with the 4Runner since 1994.
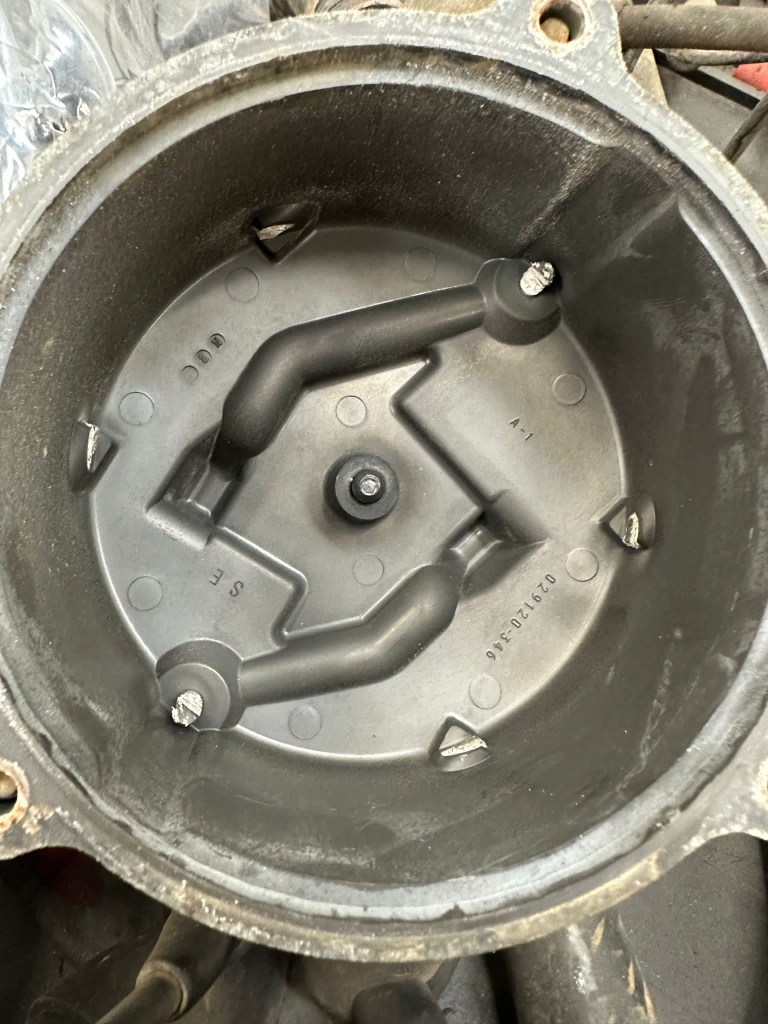
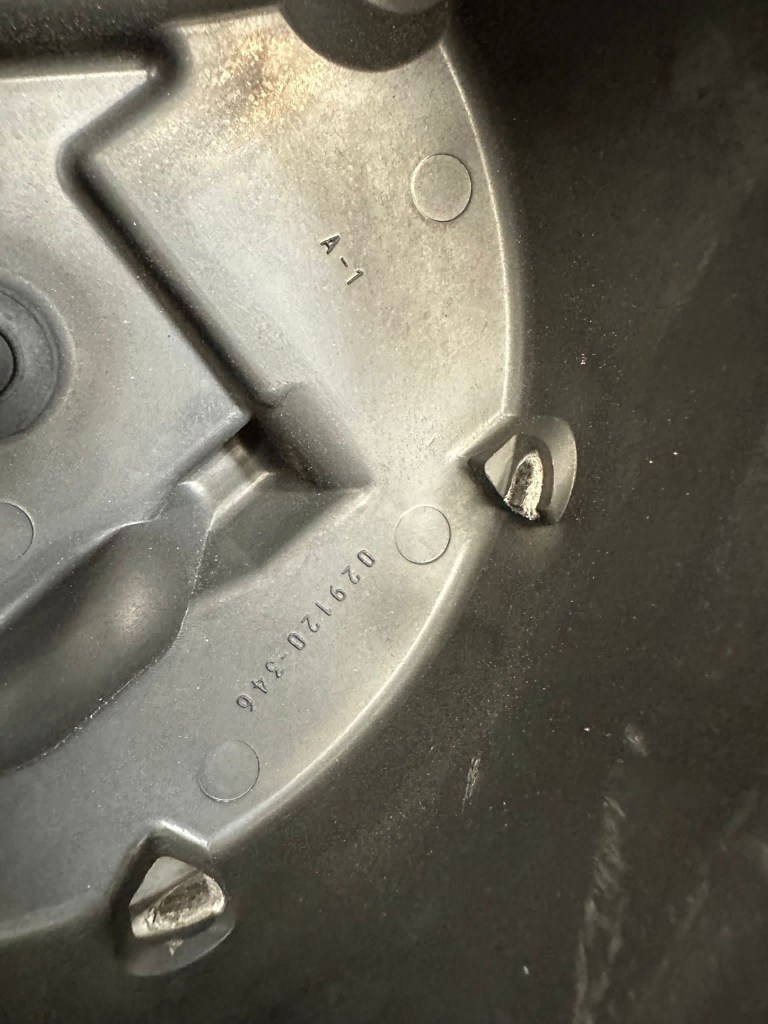

Tired was the running theme, and this was certainly true of the Distributor Cap whose contacts were burned and brittle, snapping off when agitated with a screwdriver.
Parts List
Intake
Intake Plenum, Gasket & Vacuum
The Intake Plenum takes centre stage in the Engine Bay of the 4Runner, announcing by way of an affixed badge, that there is a 3 Litre Electronic Fuel Injection V6 Lump sitting underneath it. Specifically, it sits on top of the Intake Manifold which in turn sits on the Head.
As much as the raw Aluminium evokes its originality, I wanted to bring the Engine Bay into the modern age with some light cosmetic touches, this started with the Plenum and a Black Satin finish.


Parts List
Belts & Servicing
Timing Belt, Water Pump & Idler
At some point in the last 150,000 or so Miles, a leak must have developed from the Water Pump, and the “Mechanic” that repaired the leak used Bathroom Sealant [a.k.a. Caulk] instead of a £5 Gasket to remedy the situation. That Bathroom Sealant then managed to survive the Heat, Pressure and Vibration without losing a drop, right up until it was retired by Hellbent.
This kind of Hack really does Boggle the Mind, it’s terrifying stuff. Its Failure would have been catastrophic, and knowing that it would have happened during my Ownership makes me think of all the times I was at the furthest point from Home relying on Bathroom Sealant.
Bone Idler
Remember when you used to spin a Skateboard Wheel, and it would spin long and quiet..? And then a puddle or two and a month or two later it would sound like a Tombola of Nuts & Bolts..? That’s what the Idler Pulley Bearing reminded me of..
No Mo’ Speedo
For a while, the Speedometer had not been working, which meant gingerly cruising in urban areas past Speed Cameras. The fault was with an electrical component bolted into the Transfer Case, prone to failure. Pulling the old Unit out, it was obvious that besides the shot Electrics, it was long past replacing with perished Rubber Seals.

Compression Test
Whilst the Motor was easy to access, I asked Hellbent to perform a Compression Test on each of the 3VZ-E’s Cylinders, just as a Peace of Mind exercise.
Each of the Cylinders came back with absolutely zero leak, and a healthy 180-200psi pressure hold. More than ever I believe that this Motor was worth saving, and not a moment too soon.
Parts List
More than ever I believe that this Motor was worth saving,
and not a moment too soon..
Promethean Moment
So after all this Engine Work, did the 3VZ-E Start Up okay..? Good question my friend..
All Hoses and Pipes connected, and all Fluids and Liquids topped off, it was time to run the V6 up to Temperature and check for Leaks, Levels and listen to that lovely burbling Motor. It never sounded so good..
Categories

2 thoughts on “Beast Restoration: Engine” Leave a comment ›