What Lies Beneath

The trouble with a Loose Thread, or a Can of Worms, is that even before you start either Pulling or Opening you know what you’re in for; an Unwearable Garment, Worms everywhere.
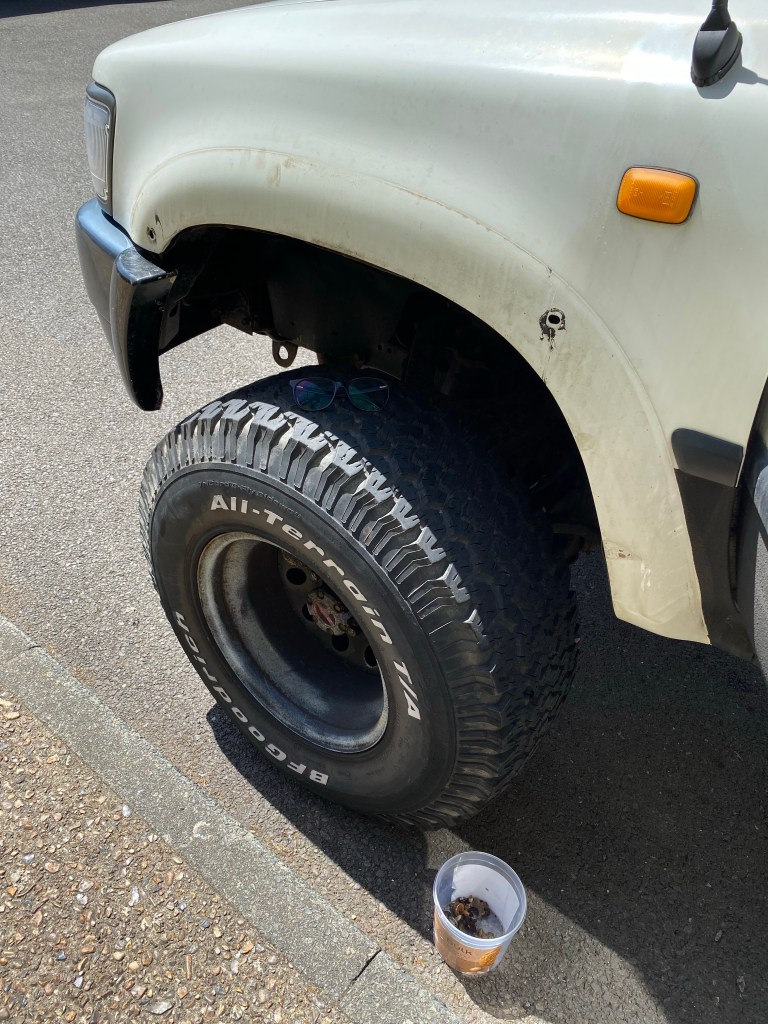
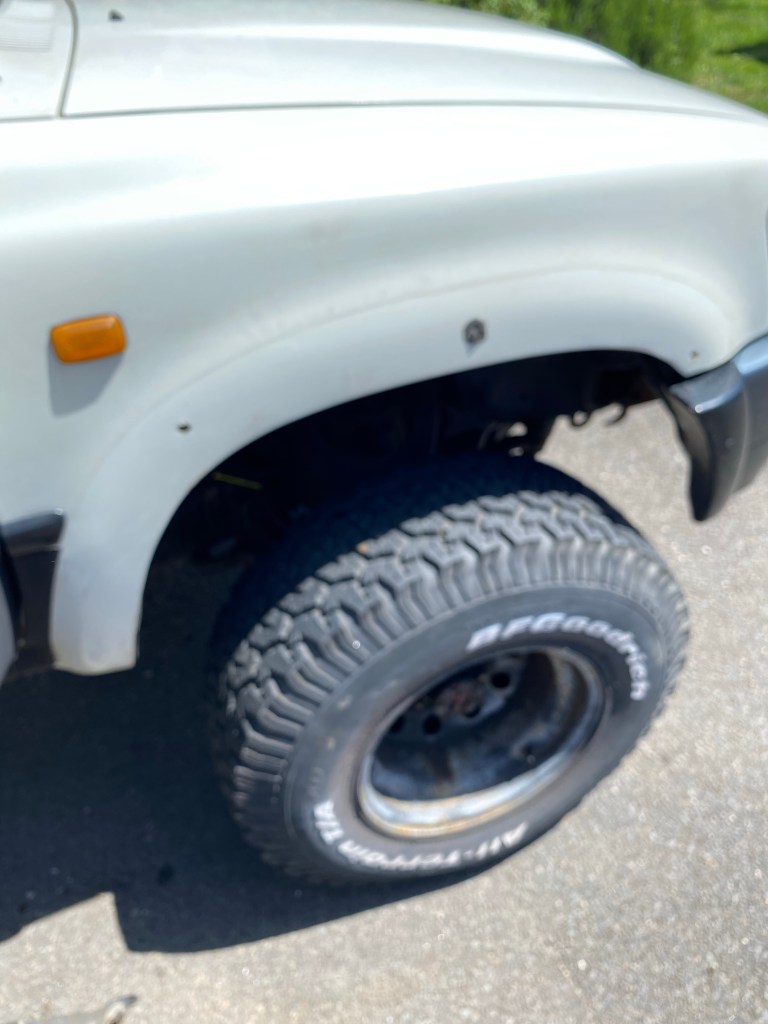
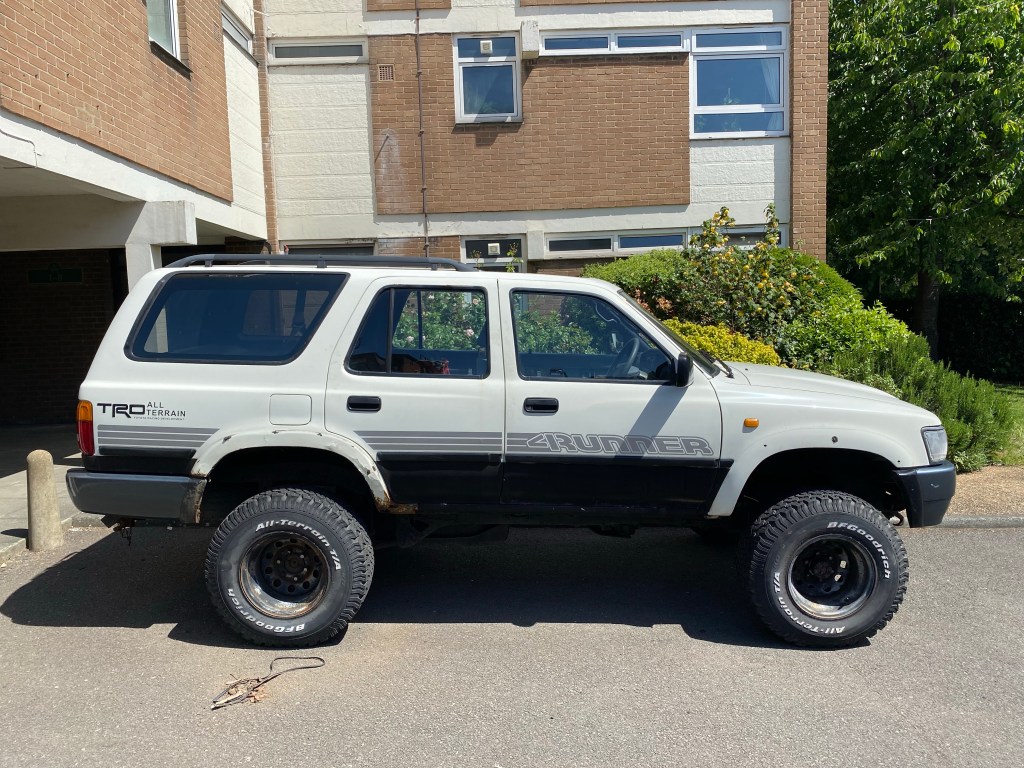
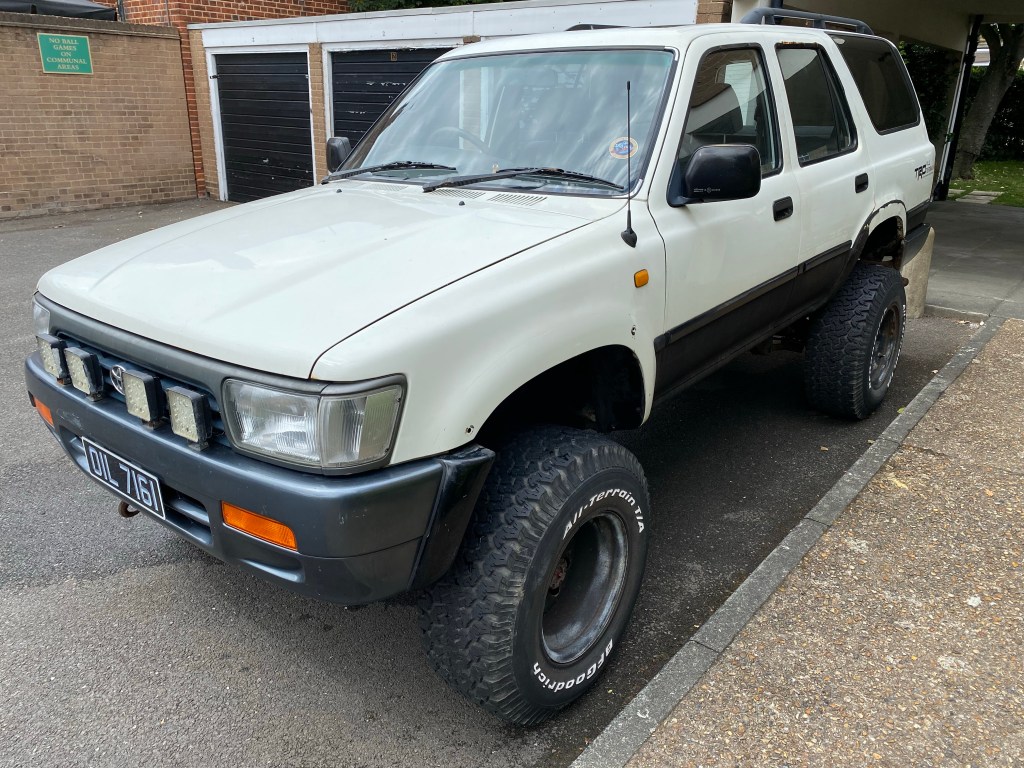
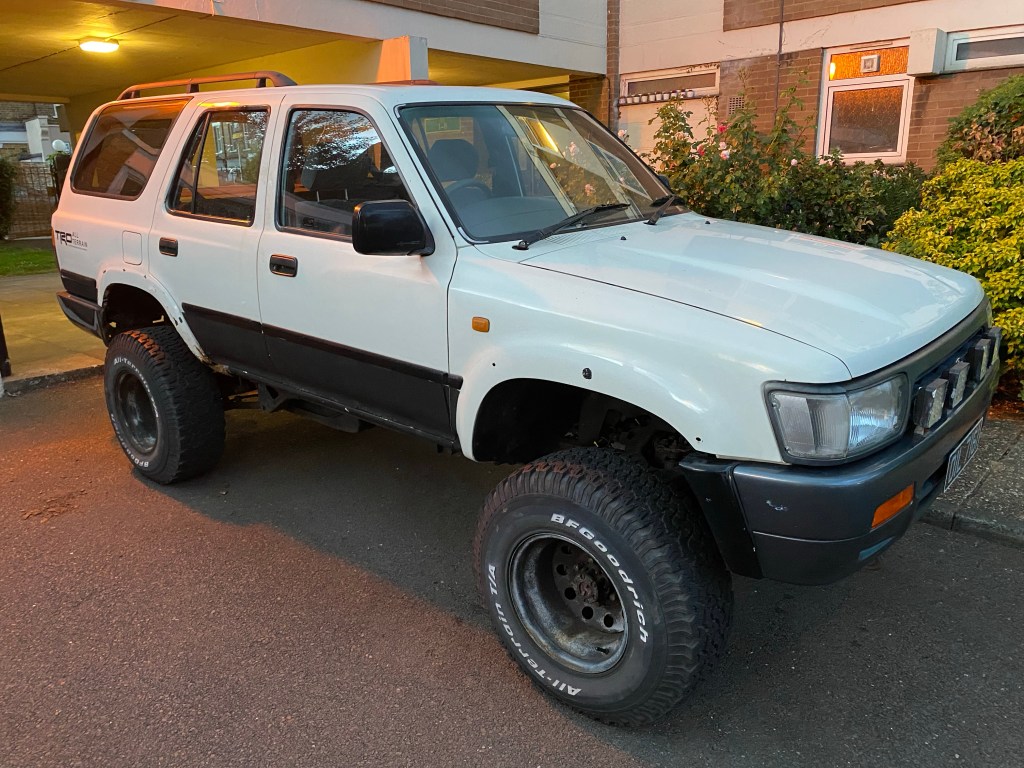
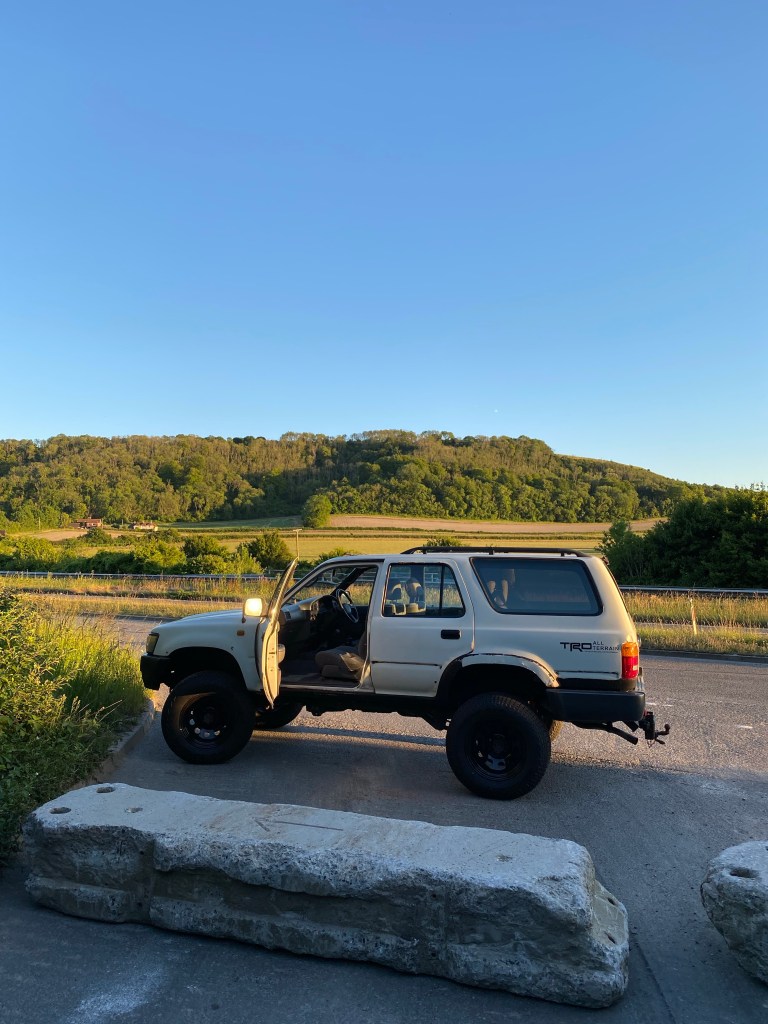
But I really wanted to remove the Flares on the 4Runner, I just do not like them. I have drooled over too many Pinterest Photos of 4Runners to not know what they look like without them. The clean lines, the narrowed chassis profile, the slightly outrigged Wheels; it looks great. I also know that these Flares can hide an MOT Failure, so exposing the bodywork arches would mean that the reparation work would need to be done by next MOT; October. Oh well, here goes..

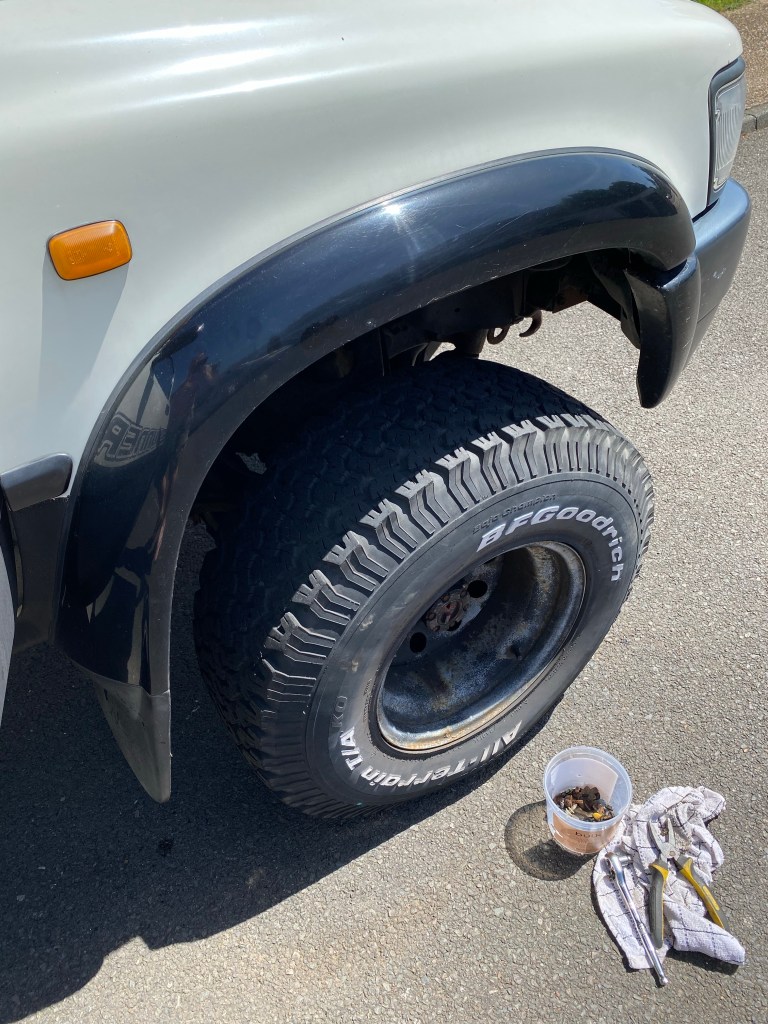
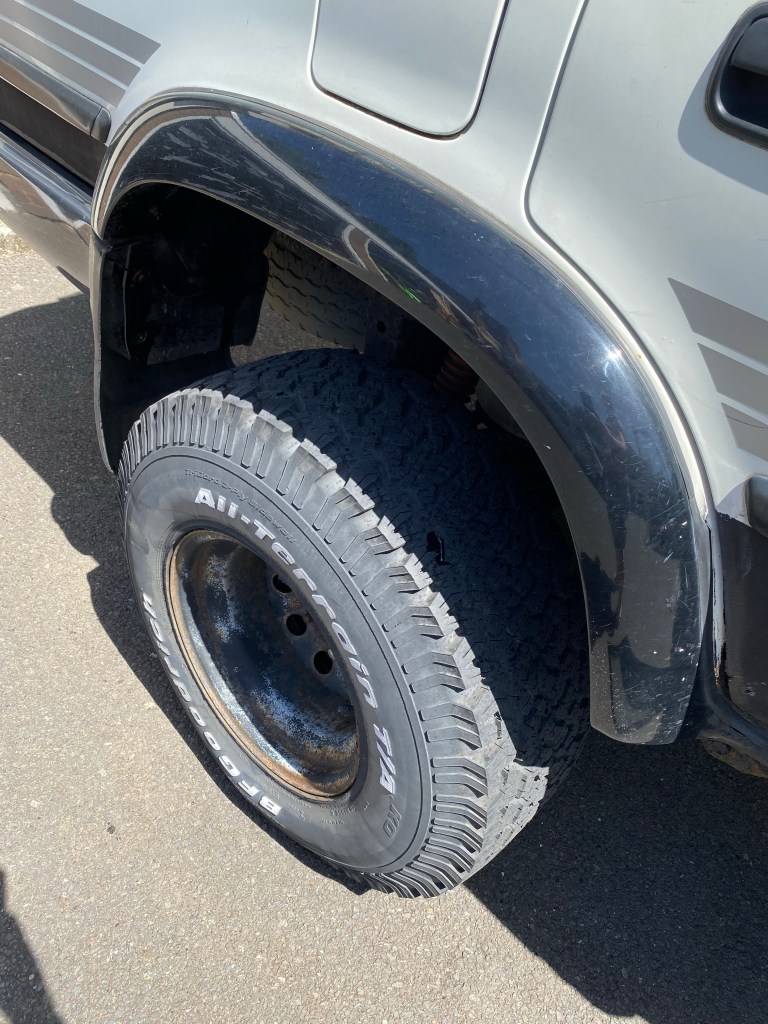
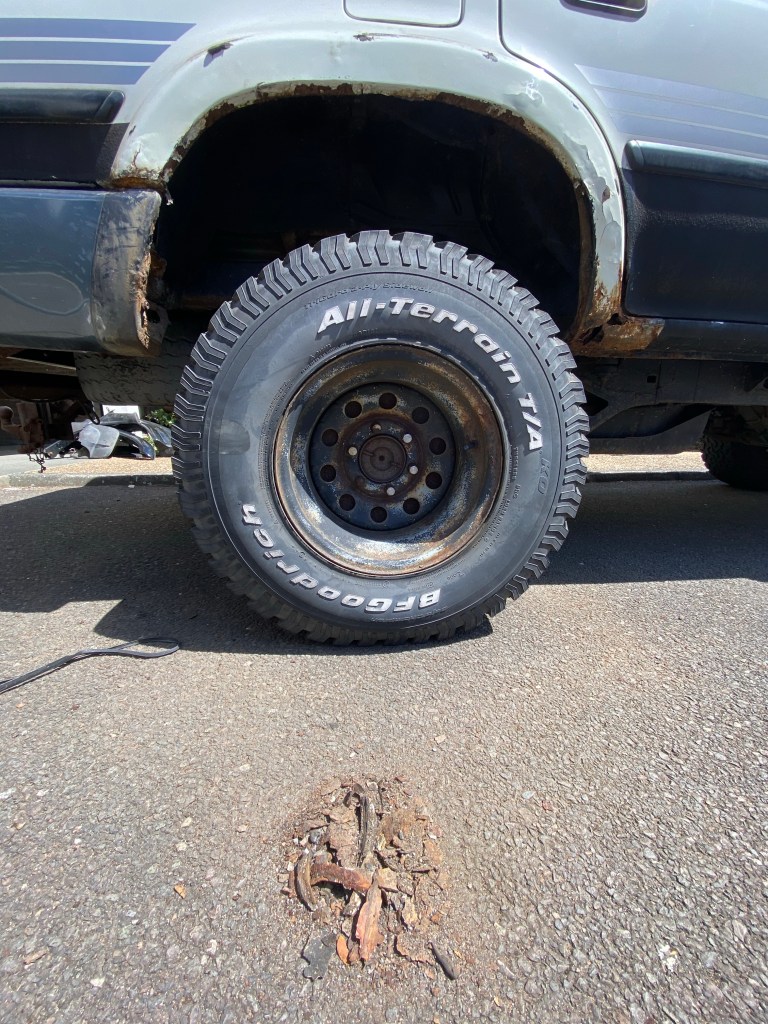
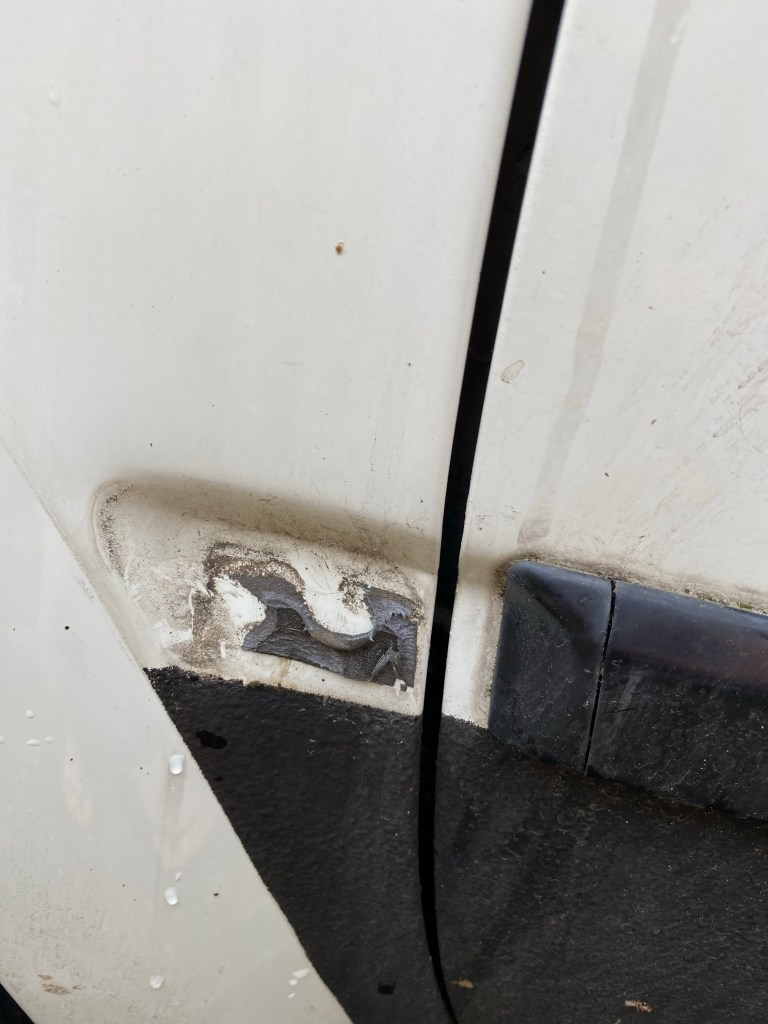
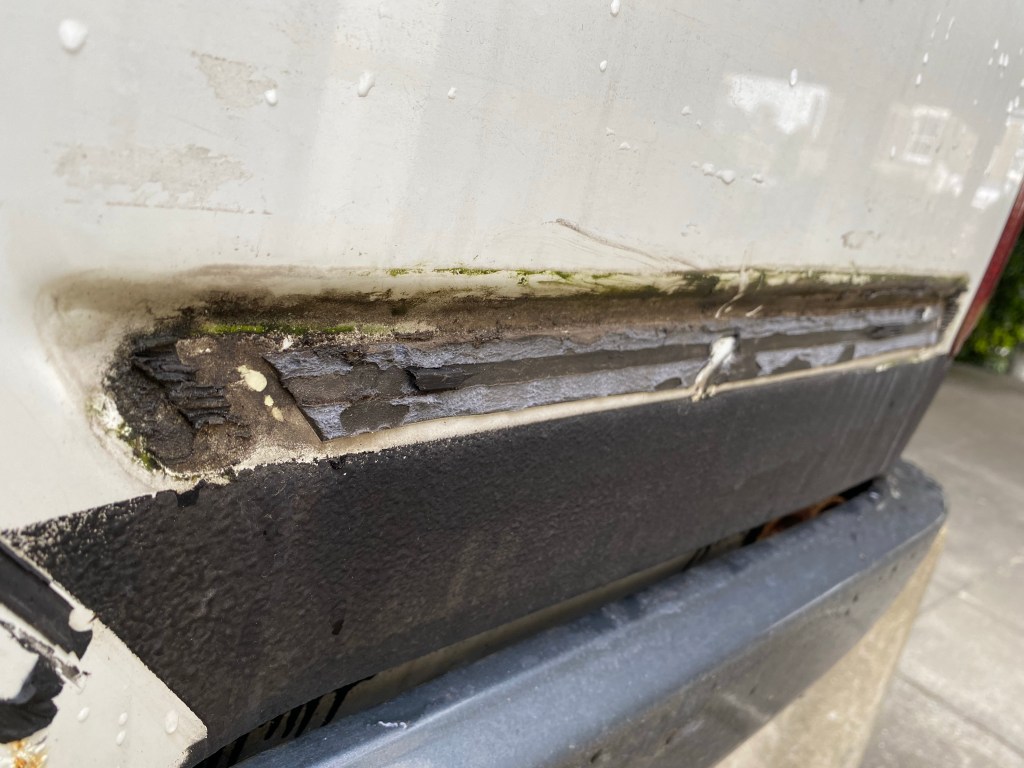
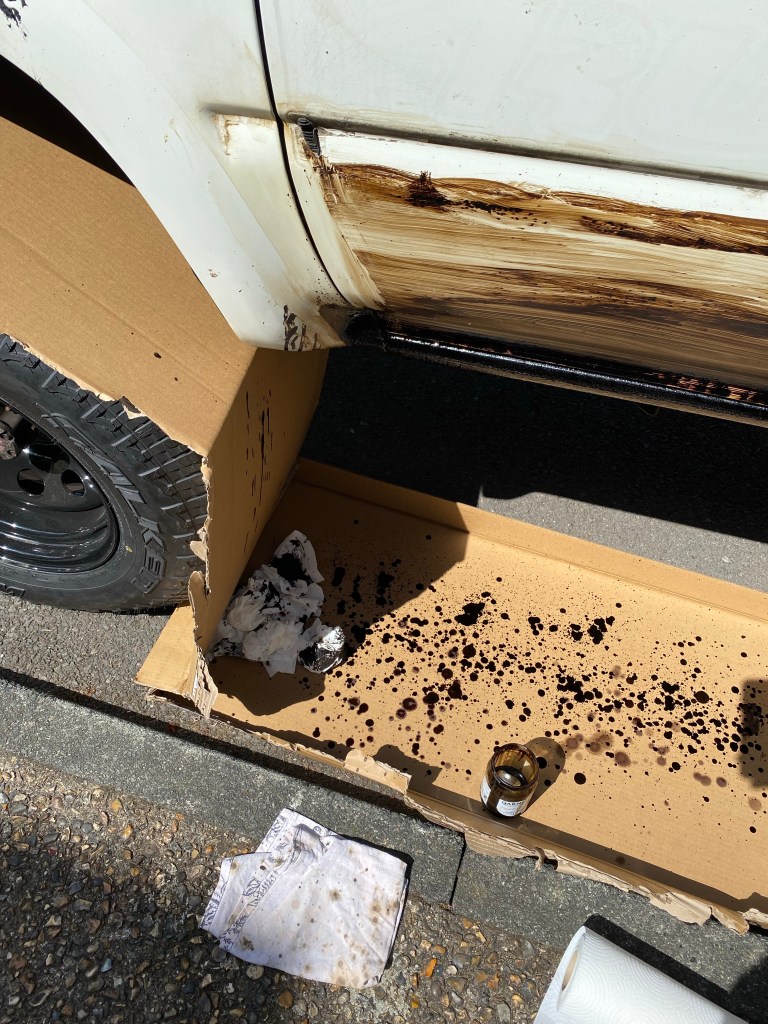
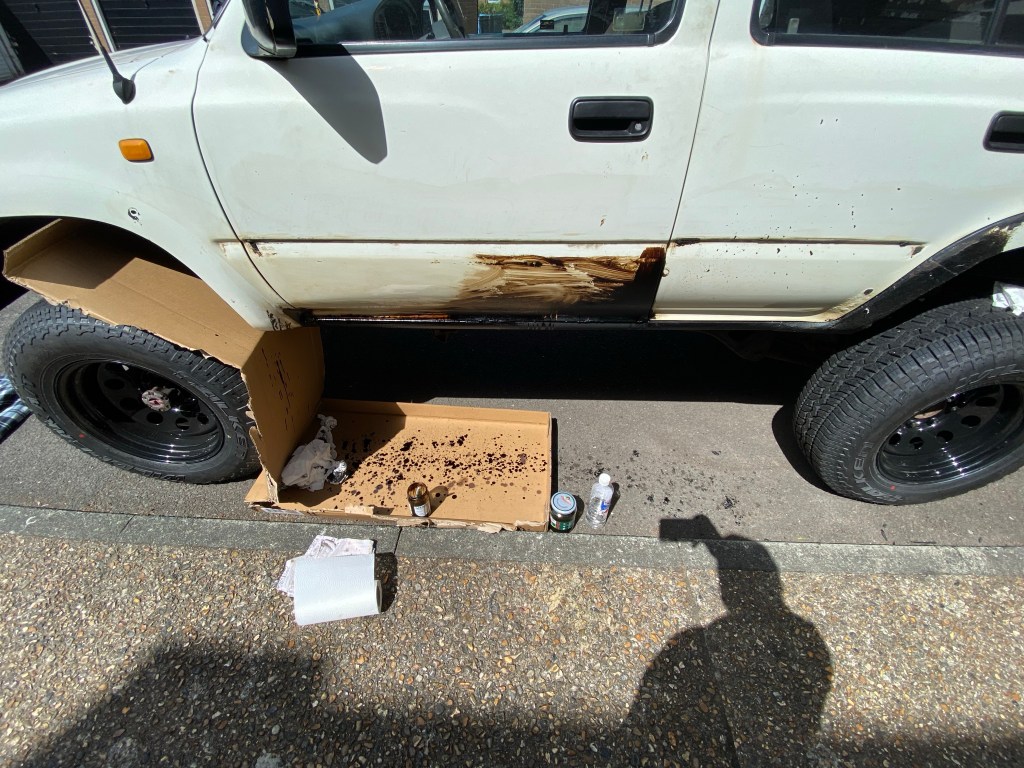
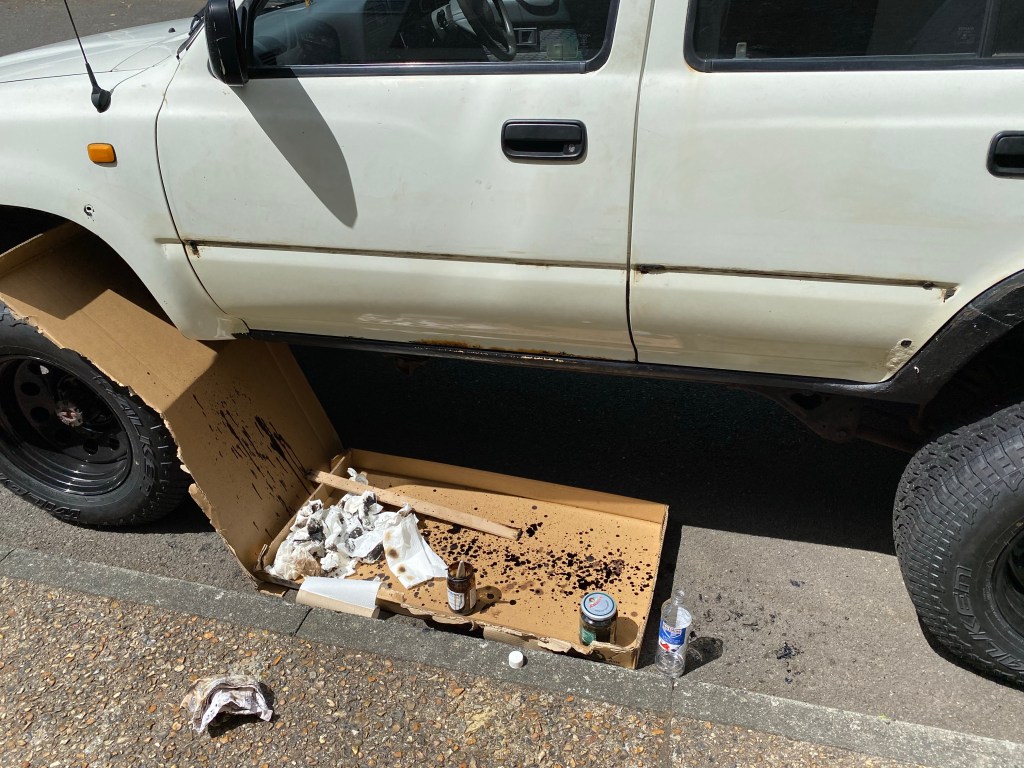
Rusty Bolts held them in place with backing vocals from Mastic, it was a bit of an effort. As I pealed back a Flare from a Rear Wheel Arch, dust and detritus fell onto the Tyre, and as I removed it completely, Rusty Metal bent and withered under the strain falling to the driveway. It was pretty bad. Front Arches not so bad. The Rears had me staring into a Dark Hole.
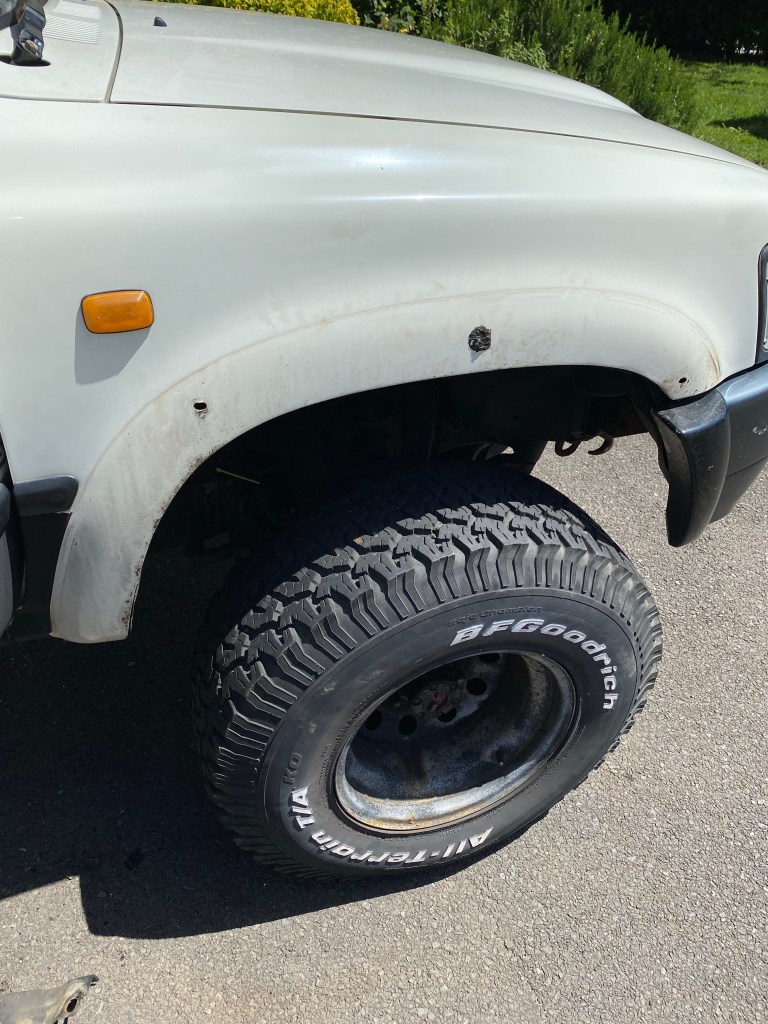
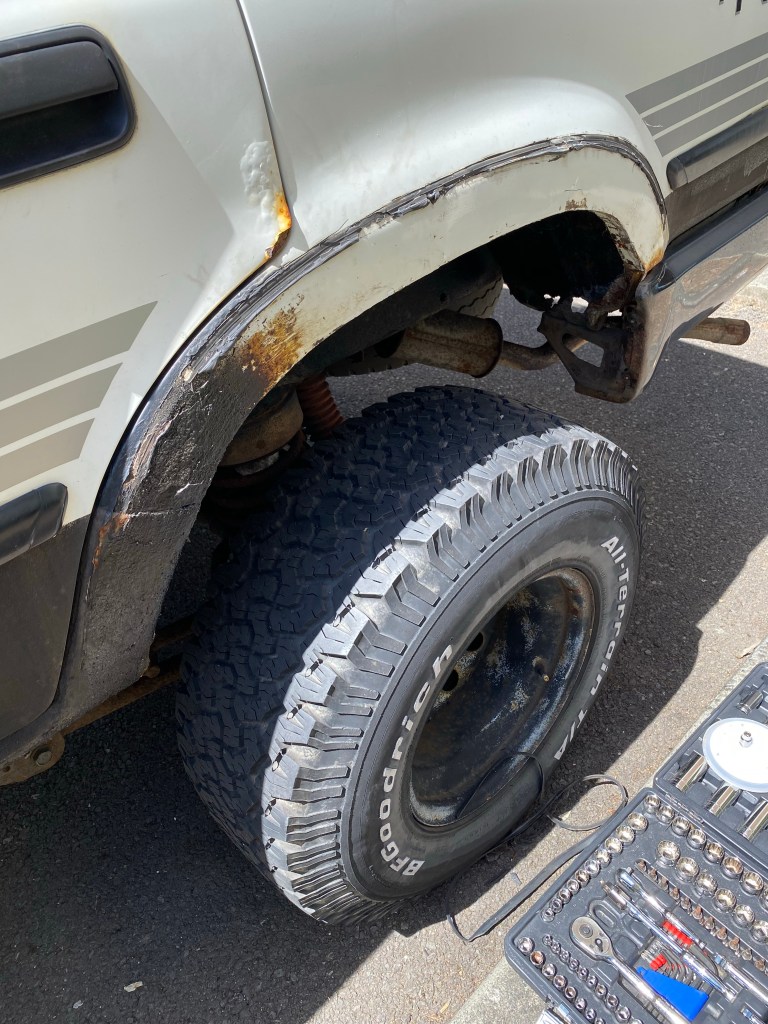
Gingerly, I cleaned up the surface, removing what Orange Gunge I could without disturbing the structure of the Wheel Arch too much; but the Thread was pulled, the Can wide open.
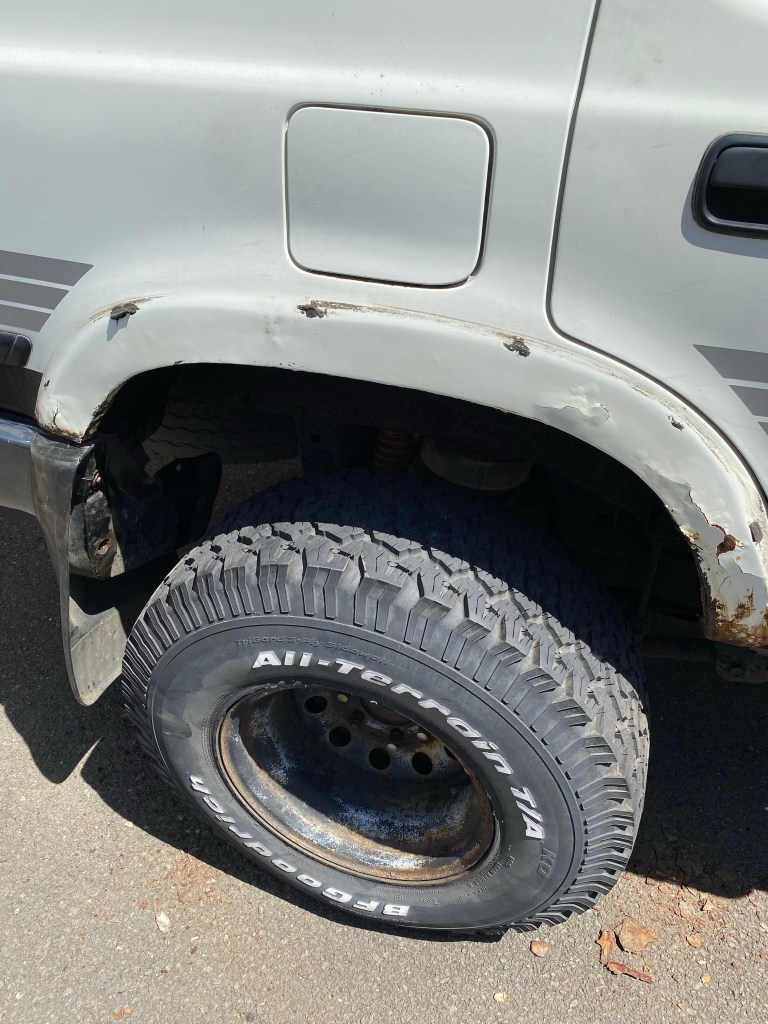
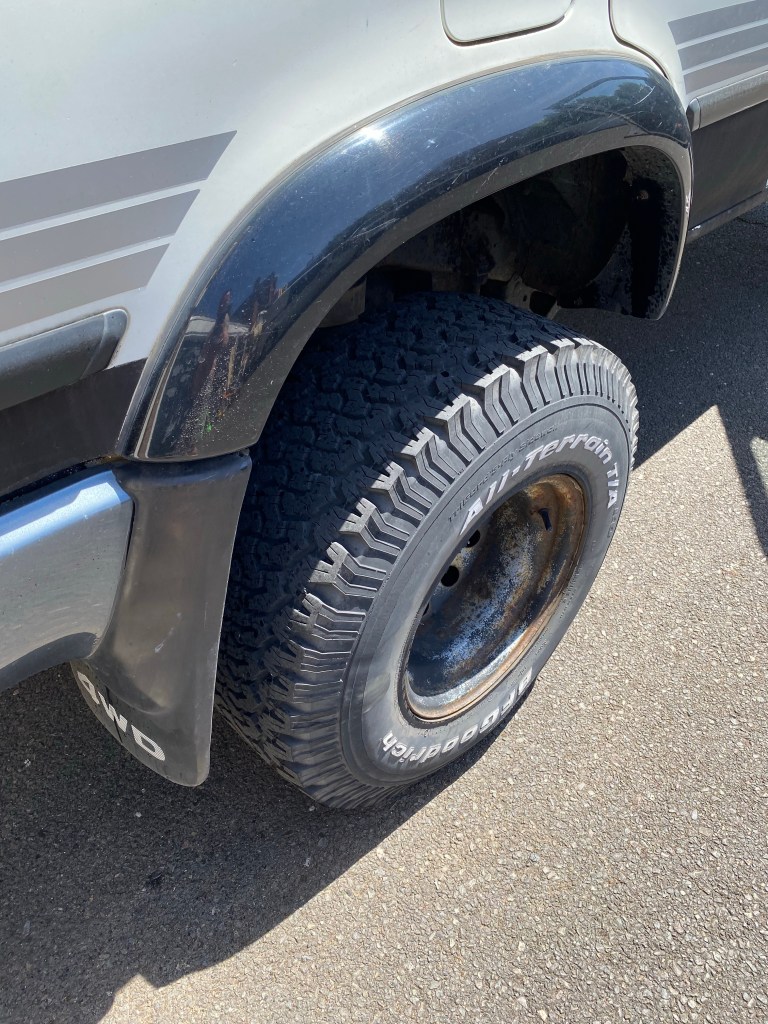
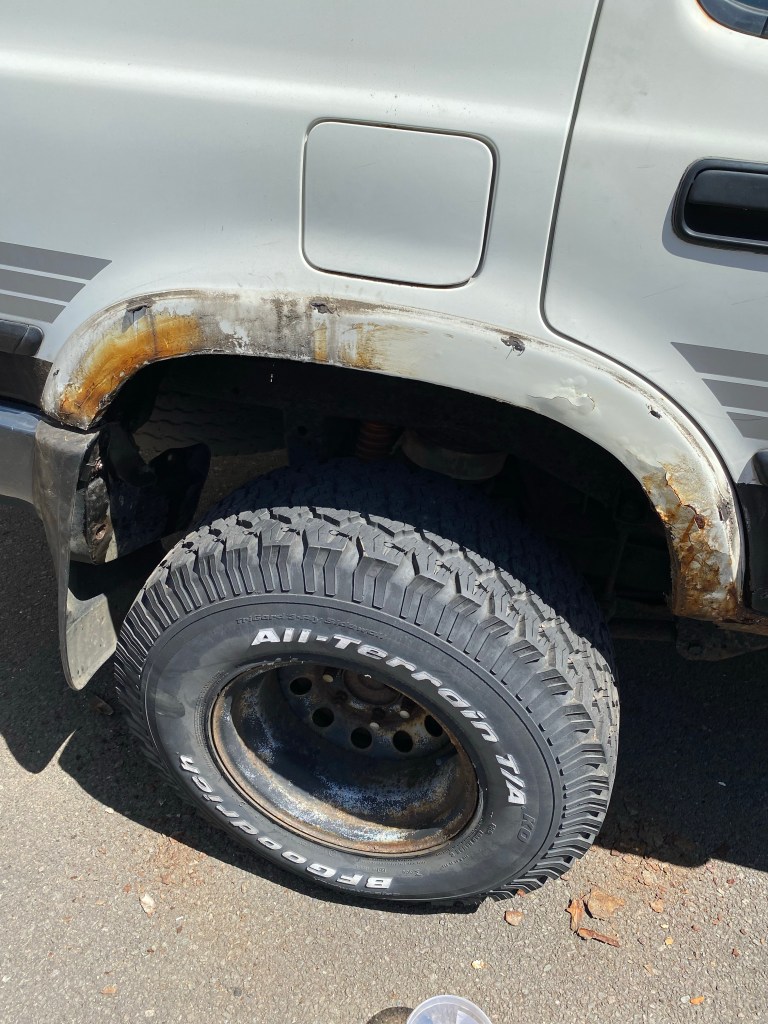
The Hole in front of the Offside Rear Wheel I hoped was the 2022 End of a Temporal Wormhole into which I could dive and travel back to 1994 and pick up some spare 4Runner Panels.
Still, it could be worse. Somehow. It could be that the rust was spread through to the inner panels, but I think with my Rose Tinted Spectacles on that it doesn’t go so deep, and can be repaired, it will just take [as George Harrison sang] Money, a whole lot of Spending Money to do it Right..
Until then, the Metal can breathe and dry up and perhaps drop some more on the driveway.

DeDecaled
The Side Decals were looking tired and in fact weren’t even straight in places, so I took this opportunity to removed them. Removing the Decals by hand, some adhesive residue remained; Goo Gone to the rescue. I have used this stuff too often to know how good it is. Spray, leave for a few minutes, and then rub off with a Cloth.
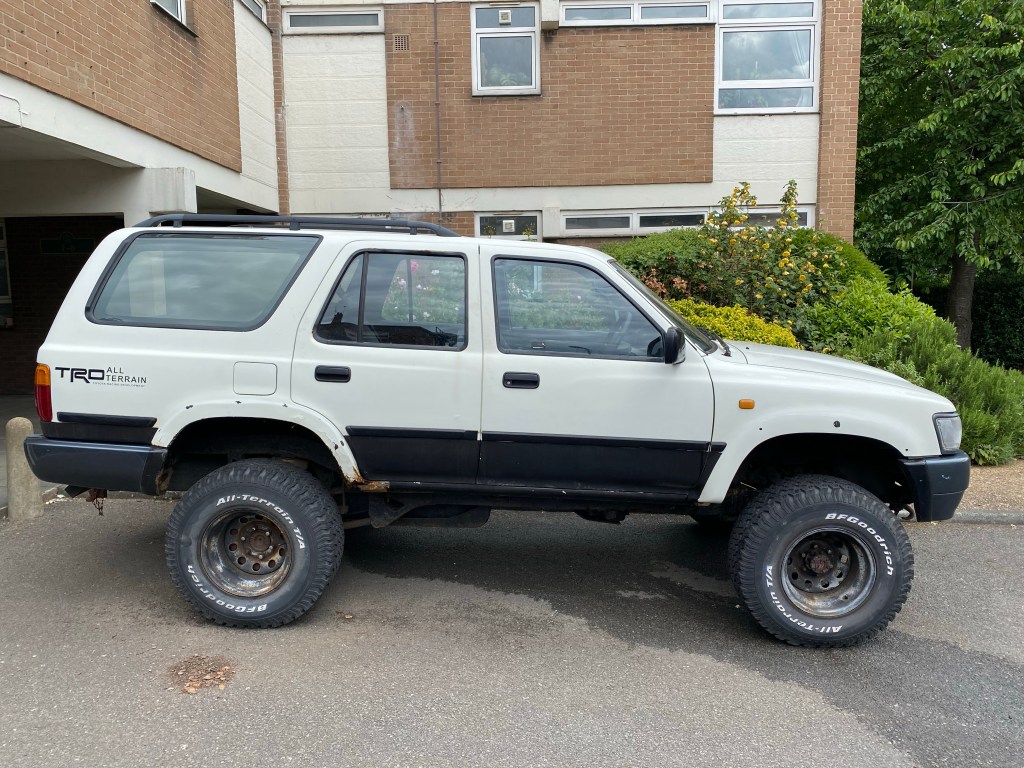
With the Decals removed, I decided with abandon to remove both the Collision Protective Rubber Strips and Raptor style Paint from as much of the Bodywork as possible; the latter despite the fact that the Body was to be Sand Blasted during the Restoration scheduled for July. I just like doing stuff.

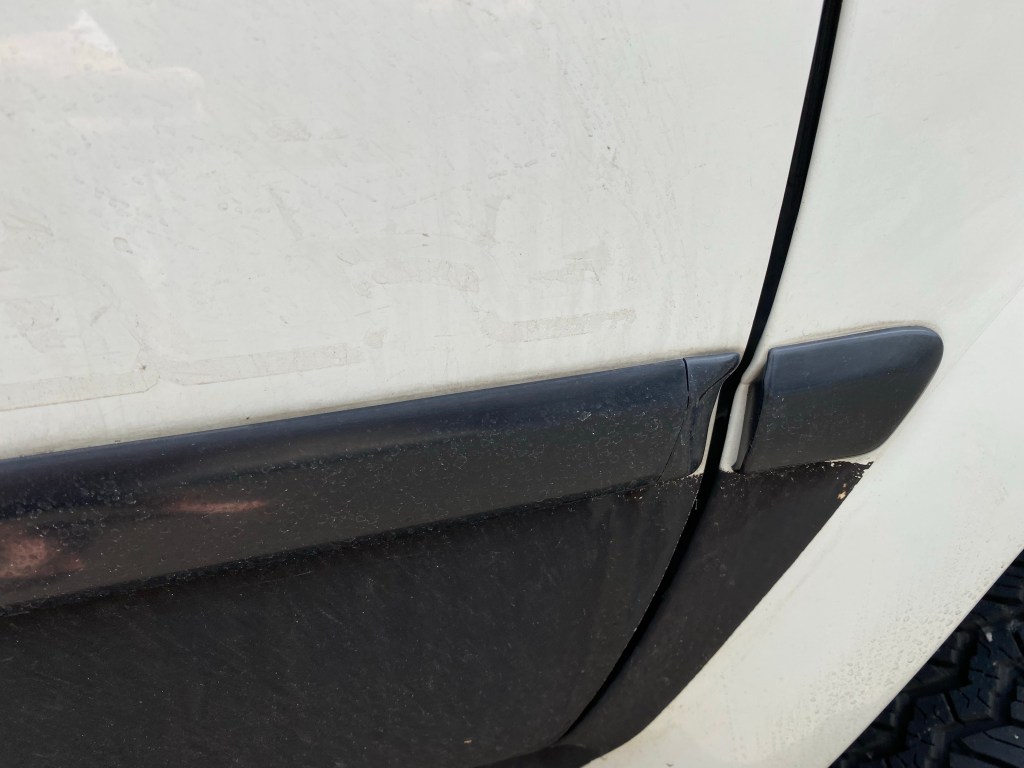
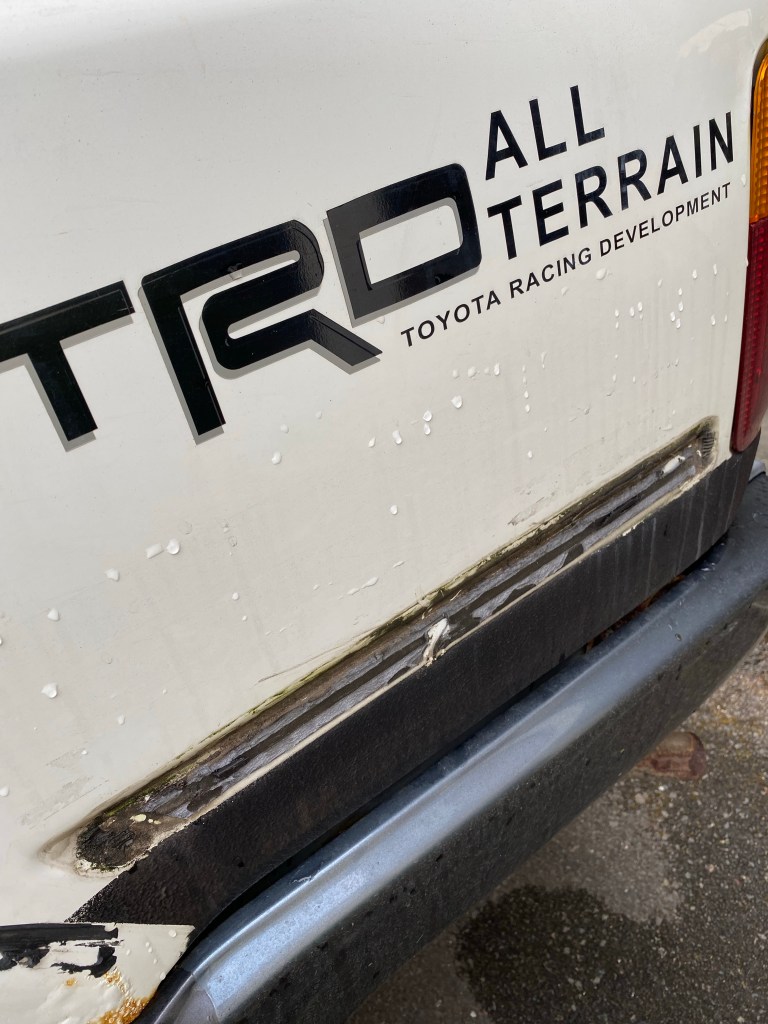
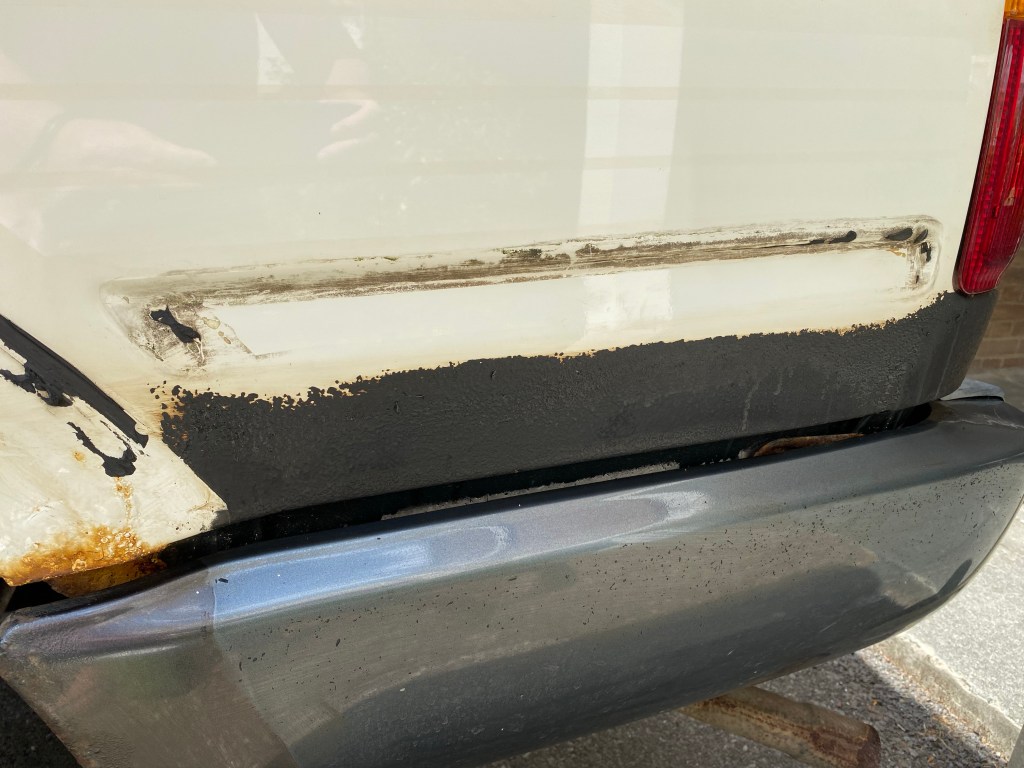
I was half expecting the Rubber Strips to be held in place by Plastic Clips, but fortunately they weren’t; unfortunately they had been held in place with Double Sided Foam Strips that seemed to have weathered the last <years since installation> years. Goo Gone to the rescue, and then something a little stronger when that failed.


I was hoping to use something environmentally considerate to remove the Raptor Paint, and succeeded with a Turpentine Substitute. What it lacked in Harsh Chemicals certainly required extra with Elbow Grease. Still, the end result was rewarding, and to my eternal happiness the Doors didn’t crumble under the applied pressure.
Next stop for the Beast is the Body Shop; aiming to drop it off during the first week of July. I shall of course document the if and when of that happening..!
Categories

One thought on “What Lies Beneath” Leave a comment ›