Spring Clean

No, I didn’t just clean the Springs.
In fact, I didn’t touch them, and they do need cleaning, but that will have to wait until the Chassis and Bodywork receives some intensive Rust Treatment later in the year.
This [perhaps premature] Spring Clean was just to get a few items ticked off the That Really Does Need Doing list, which has more bullet points than a Shooing Gallery.
Screening
I like a Clean Screen, so much so that I use more than my fair share of Screen Wash. You know the 4 Litre of Ready to Use you see on the forecourt of a Petrol Station..? Yeah, I buy them. Frequently.
Front Wiper replacement is a fairly standard affair, with the Wiper Blades readily available for £4 – 8 depending on the Discount Code currently on offer.
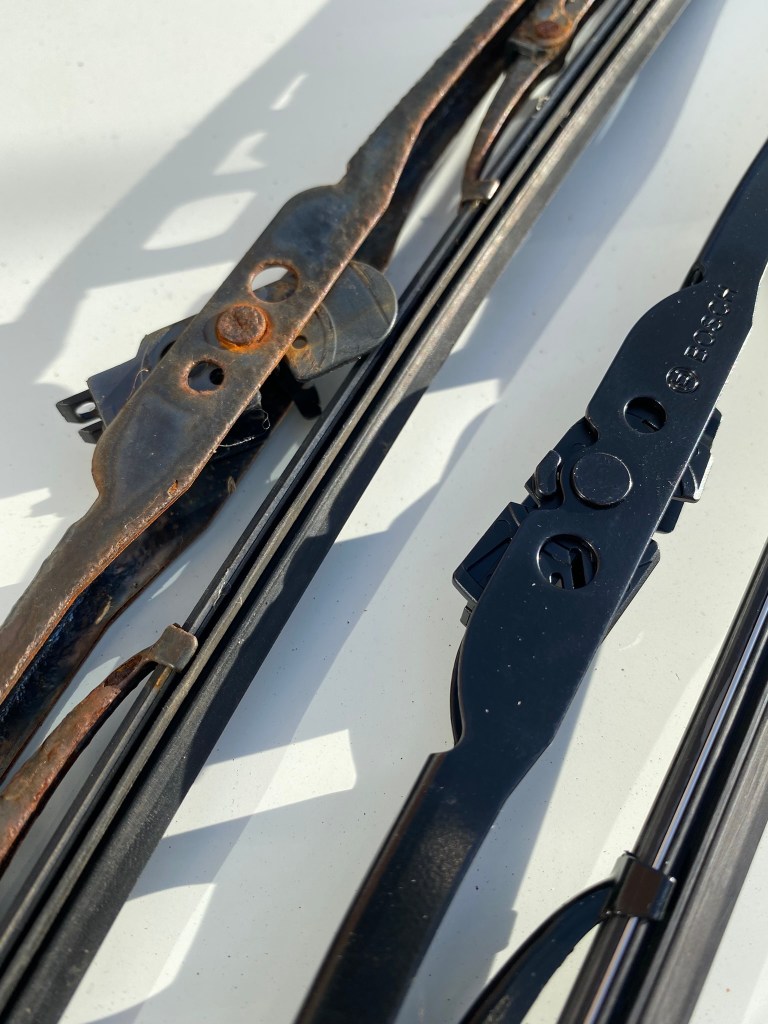
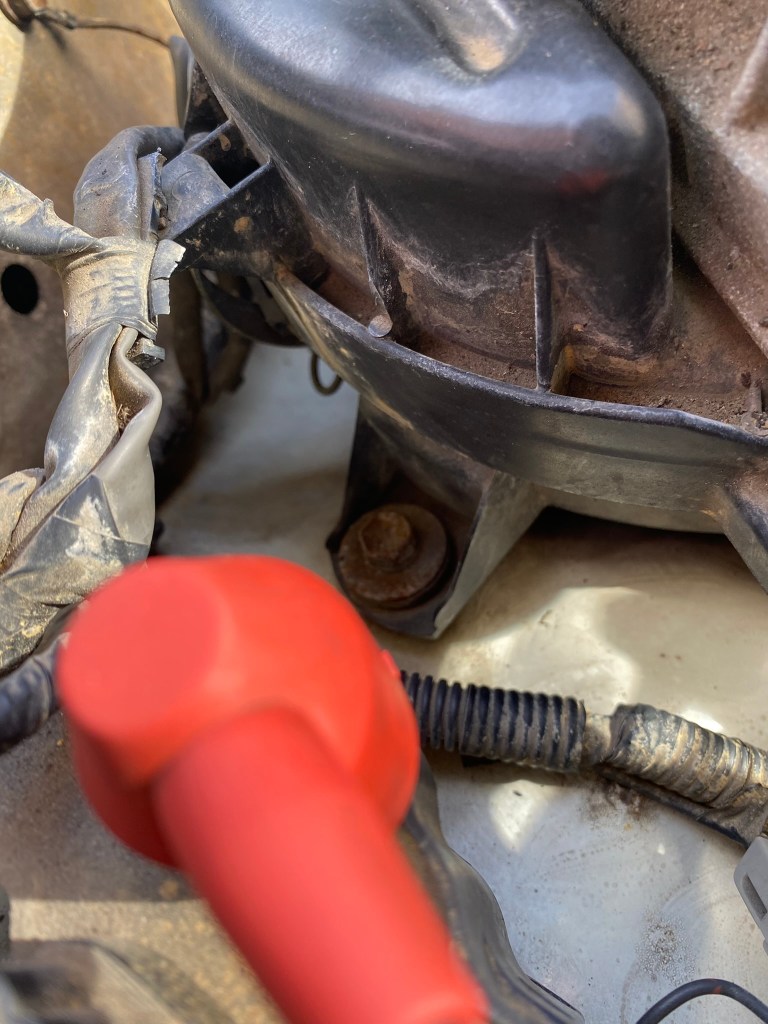
The Rear Wiper is a different number altogether. It is a bolt on unit specifically designed for the Toyota 4Runner & Surf family, part number 85220-22461. Roughtrax have it for £13.20. Top Tip: make sure you’re not swapping this out anywhere near a Drain as the Screws are not supplied with the new part, so make sure you hold on to the ones you are removing from the old unit.
Engine Bay
The 4Runner had a filthy Engine Bay, to the point where it looked as though it had never been cleaned. Perhaps it hadn’t, I have no idea. Have a look at this..
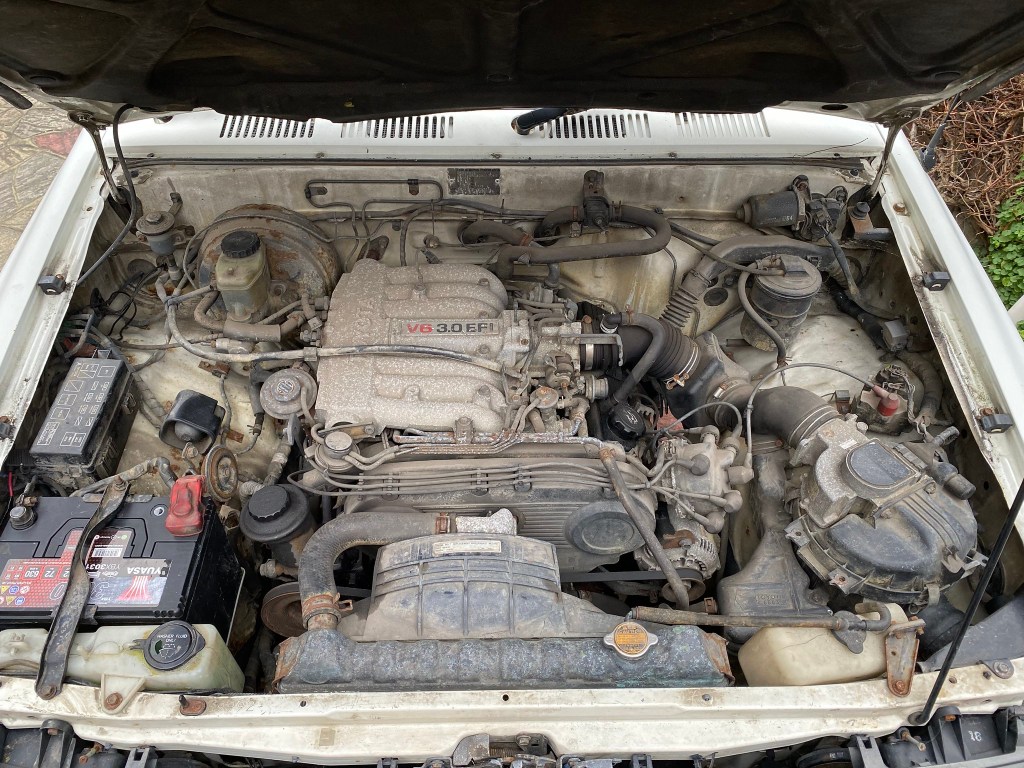
Eesh.. I am almost embarrassed uploading that.
Anyways, you can’t just hose down an Engine Bay, you need to clean parts in a particular order and in a particular way, and because I didn’t really know of this order or way I consulted the Knowledge Pool that is You Tube and found Chris Fix’s How to Super Clean your Engine Bay tutorial.
I won’t list out what he imparts in this Video, because it really is worth watching if you intend to go anywhere near an Engine Bay with a Sponge [f.y.i. you do not use a Sponge].
After an hour, possibly longer, possibly much longer, the 4Runner’s Engine Bay looked vaguely presentable. I was pretty pleased with my efforts, and I only partly destroyed one toothbrush; I just hope after reading this that my Fiancee doesn’t find out it was hers.
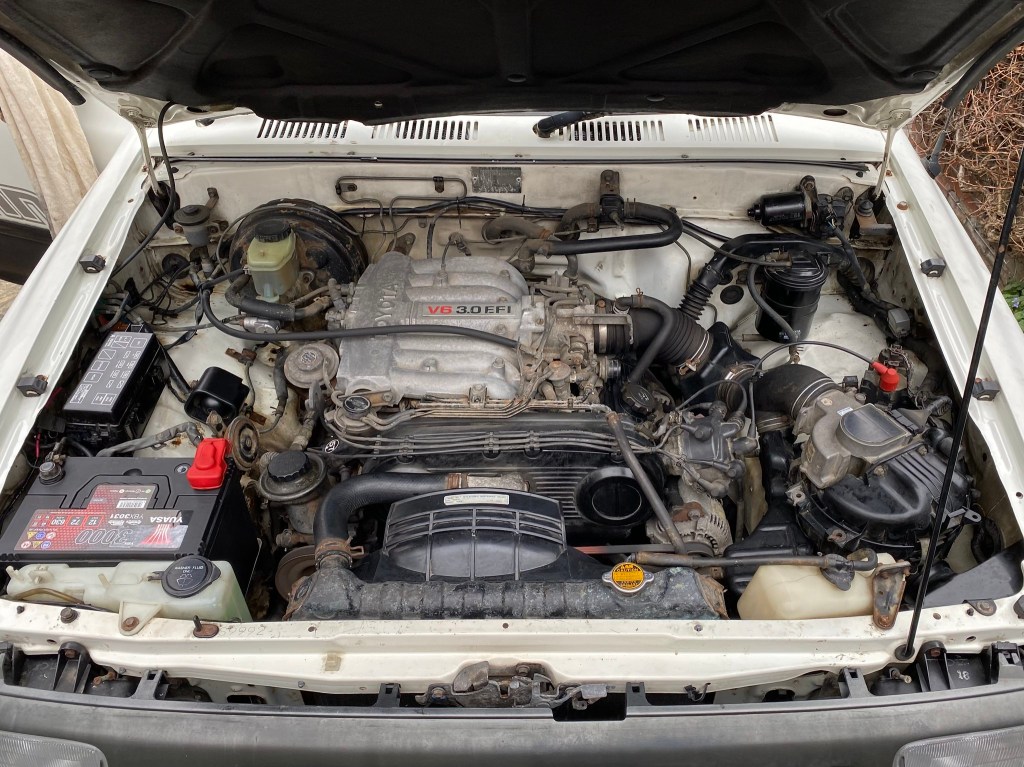
I even did the bit with a Wire Brush to the aluminium Intake, although it did remind me that I really need a Dremel in my Toolbox.
Battery reconnected, and the Beast fired up without hesitation; perfecto..
Fresh Air
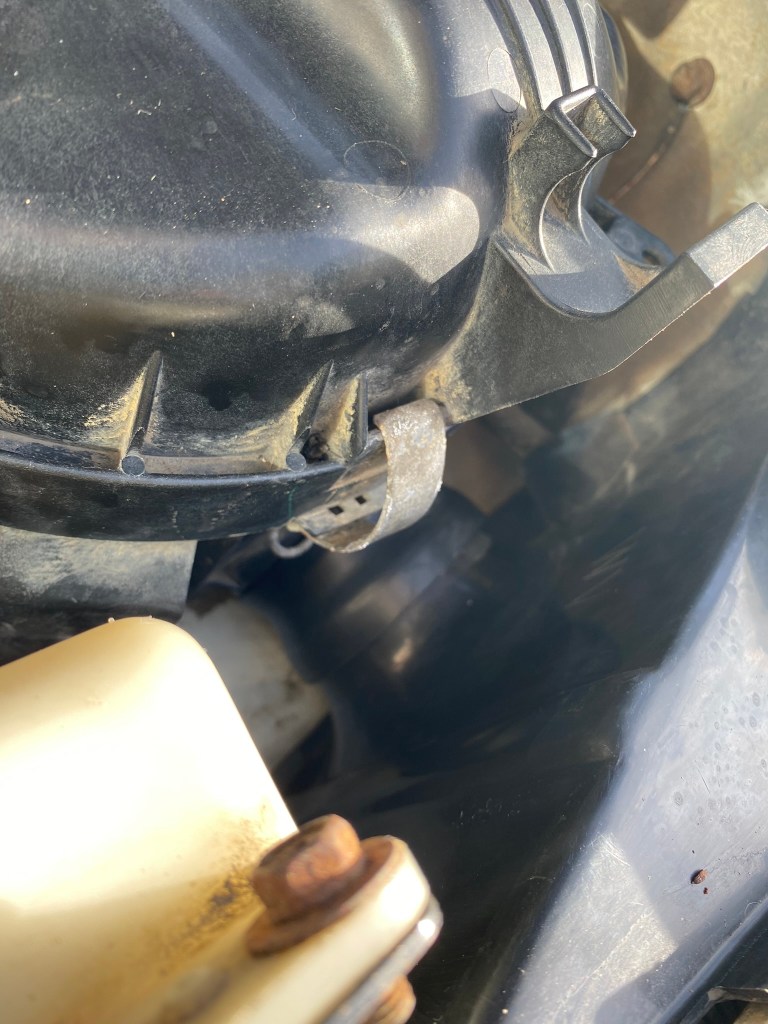
Not much point in having a Clean Engine Bay if the Air getting into the Intake Manifold is filthy, right..? I thought I’d best take a look at the Air Filter.
Simple procedure to remove the Filter; three equidistant clips and bingo, you can pull it out without much trouble. In the Engine Bay photo above, it’s the unit bottom right with the large Hose coming off it at about 11 O’Clock.
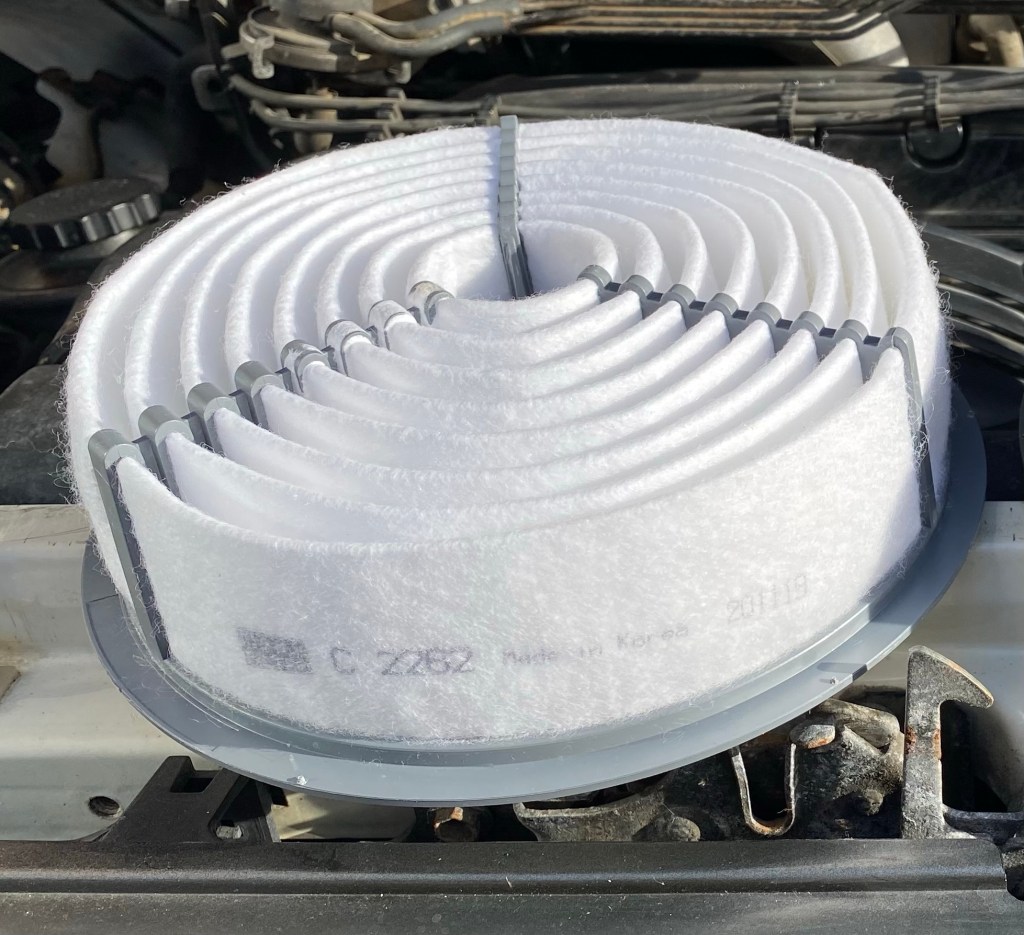
Pulling the old one out, I wondered if any Air was actually getting through it, the Air Filter looked like the Hoover Bag from a Student House.
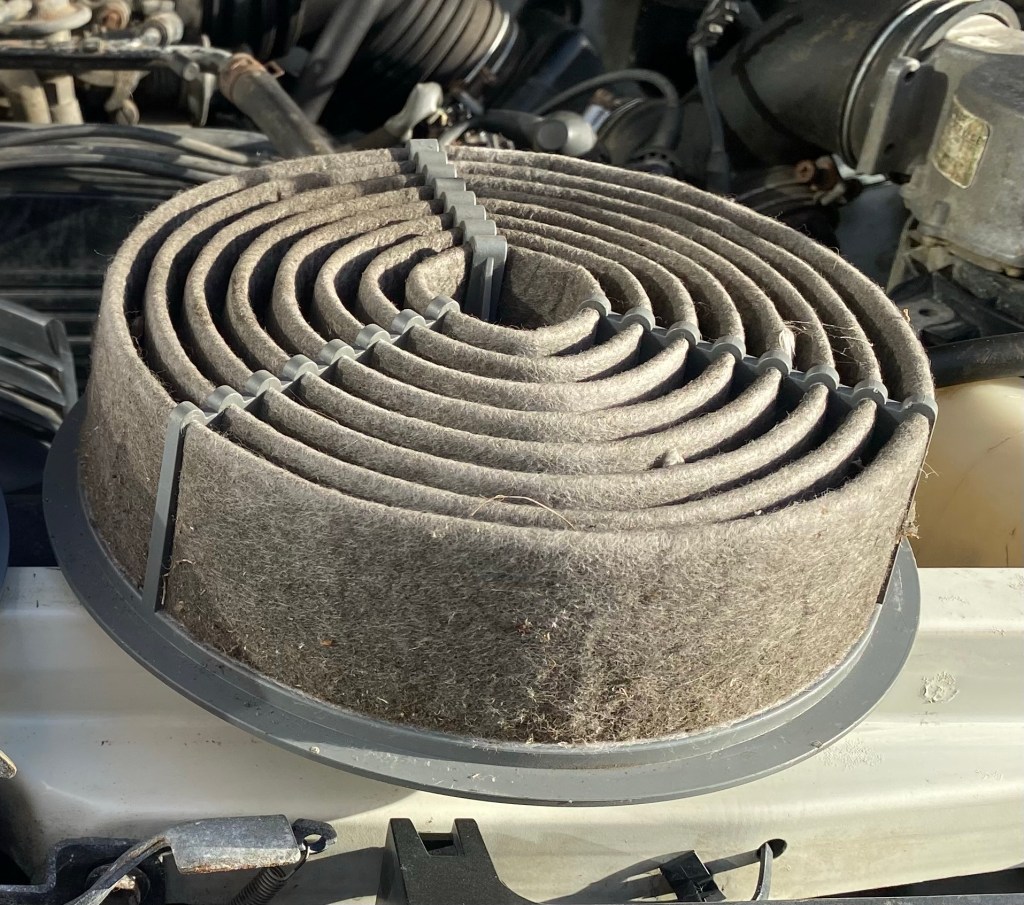
It might not have been so shocking had the new Air Filter not been in my Left Hand for comparison; the difference was like Rod Stewart and Cliff Richard standing side by side.
I wondered if a coupla Horses might be released from the Beast, I could at least imagine they had been.
Bonnet shut, the Spring Clean Service was complete. It is such a pleasing Vehicle to work on; simple, mechanical and perhaps more rewarding than all was the economy of it.
Categories
