Cosmetics

Having driven a few Hundred Miles since the Purchase, I thought I’d get stuck in to making a few cosmetic changes to the Pig..
Unleded
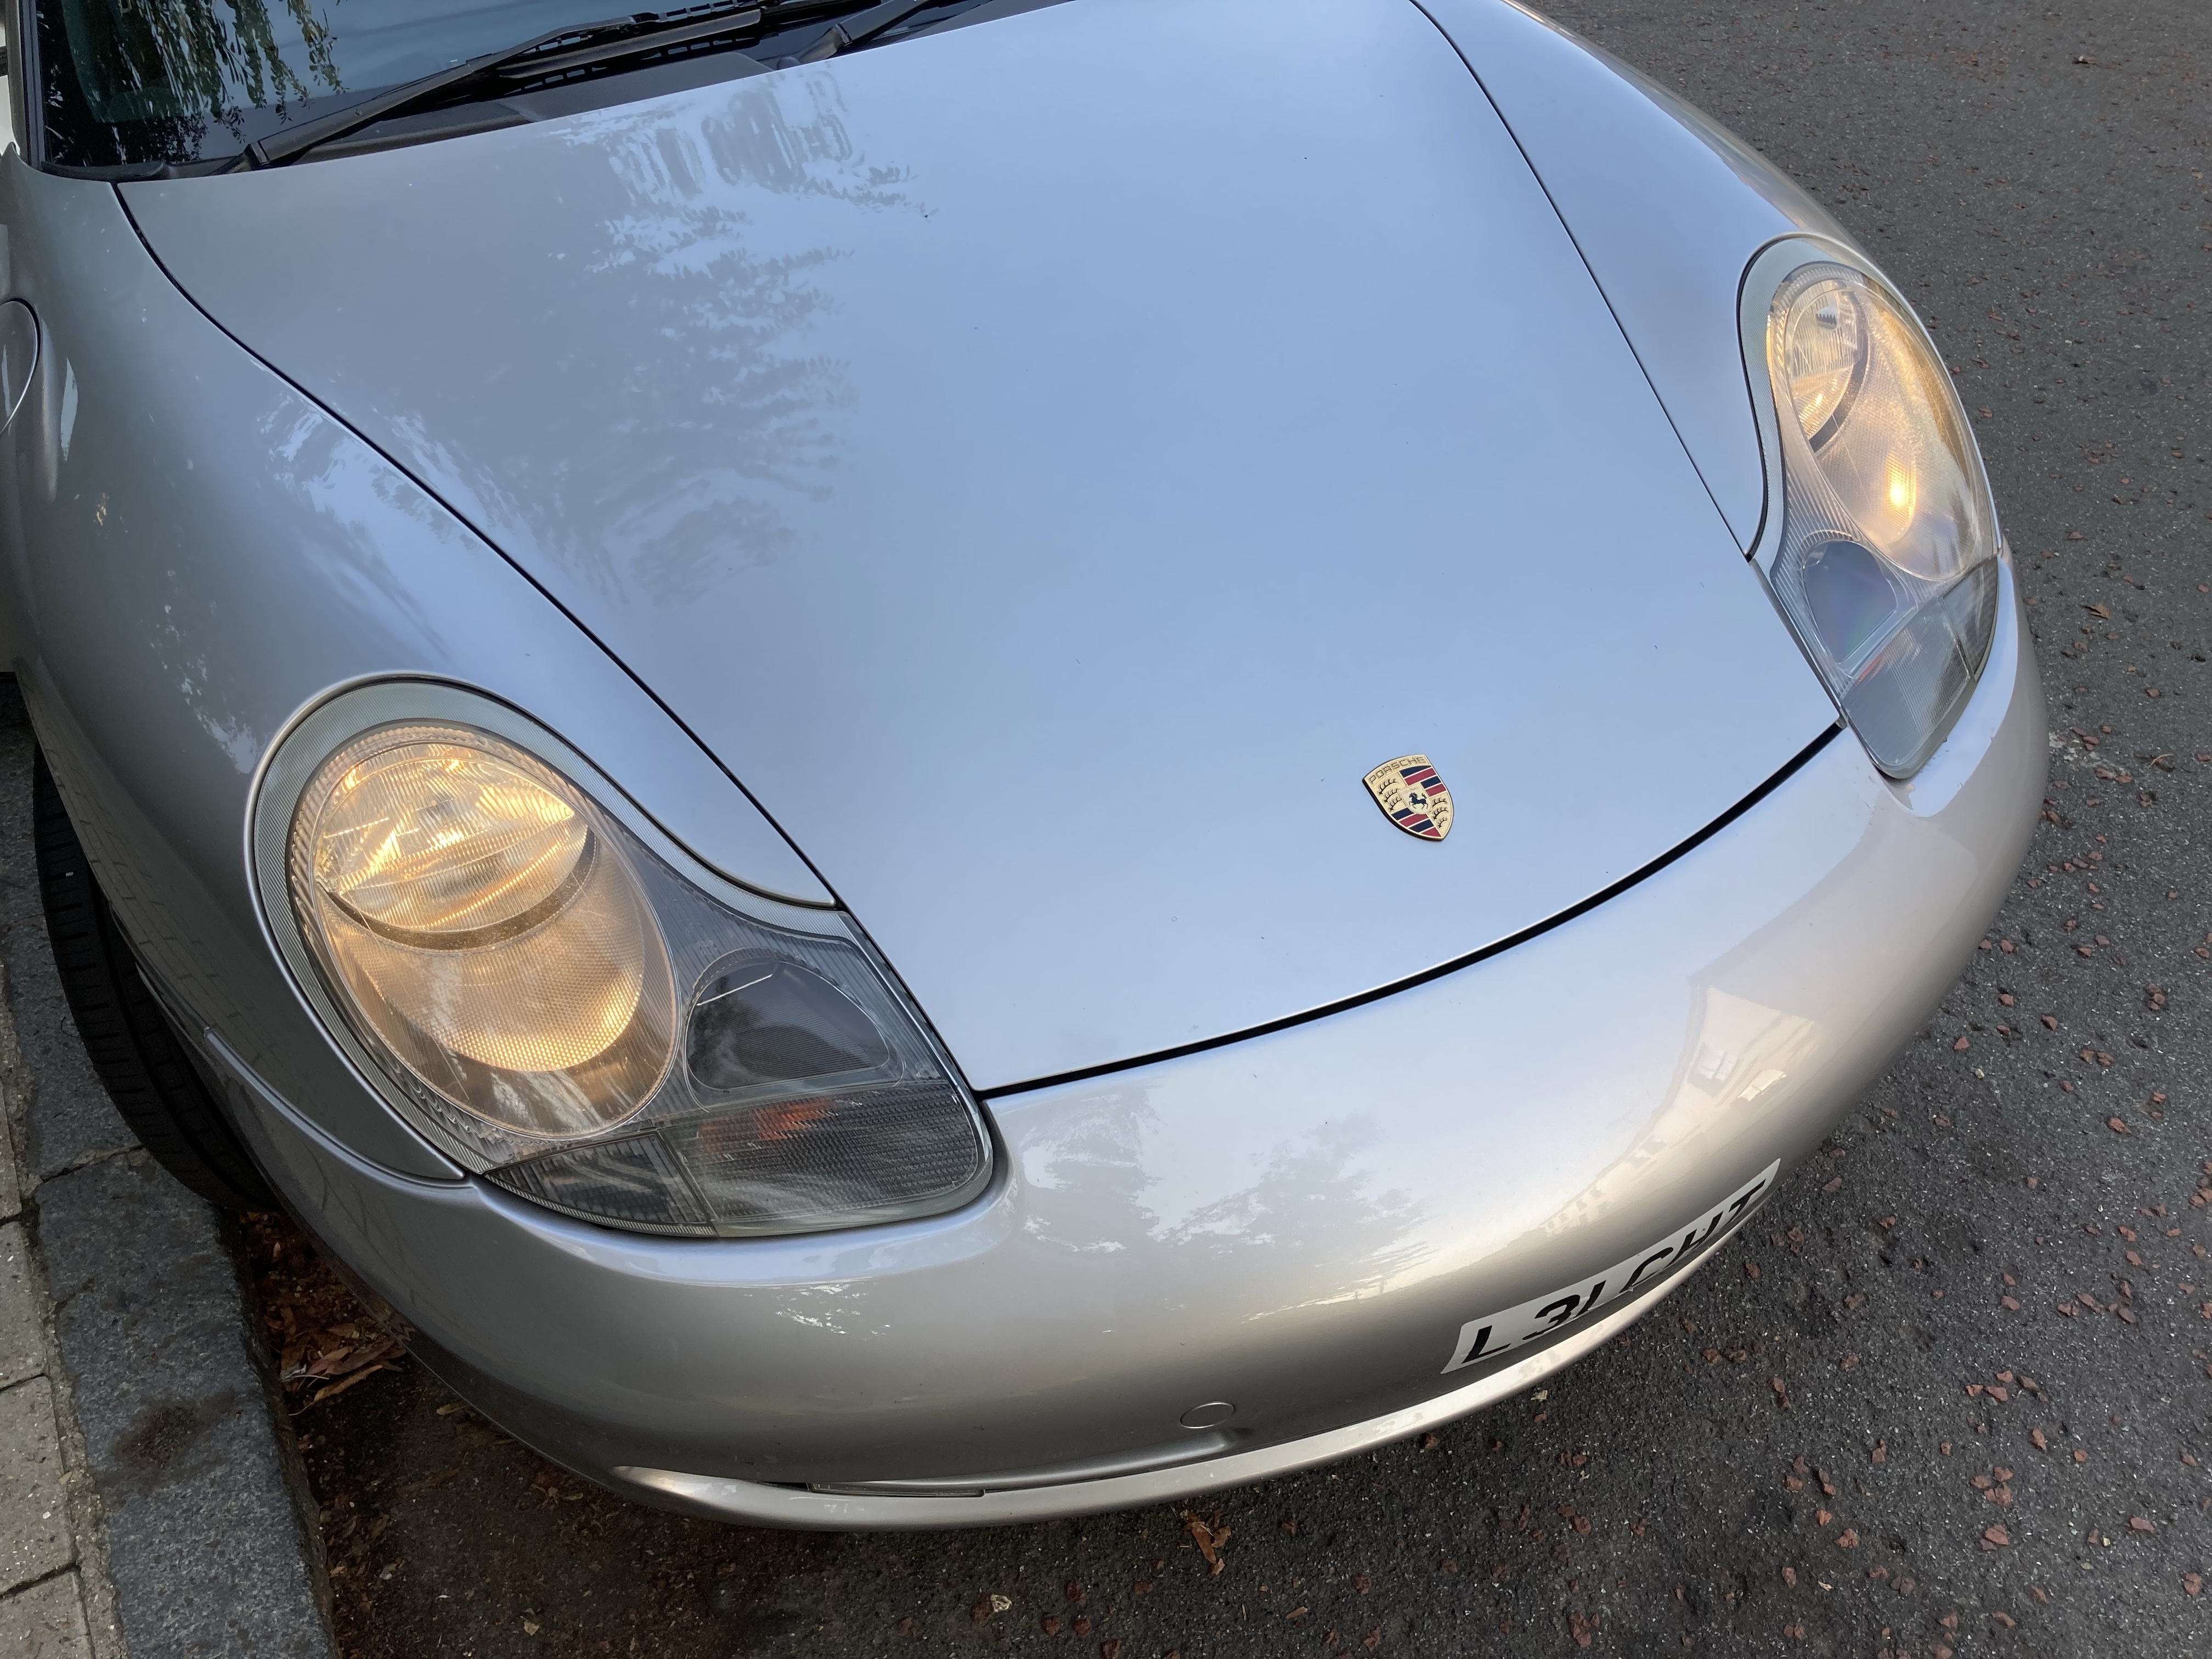
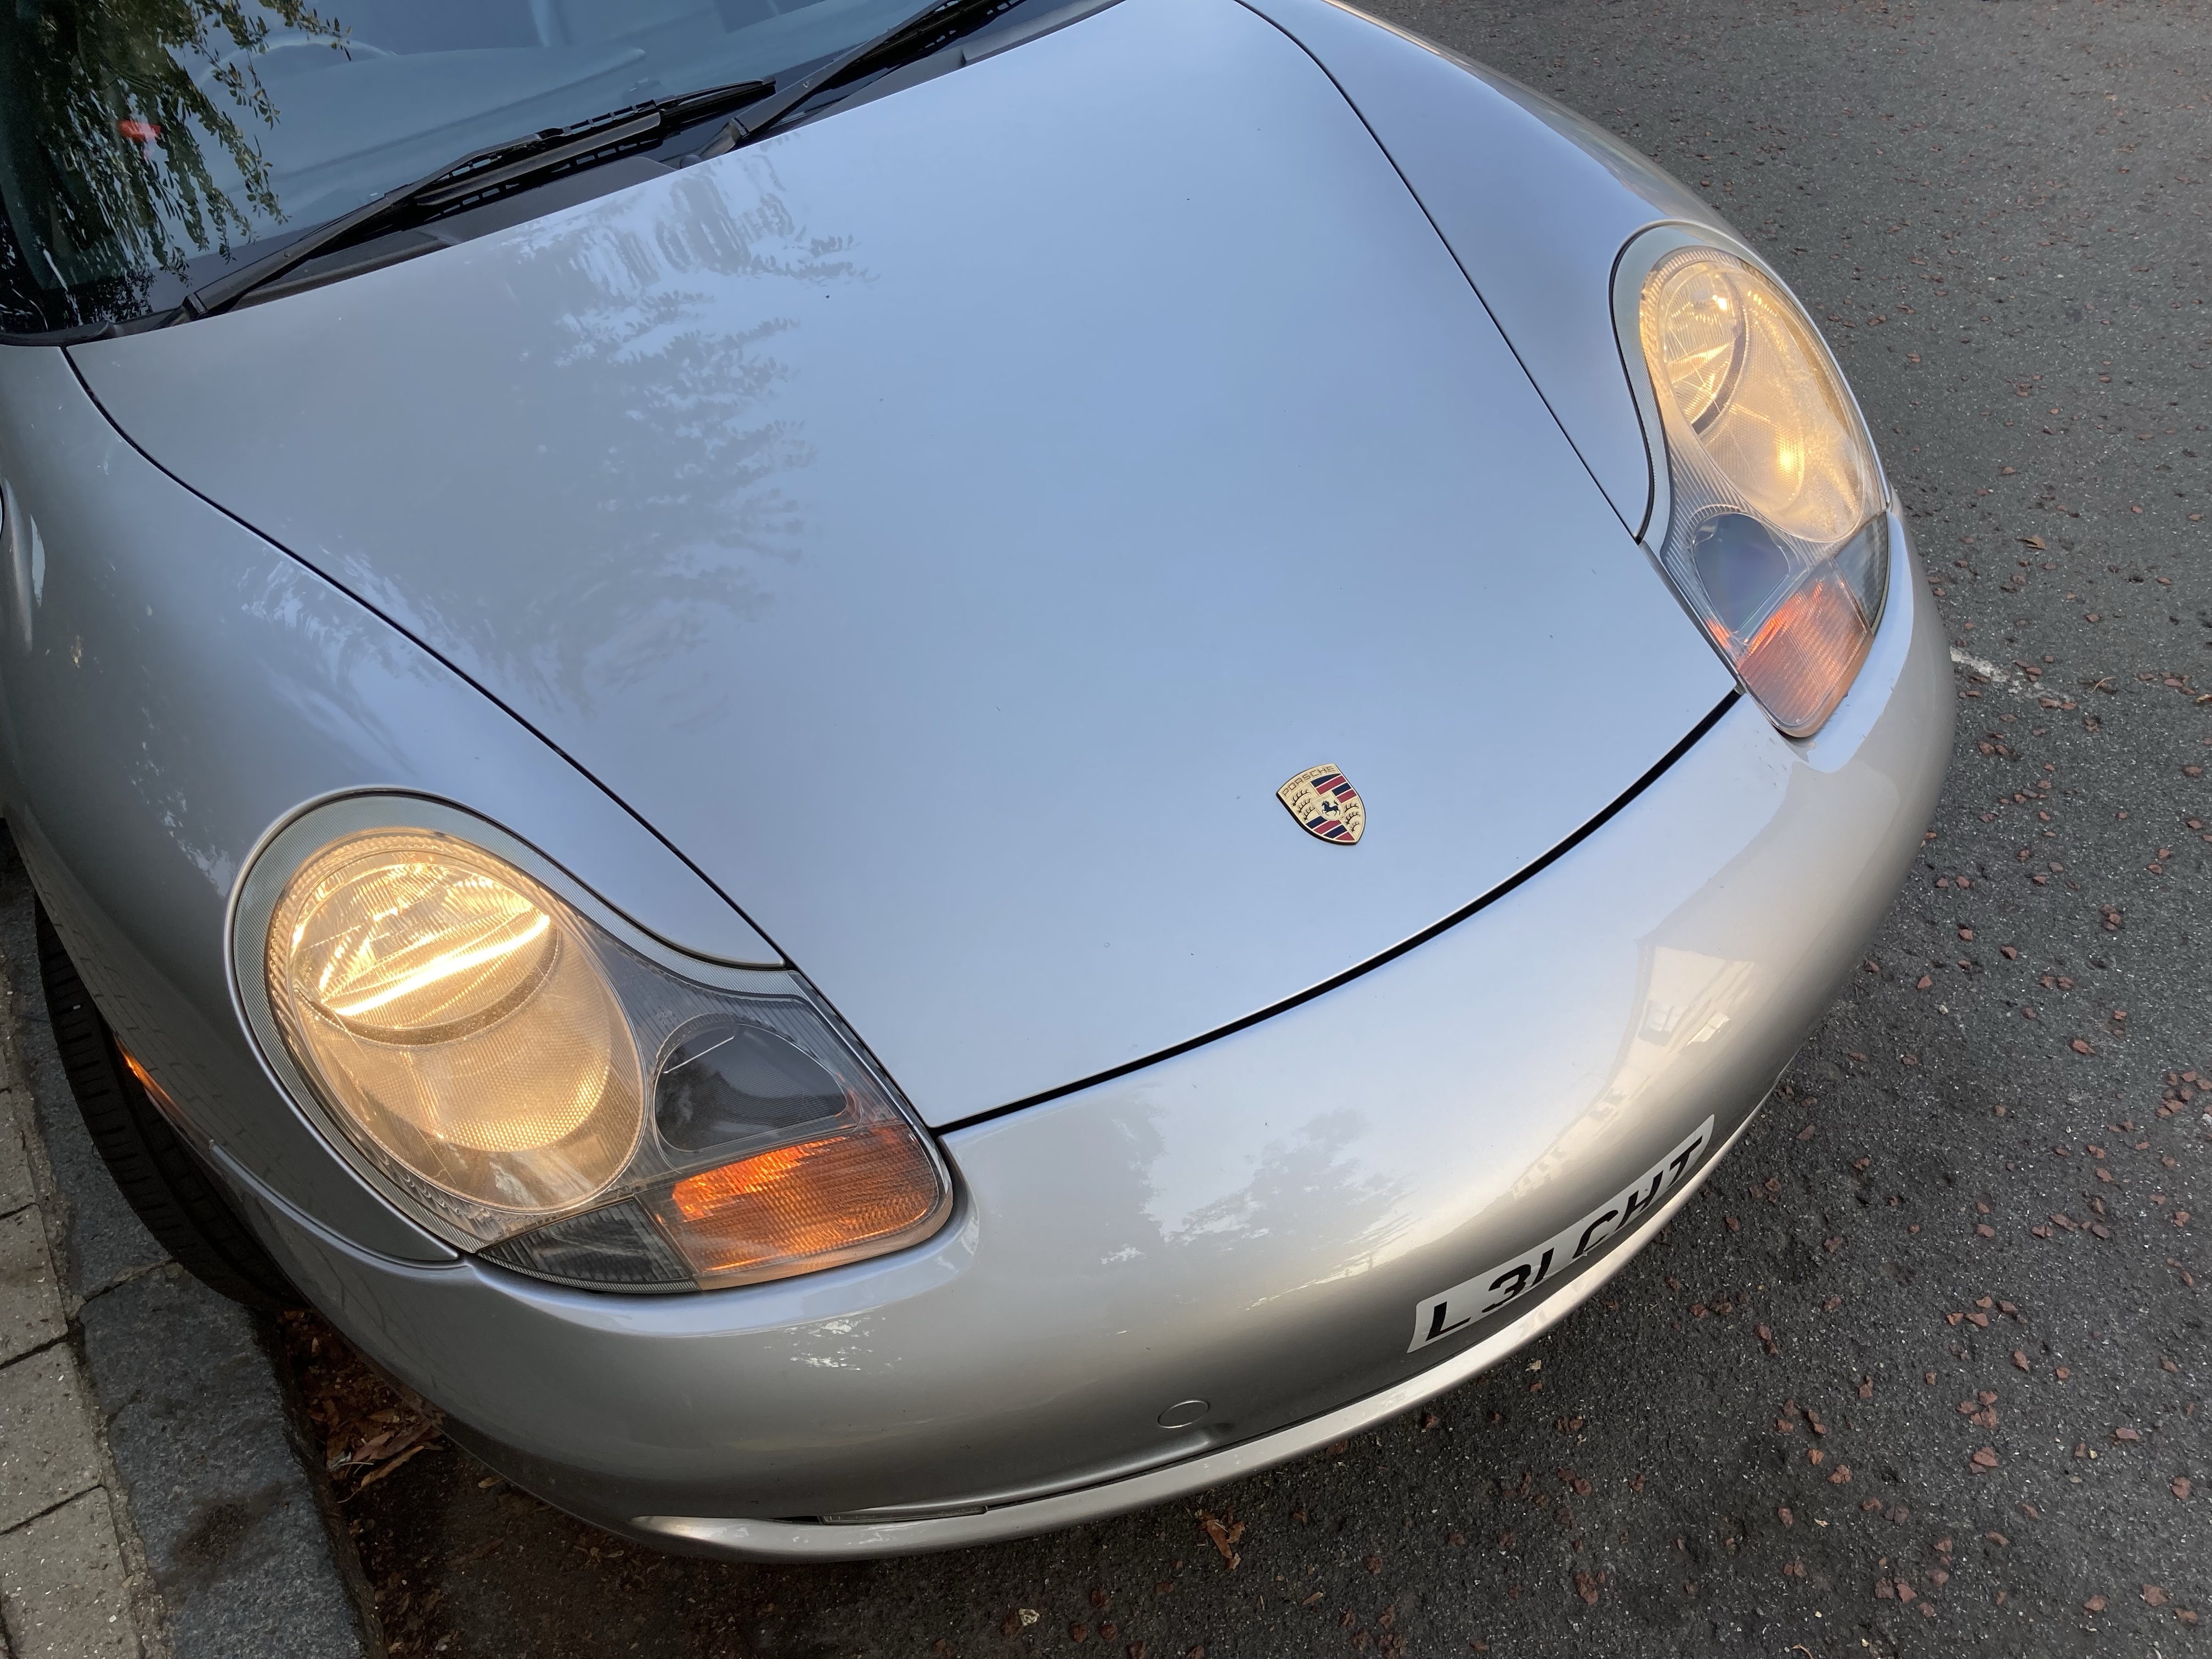
As I said before, I had to look beyond Those Headlights when I zeroed in on the 996..
I understand, sympathise even, the need or desire to upgrade Headlights. My 993 had a HID Conversion done by a Previous Owner and I have to admit that I liked it; I also upgraded Side and Rear Lights to LED. Brighter, Clearer, Safer. But the LED Conversion on the 996 just doesn’t do it for me despite the obvious Safety Improvement.
Vorderseite
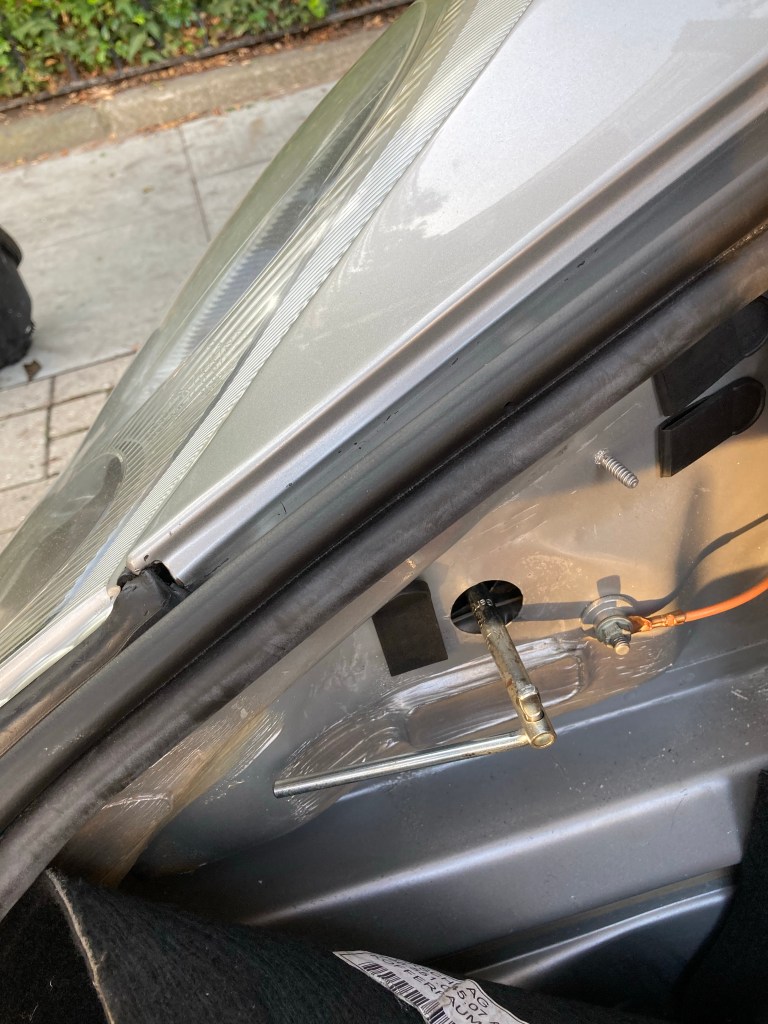
I was nervous about reverting them back to the OEM Units however, because somehow I had imagined the process to be typically Porsche; experience gained during my 993 ownership perhaps..? However, when I asked the World Wide Web how to remove a Porsche 996’s Headlights I was rewarded with some refreshingly simplistic instructions, which I shall now impart.
- Open “Frunk” and starting with the Offside, pull away the Carpet to expose a large Rubber Grommet; remove that Grommet.
- Dig in to your Porsche 996 Toolkit and pull out the Hex Socket.
- Slot Hex Socket into Hole revealed from pulling the Grommet and twist Clockwise [Offside] or Anti Clockwise [Nearside] a quarter turn.
- Headlight Unit will become loose in the Fender/Wing. Pull forward with care.
- Remove entirely.


Once out, you can have a bit of a clean of that space, as required. Mine seemed pretty good as was. Installing the OEM Headlight is a reversal of removal.
- Be sure that you have left the retaining bar [rotated by the Hex Socket] in the down position as shown in the last of the photos above.
- You’ll need to locate three male tongues into their female grooves accordingly; one on the inside edge, two on the outside.
- Push the Headlight Unit into place, twisting the Socket in the opposite direction to which it was turned during removal.
- Remove Hex Socket, replace Grommet, replace Carpet.
- Repeat process for the Nearside.


There, not so difficult was it? Important at this stage that you check all the Bulbs work etc. Side, Main, Full & Indicators.

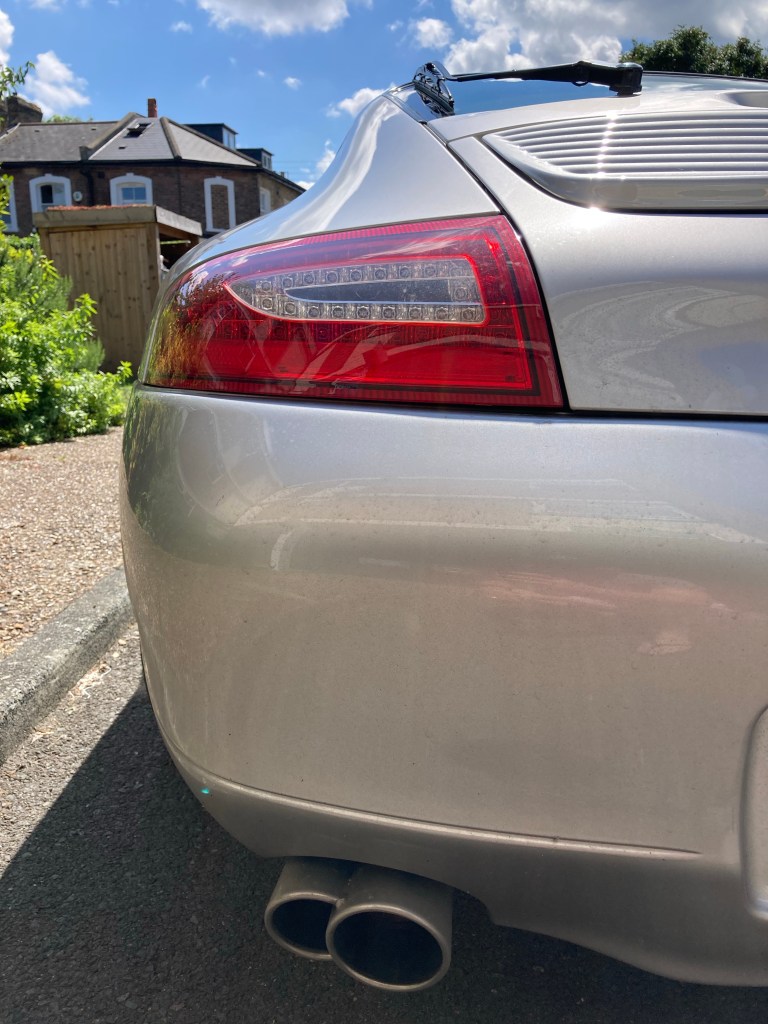
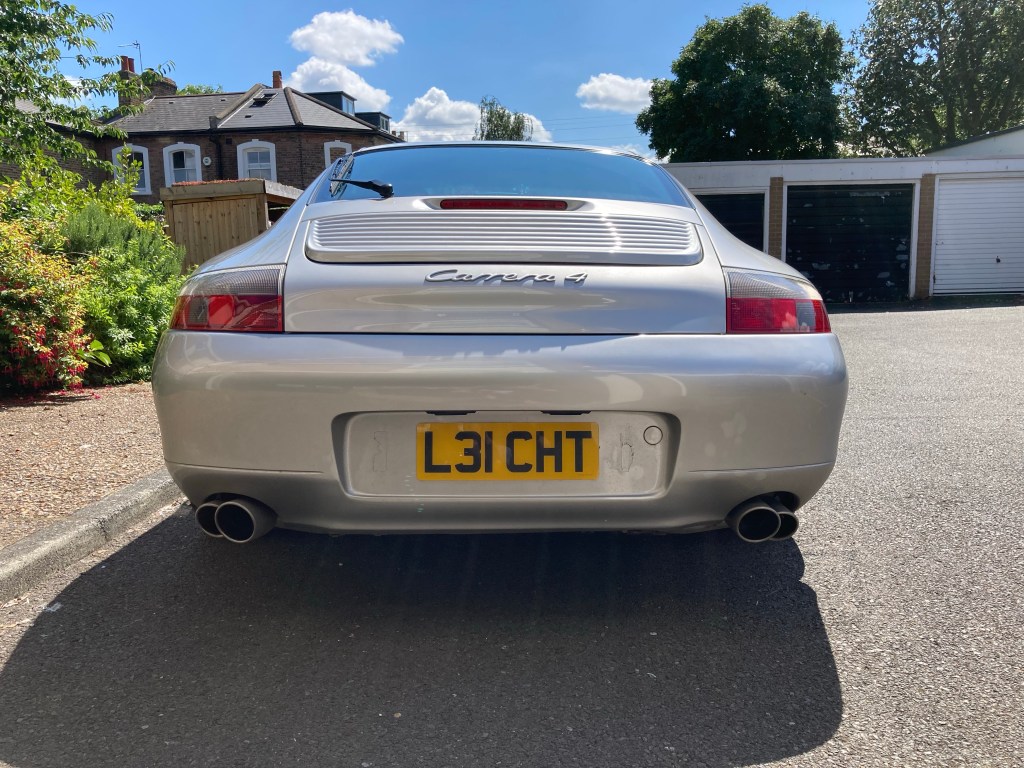
Rückseite
If I thought the Fronts were easy, wait until I swapped out the Rears.. Except it wasn’t that easy, or inexpensive. The Rear LED units required some Electric-ziggery to regulate the Voltage into them which had meant that the Loom had been modified to suit.

So, new Looms it was, and at £300 for the set, a Stiff Drink was warranted. Then in that Drunken Haze I realised that I could sell the Modified Looms for a premium with the LED Lights. So I had another Stiff Drink in celebration.
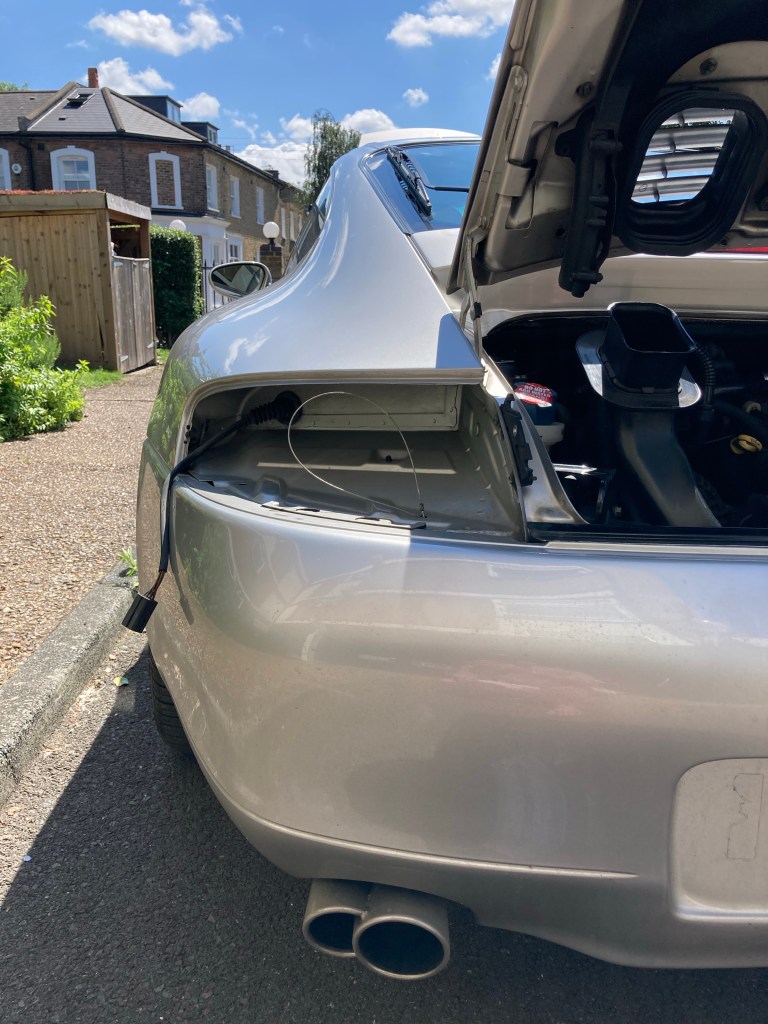
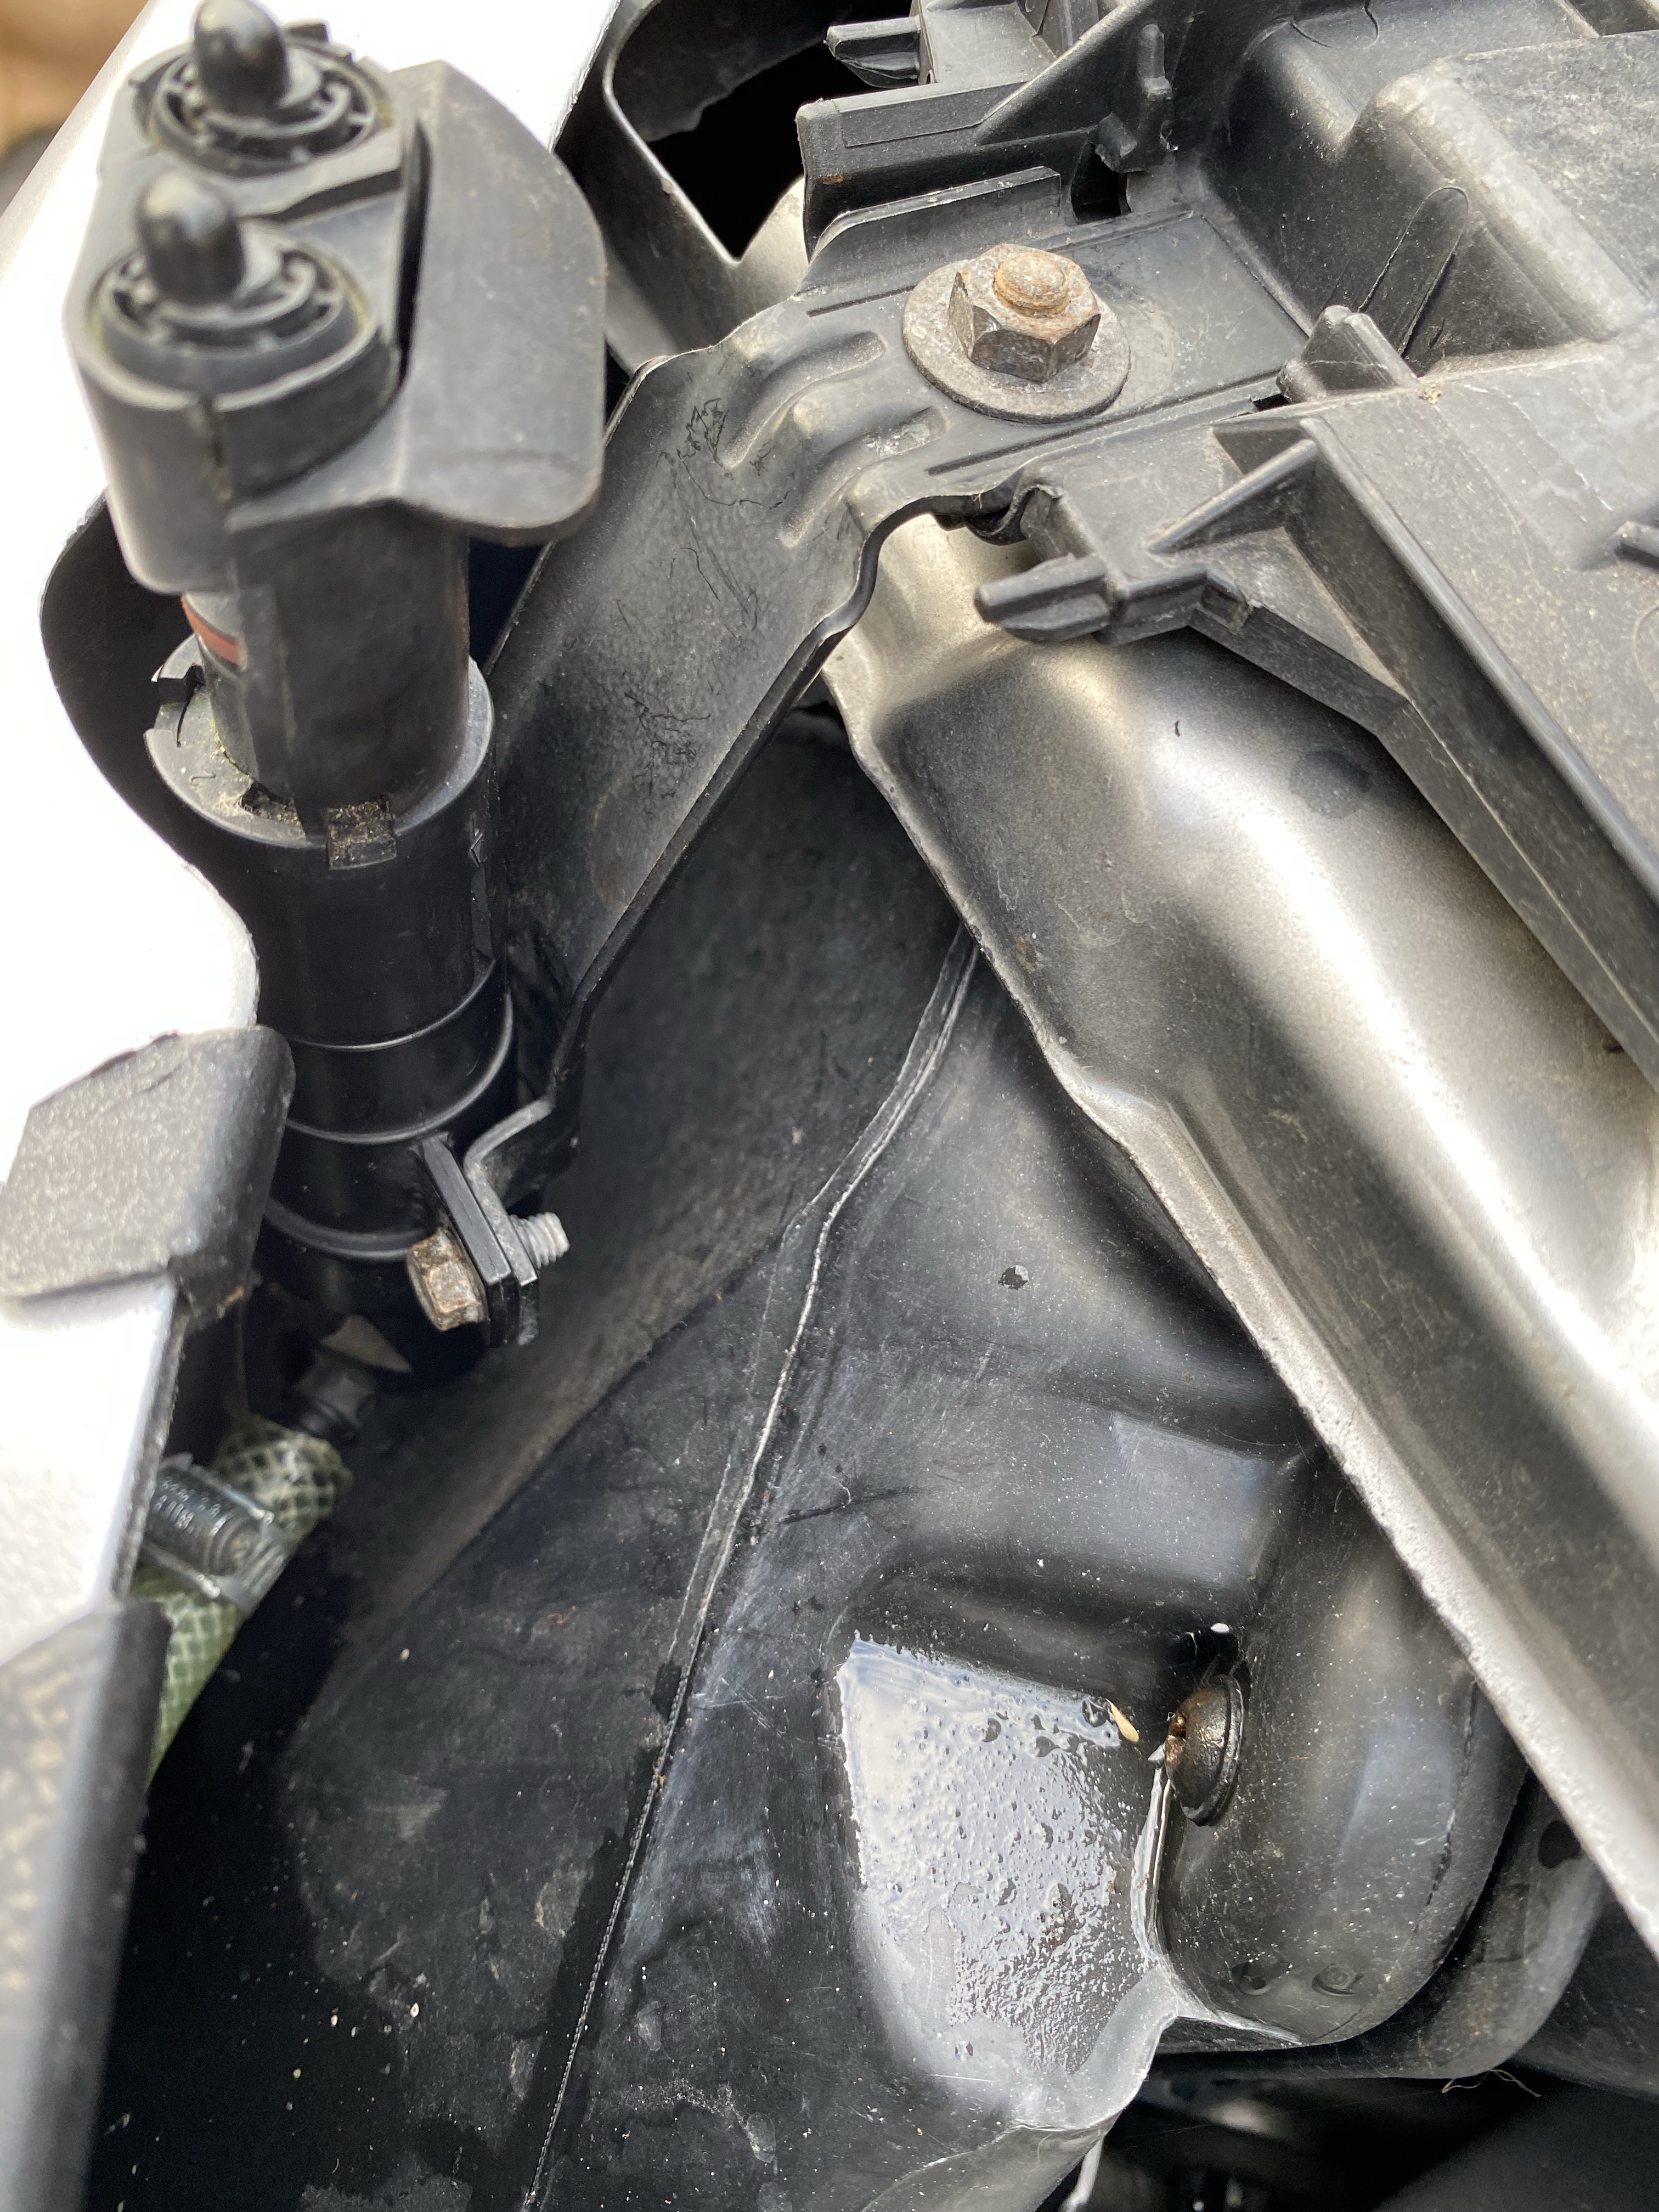
Removal and installation is a simple four step procedure:
- Open Engine Lid and remove the 10mm retaining bolt.
- Slide the Light Unit rearward and disconnect the main Loom socket.
- Connect the Loom to the assembled in-going Light Unit.
- Thread and tighten the 10mm retaining bolt into the Unit. Bingo.
Don’t forget, once again, to test the Bulbs. I used my Steering Lock to depress the Brake Pedal whilst I checked it’s illumination.


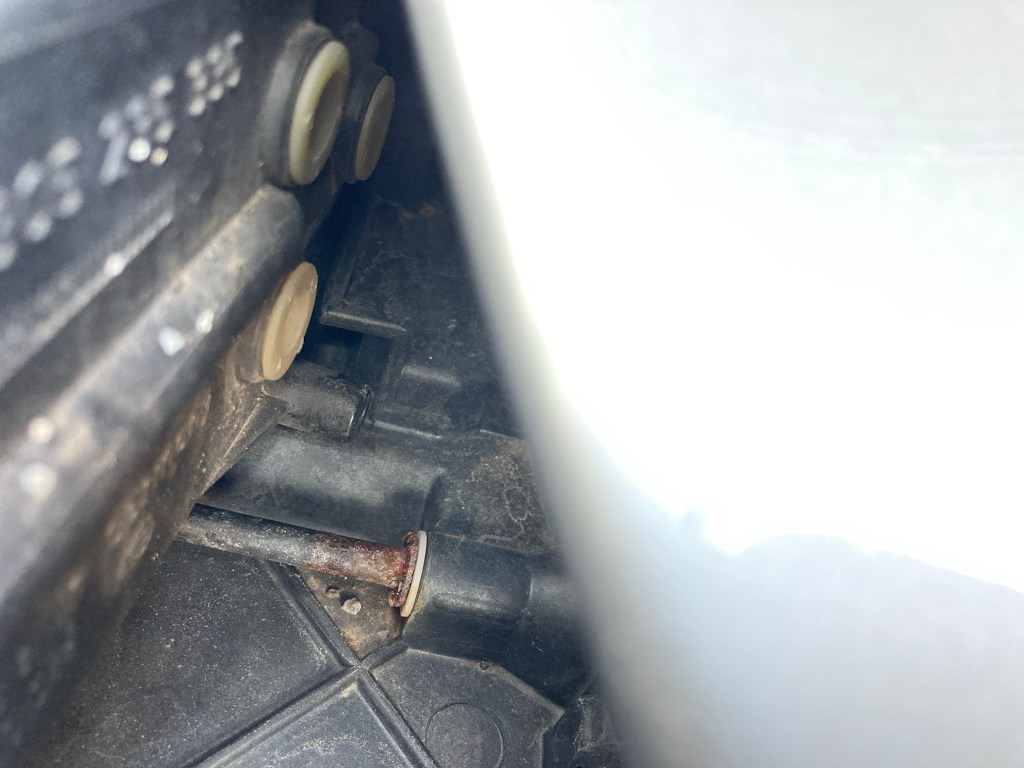
Scheinwerferwaschanlagen
Whilst removing the Headlights [and subsequently referring to the Build Sheet], I discovered that my 996 features the Headlight Washing specification, so wanted to reinstate those. They had been [rather agriculturally] capped.

The Washers were not supplied with the Car unfortunately, so Ebay it was, and a set purchased for £72. Which was a good thing, since a new set will cost £320 and I was not keen on so many Stiff Drinks this early into Ownership. Also required was a set of the Brackets that hold the Washers in place; Ebay again, for a used pair at £16.95 so still not reaching for that Bottle. Lastly however, the Headlamp port parts that allow the Washers to peak through. These were new at £33.68. Each. Before VAT. “I’ll have Ice with that Drink please Bartender..”
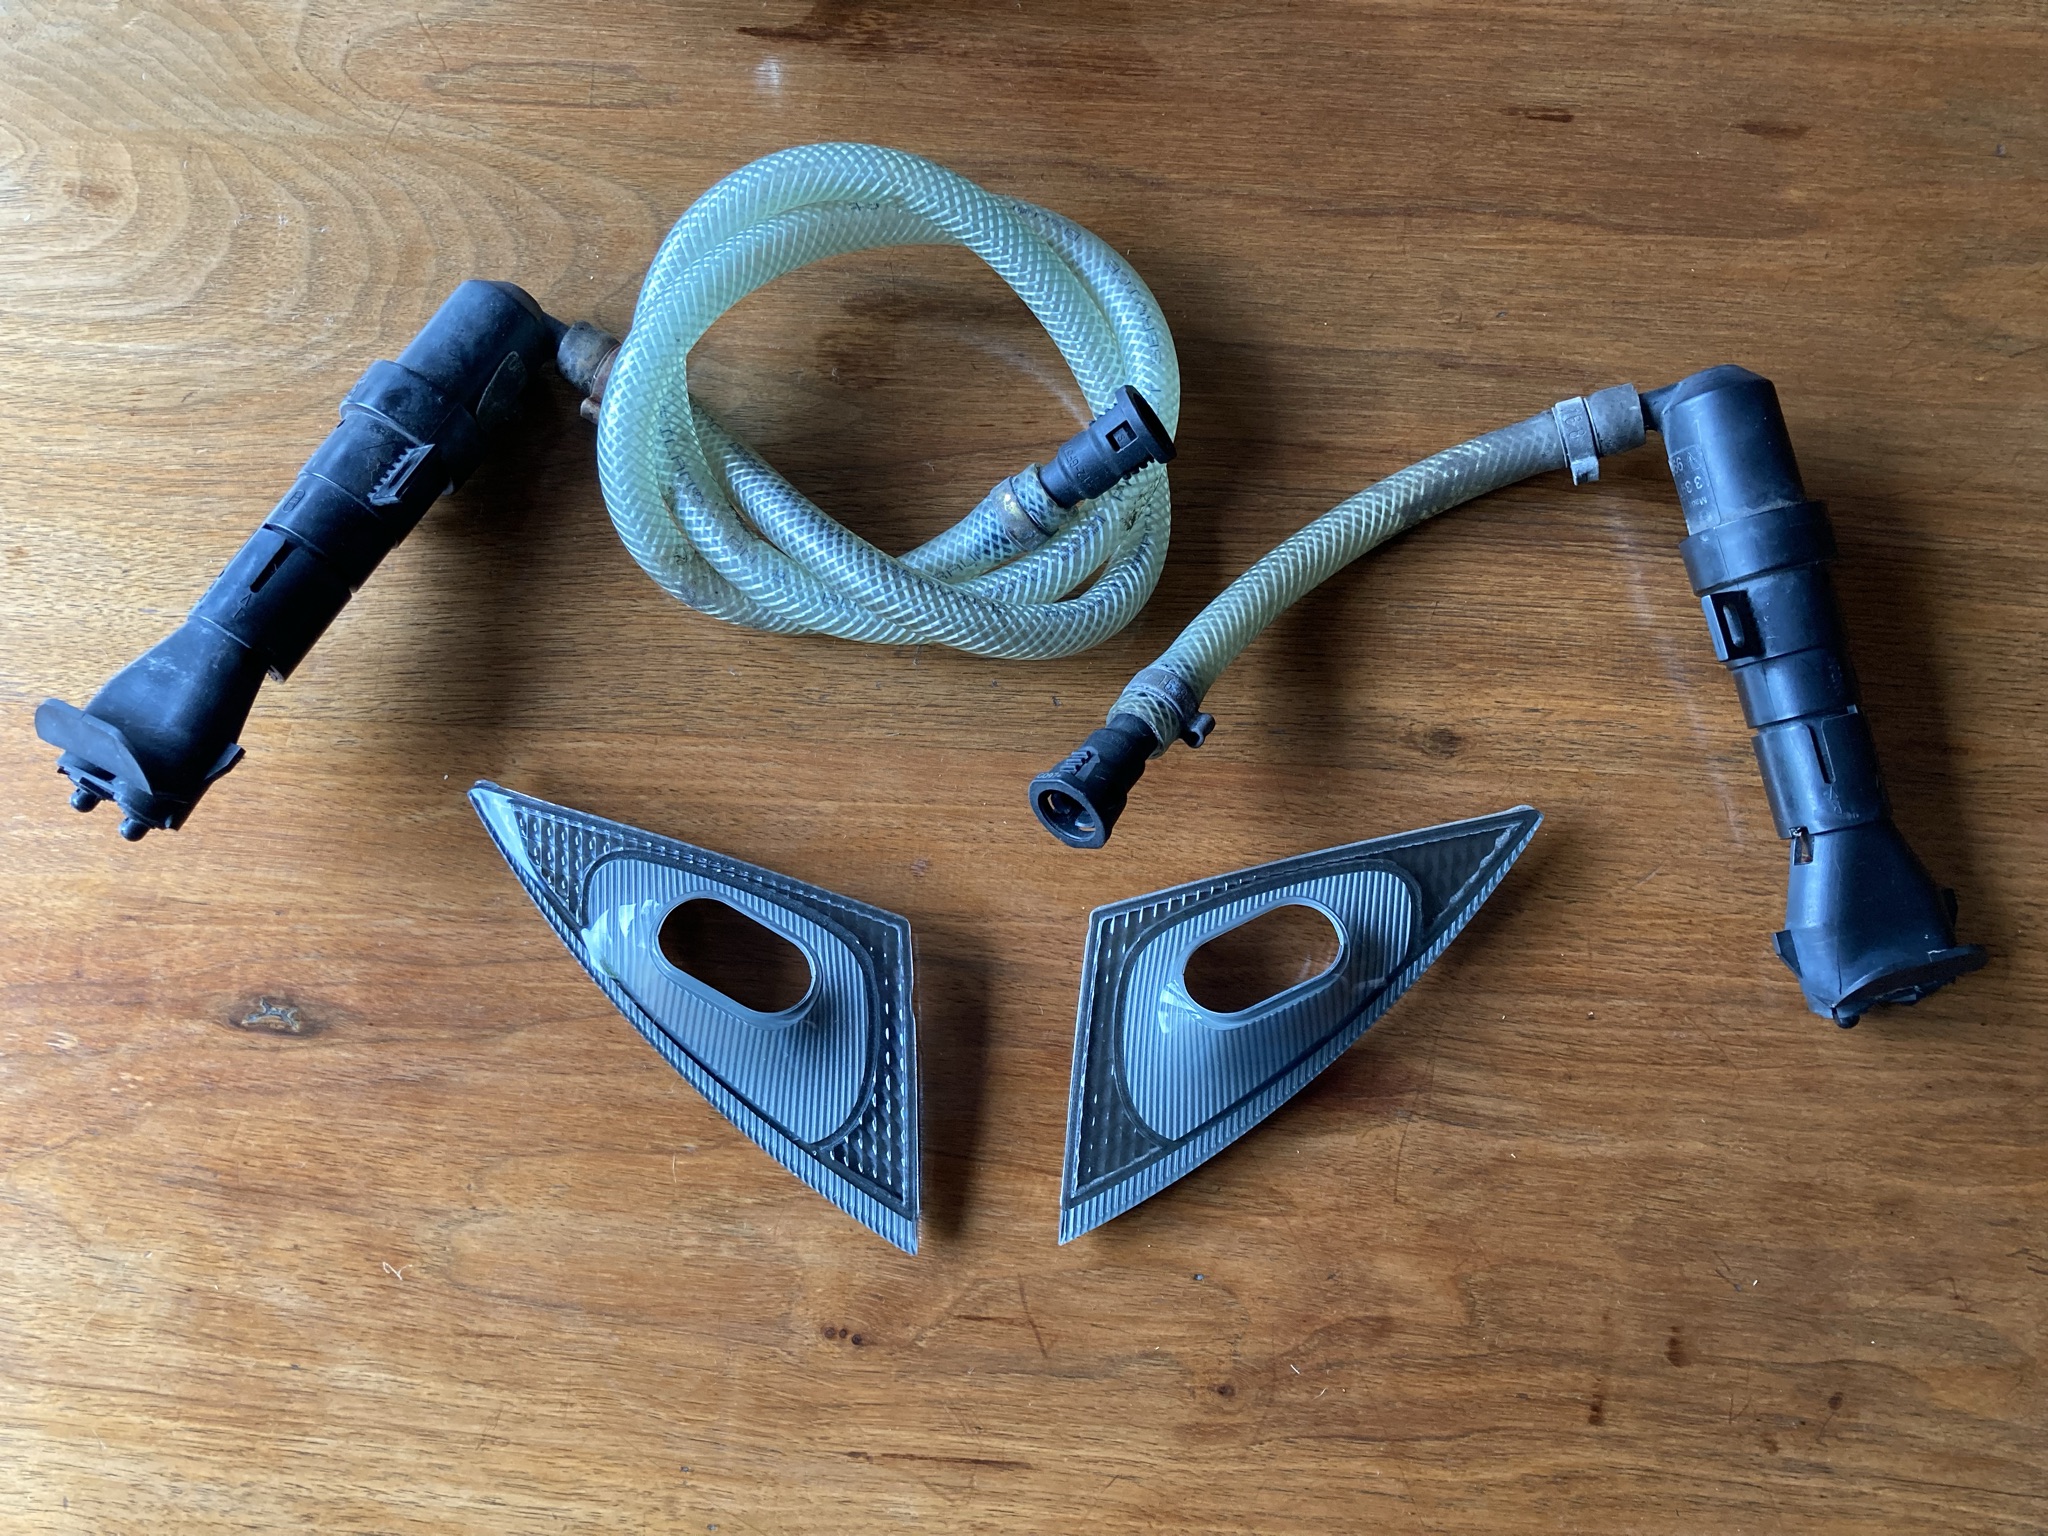
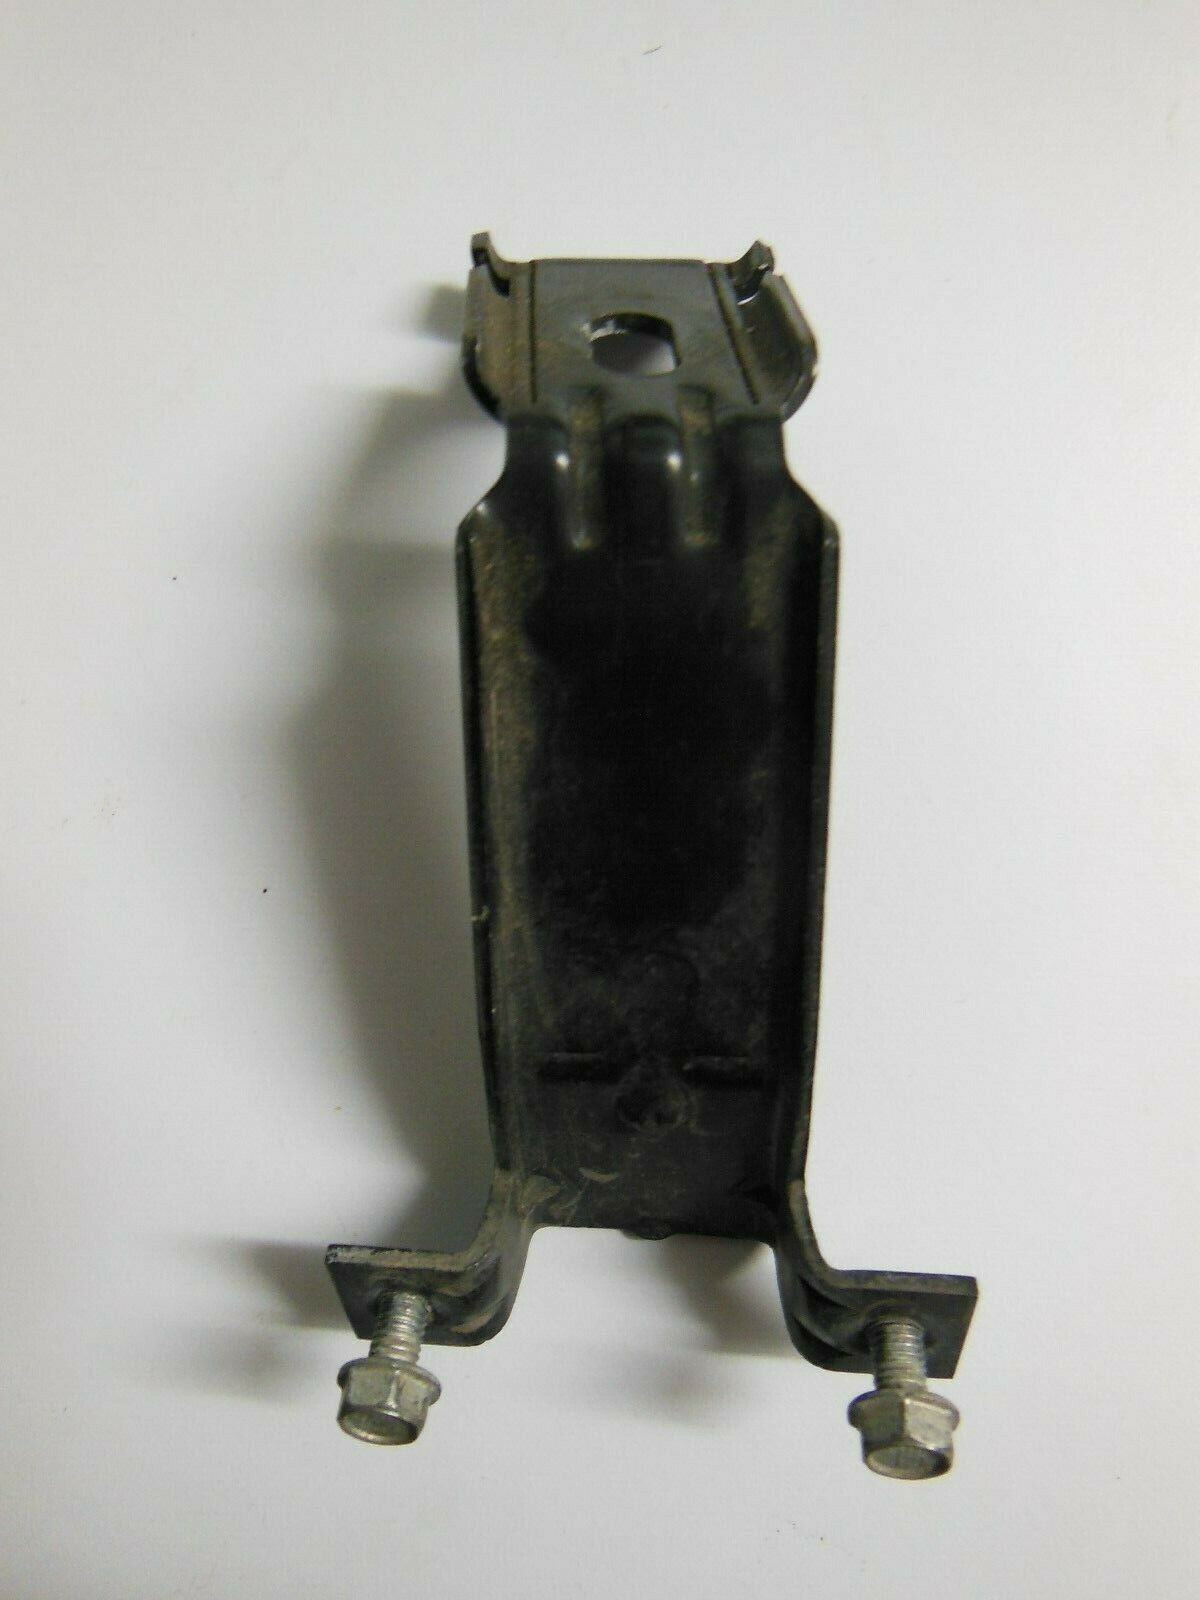
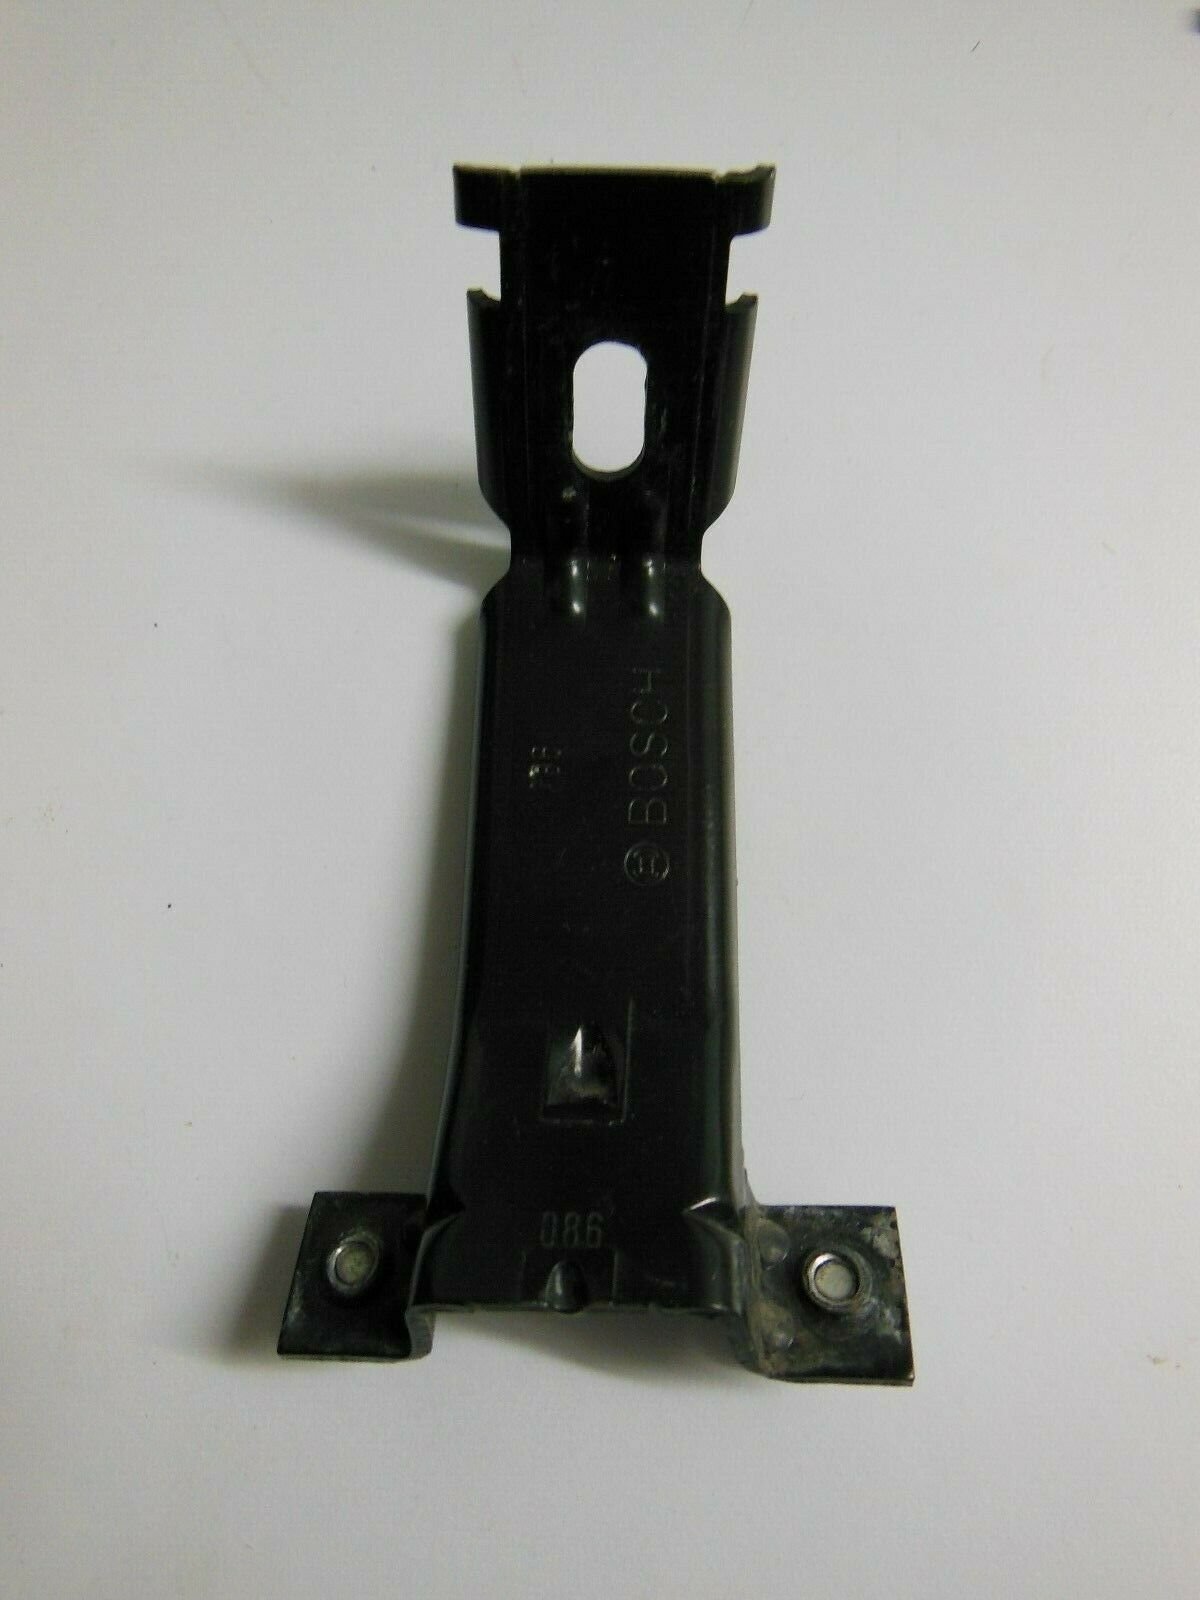
Because the Previous Owner had not removed the Hose System, reconnecting the Washers up was straight forward. There is a small amount of alignment required, wiggling the Bracket’s top mount, to allow the Washer Heads to extend fully through the Headlamp port.


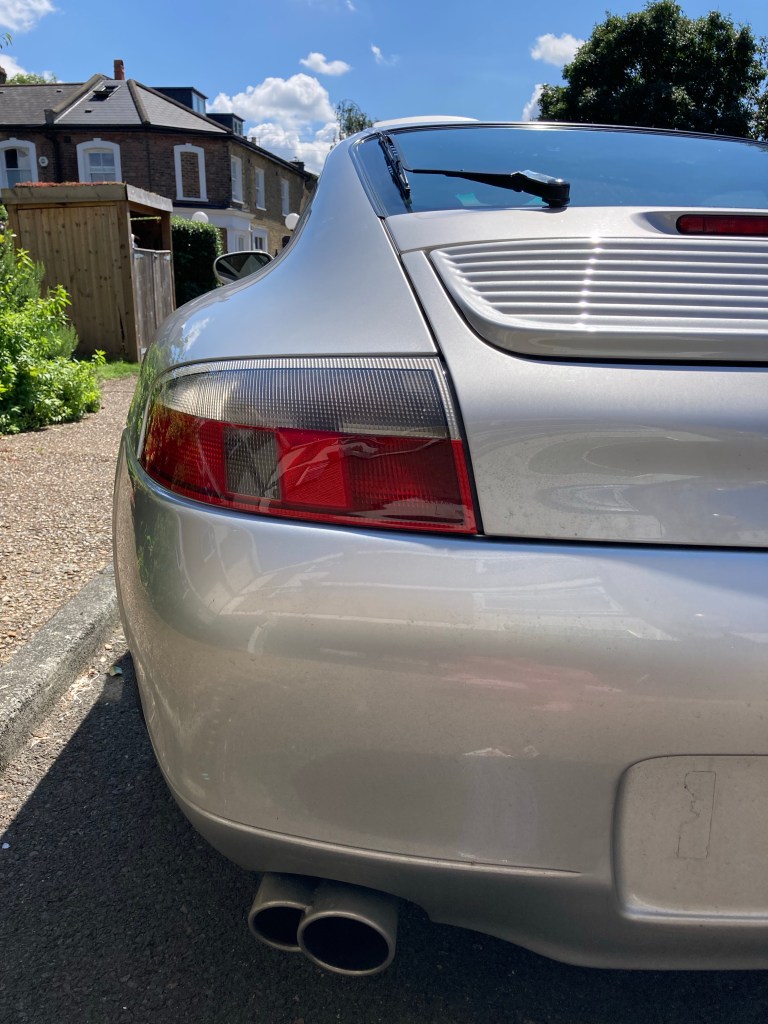
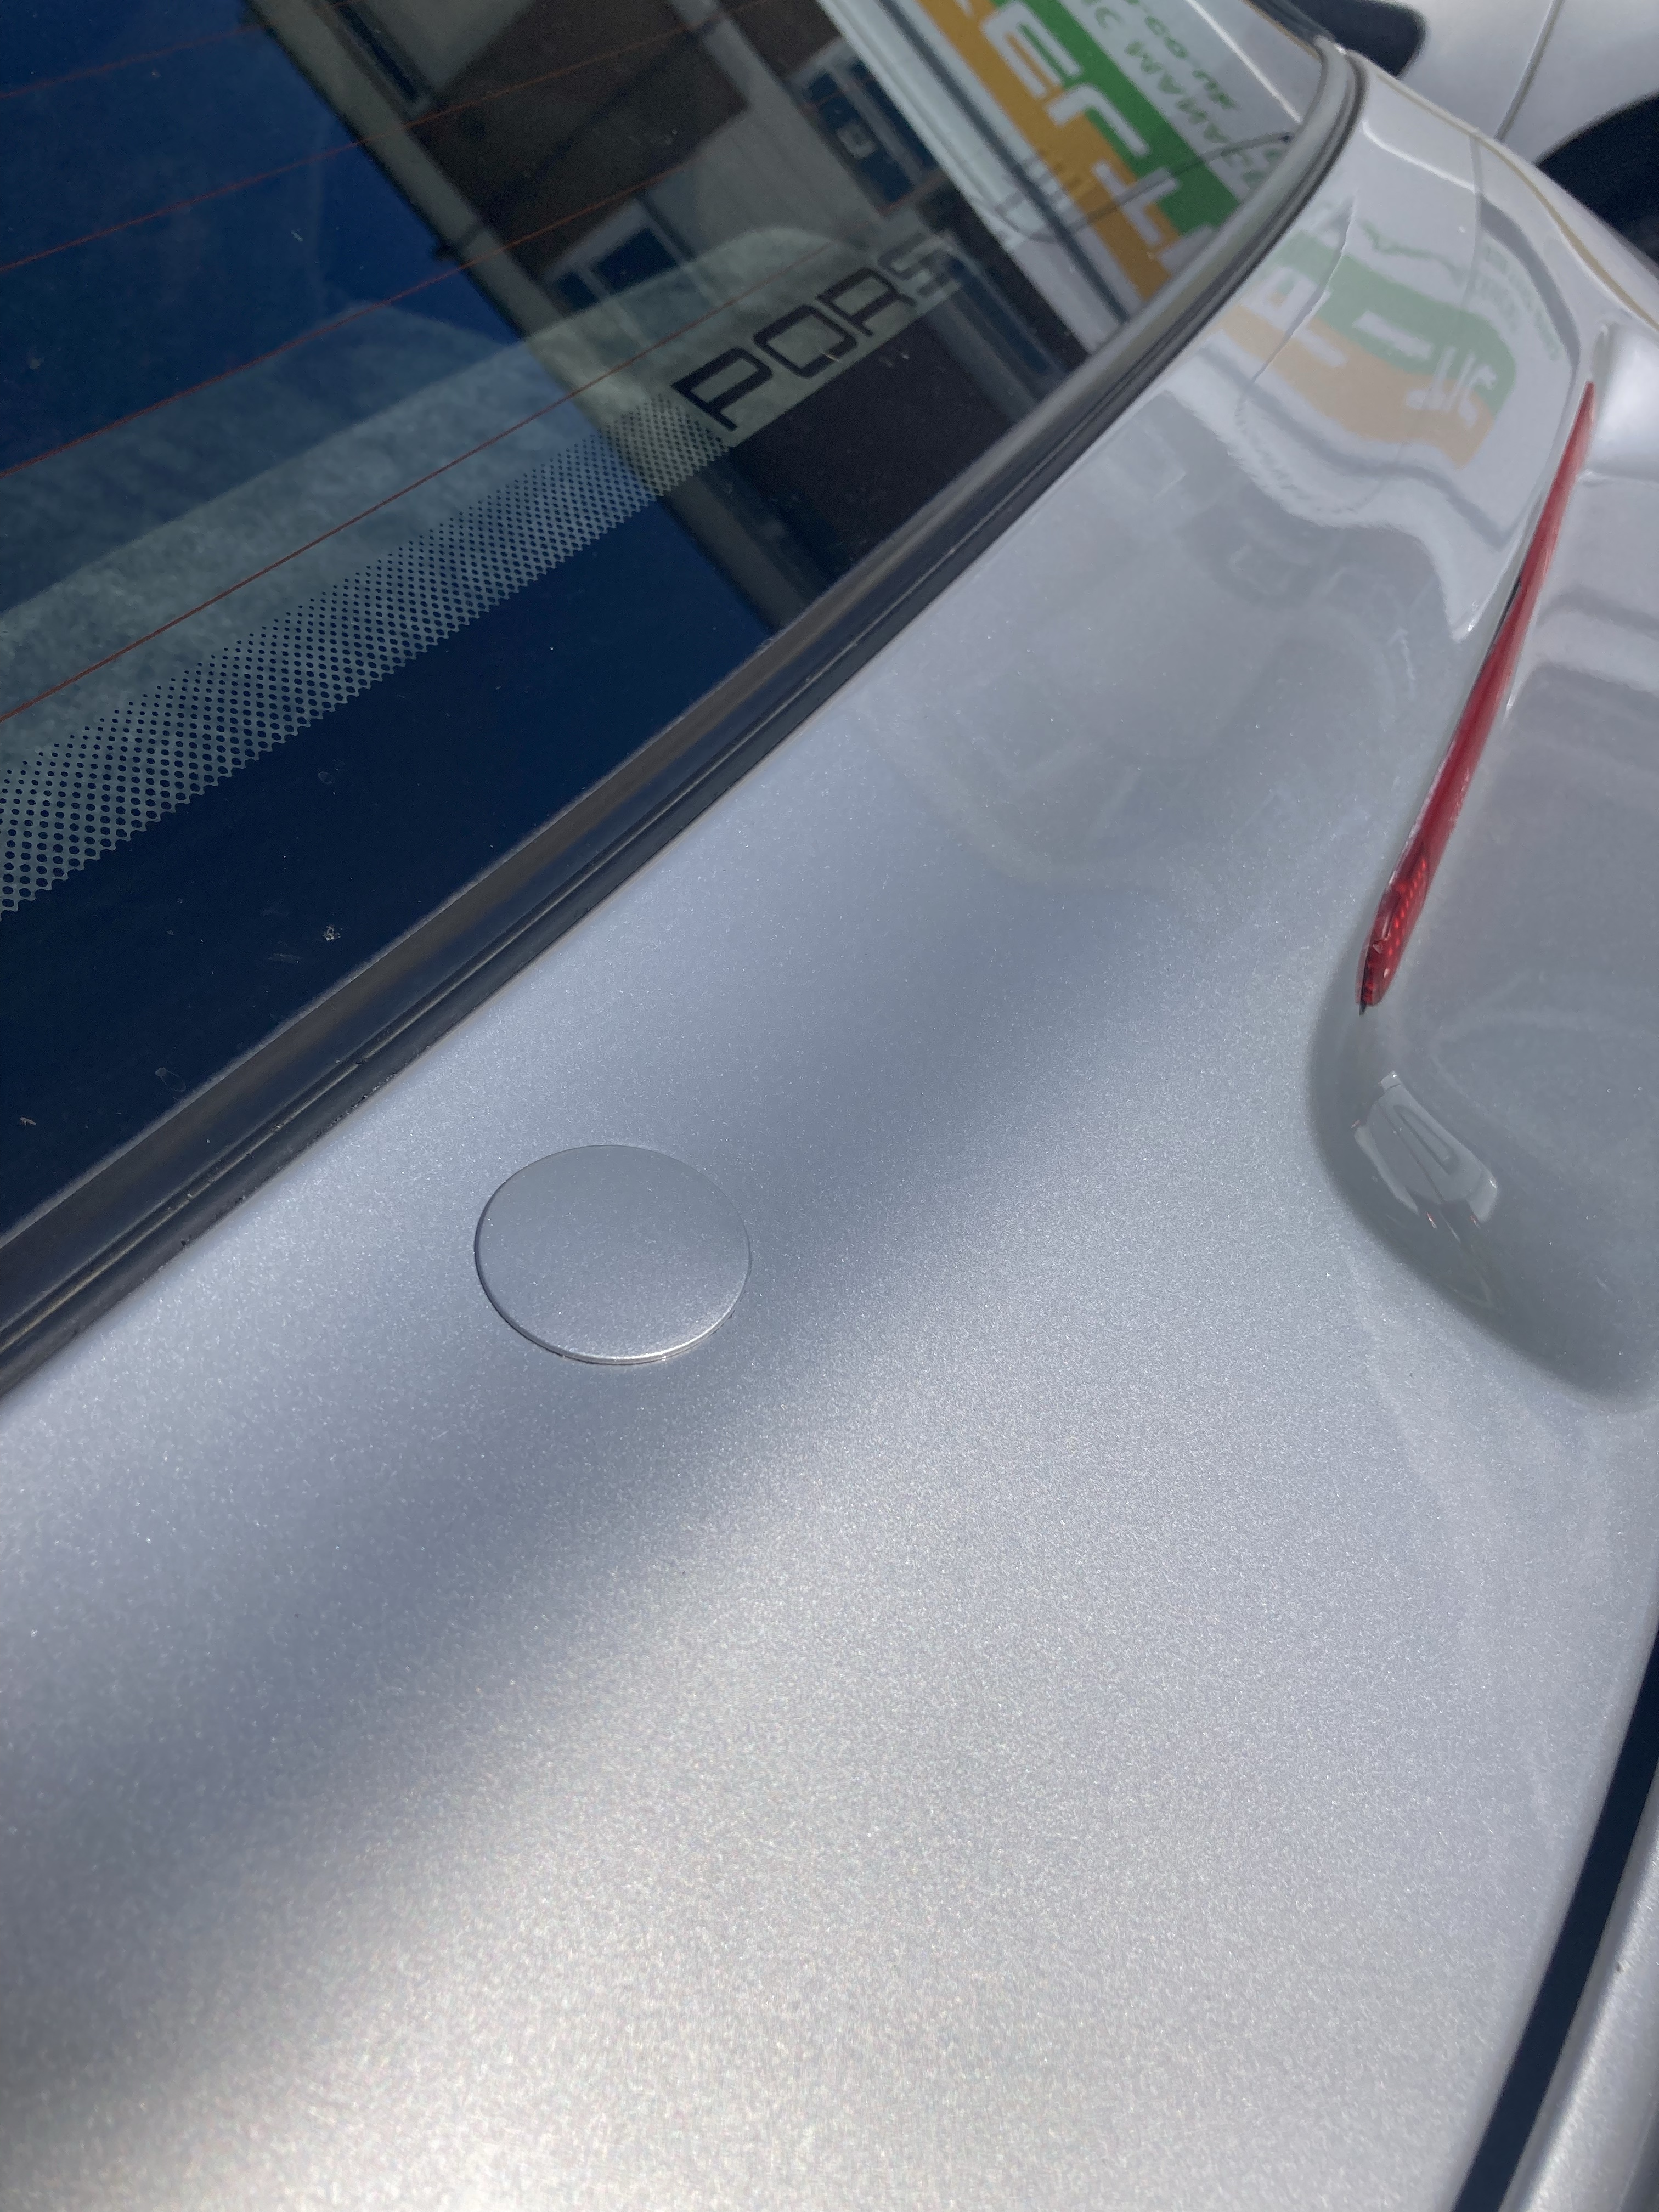
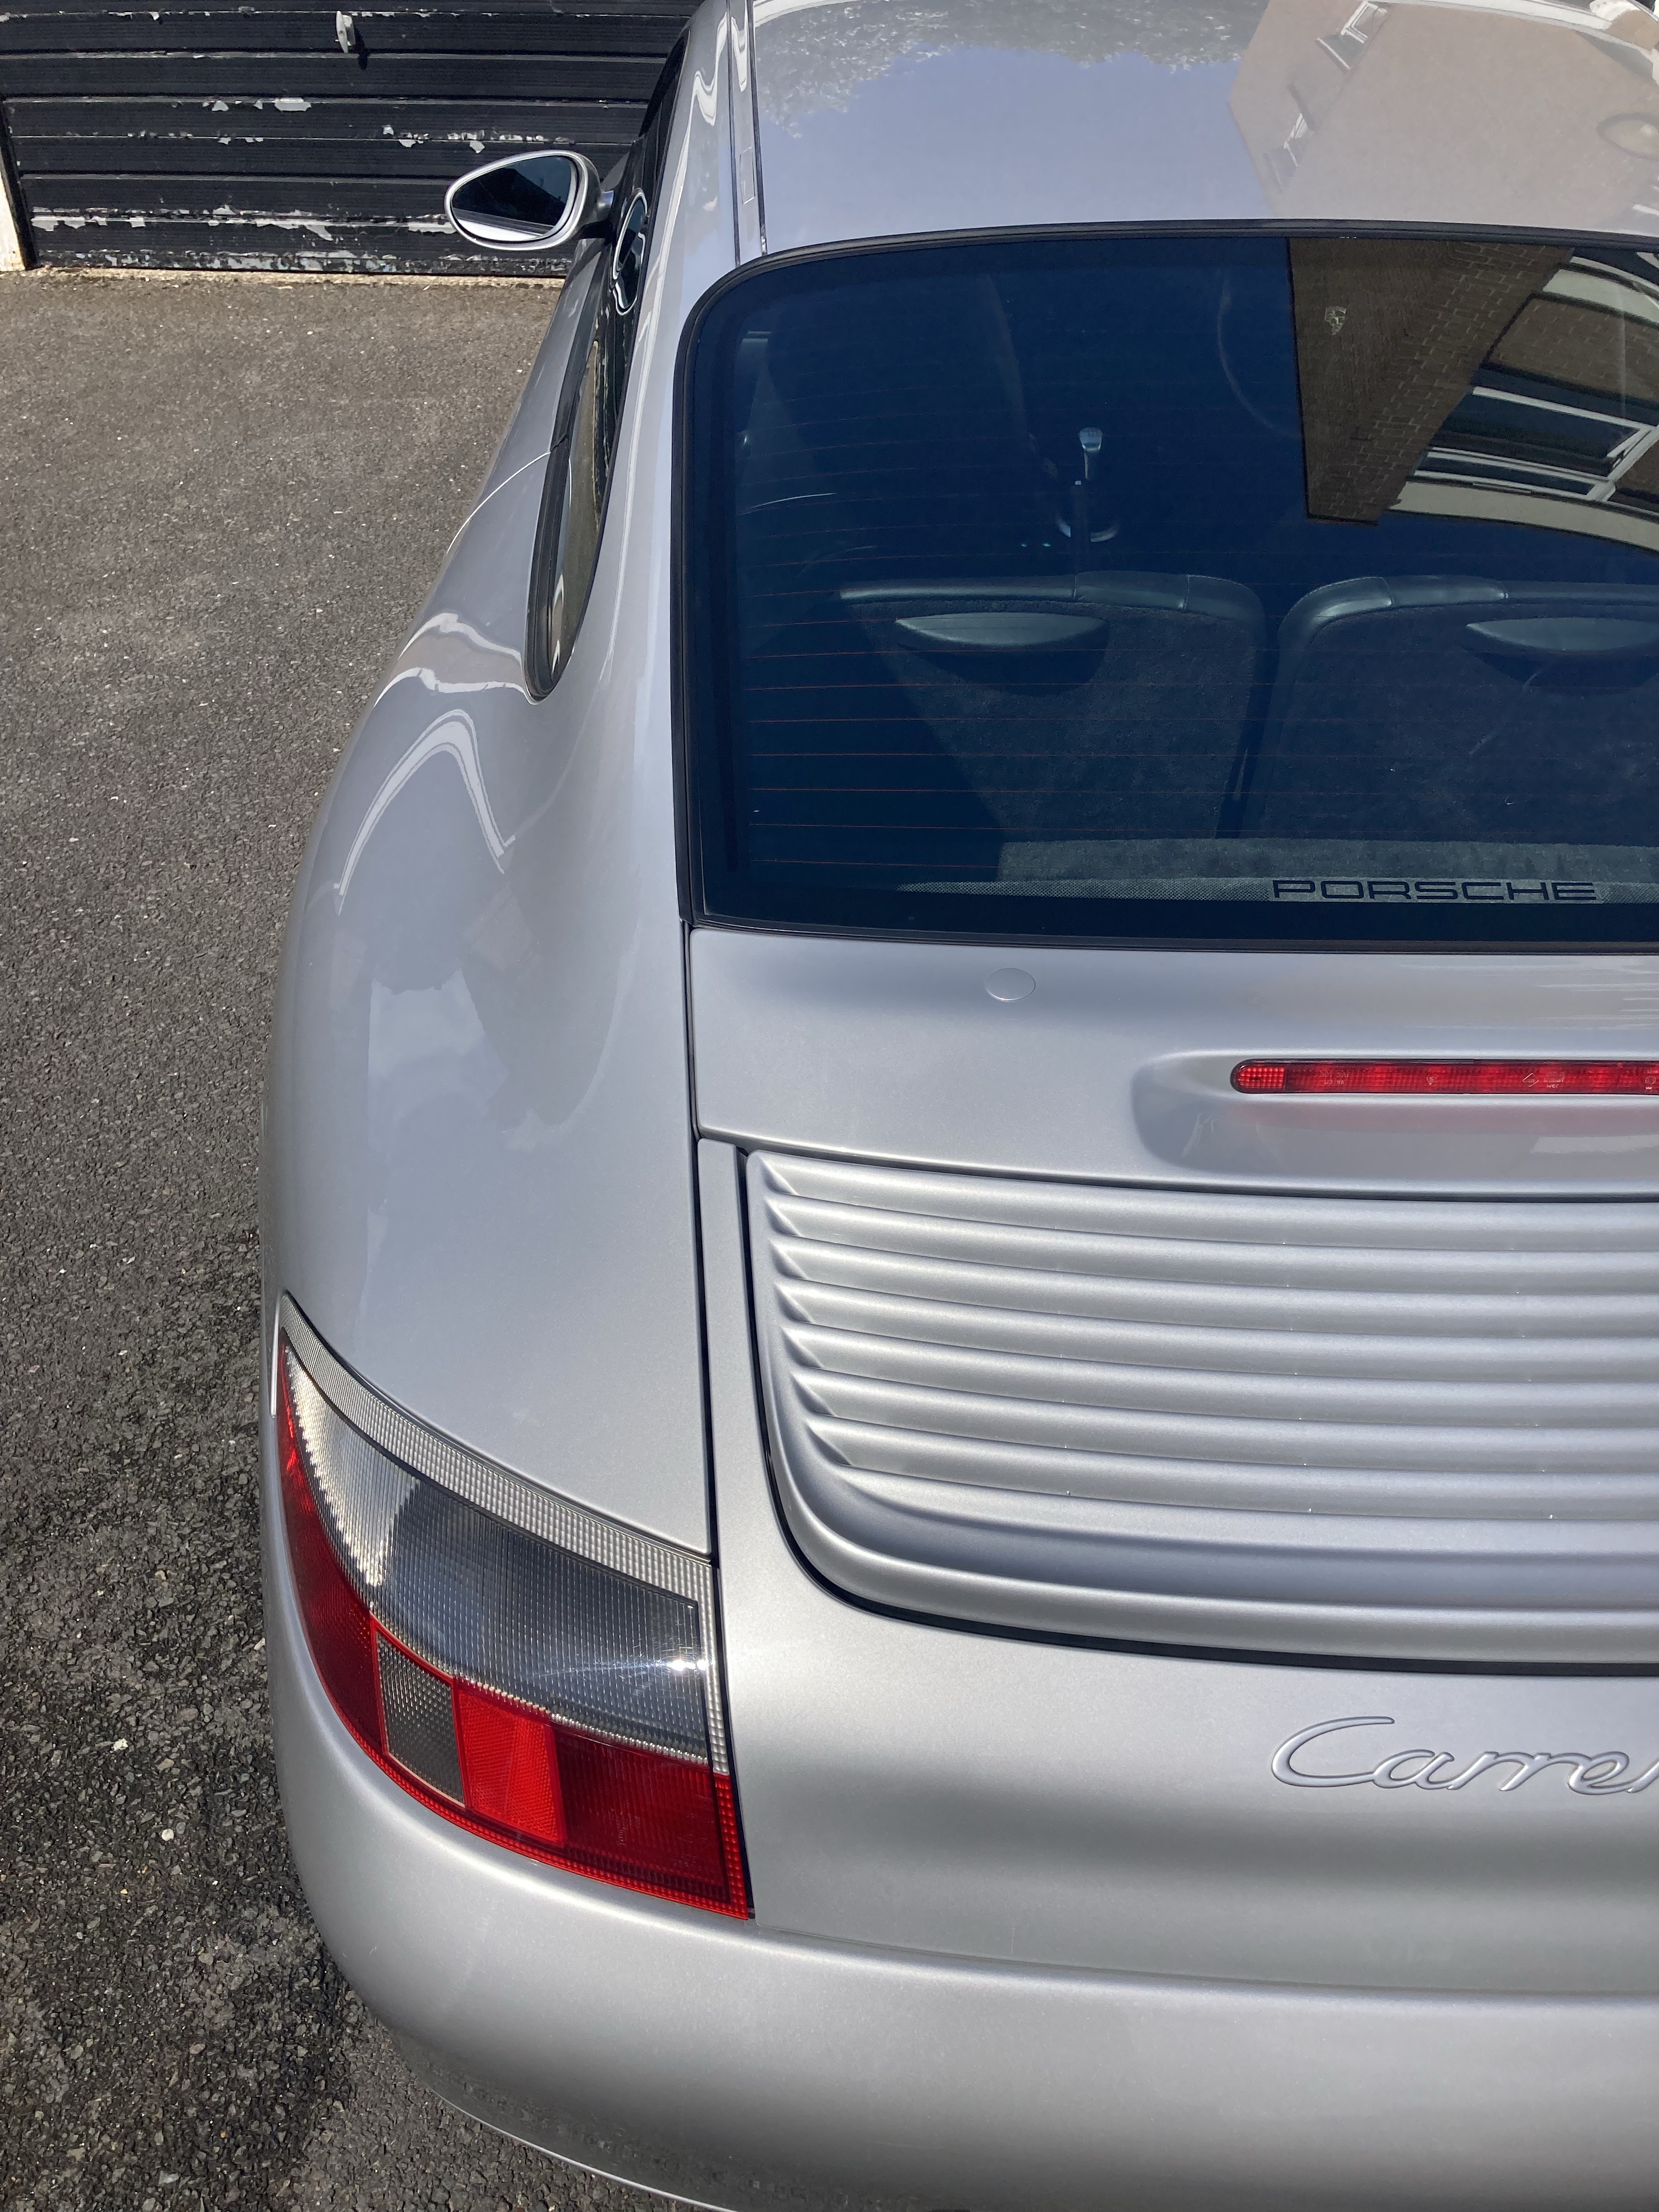
Wipeout
Rear Wiper Delete is a very common modification to a 911, the frustrating part can be when the Wiper Motor Arm itself penetrates the Rear Screen leaving a rather obvious Hole to cover. Not so with the 996 where both a Rear Wiper and Non Rear Wiper spec’d car have the same Rear Screen; the Wiper Motor Arm appearing through a panel. This production cost saving also means that the Delete Plug sits on the Bodywork.

Induction
I do like a Tidy Engine Bay, and that Design Tek blue Induction Pipe just didn’t cut the Mustard for me, nor that silver Resonator Plug; they had to go.
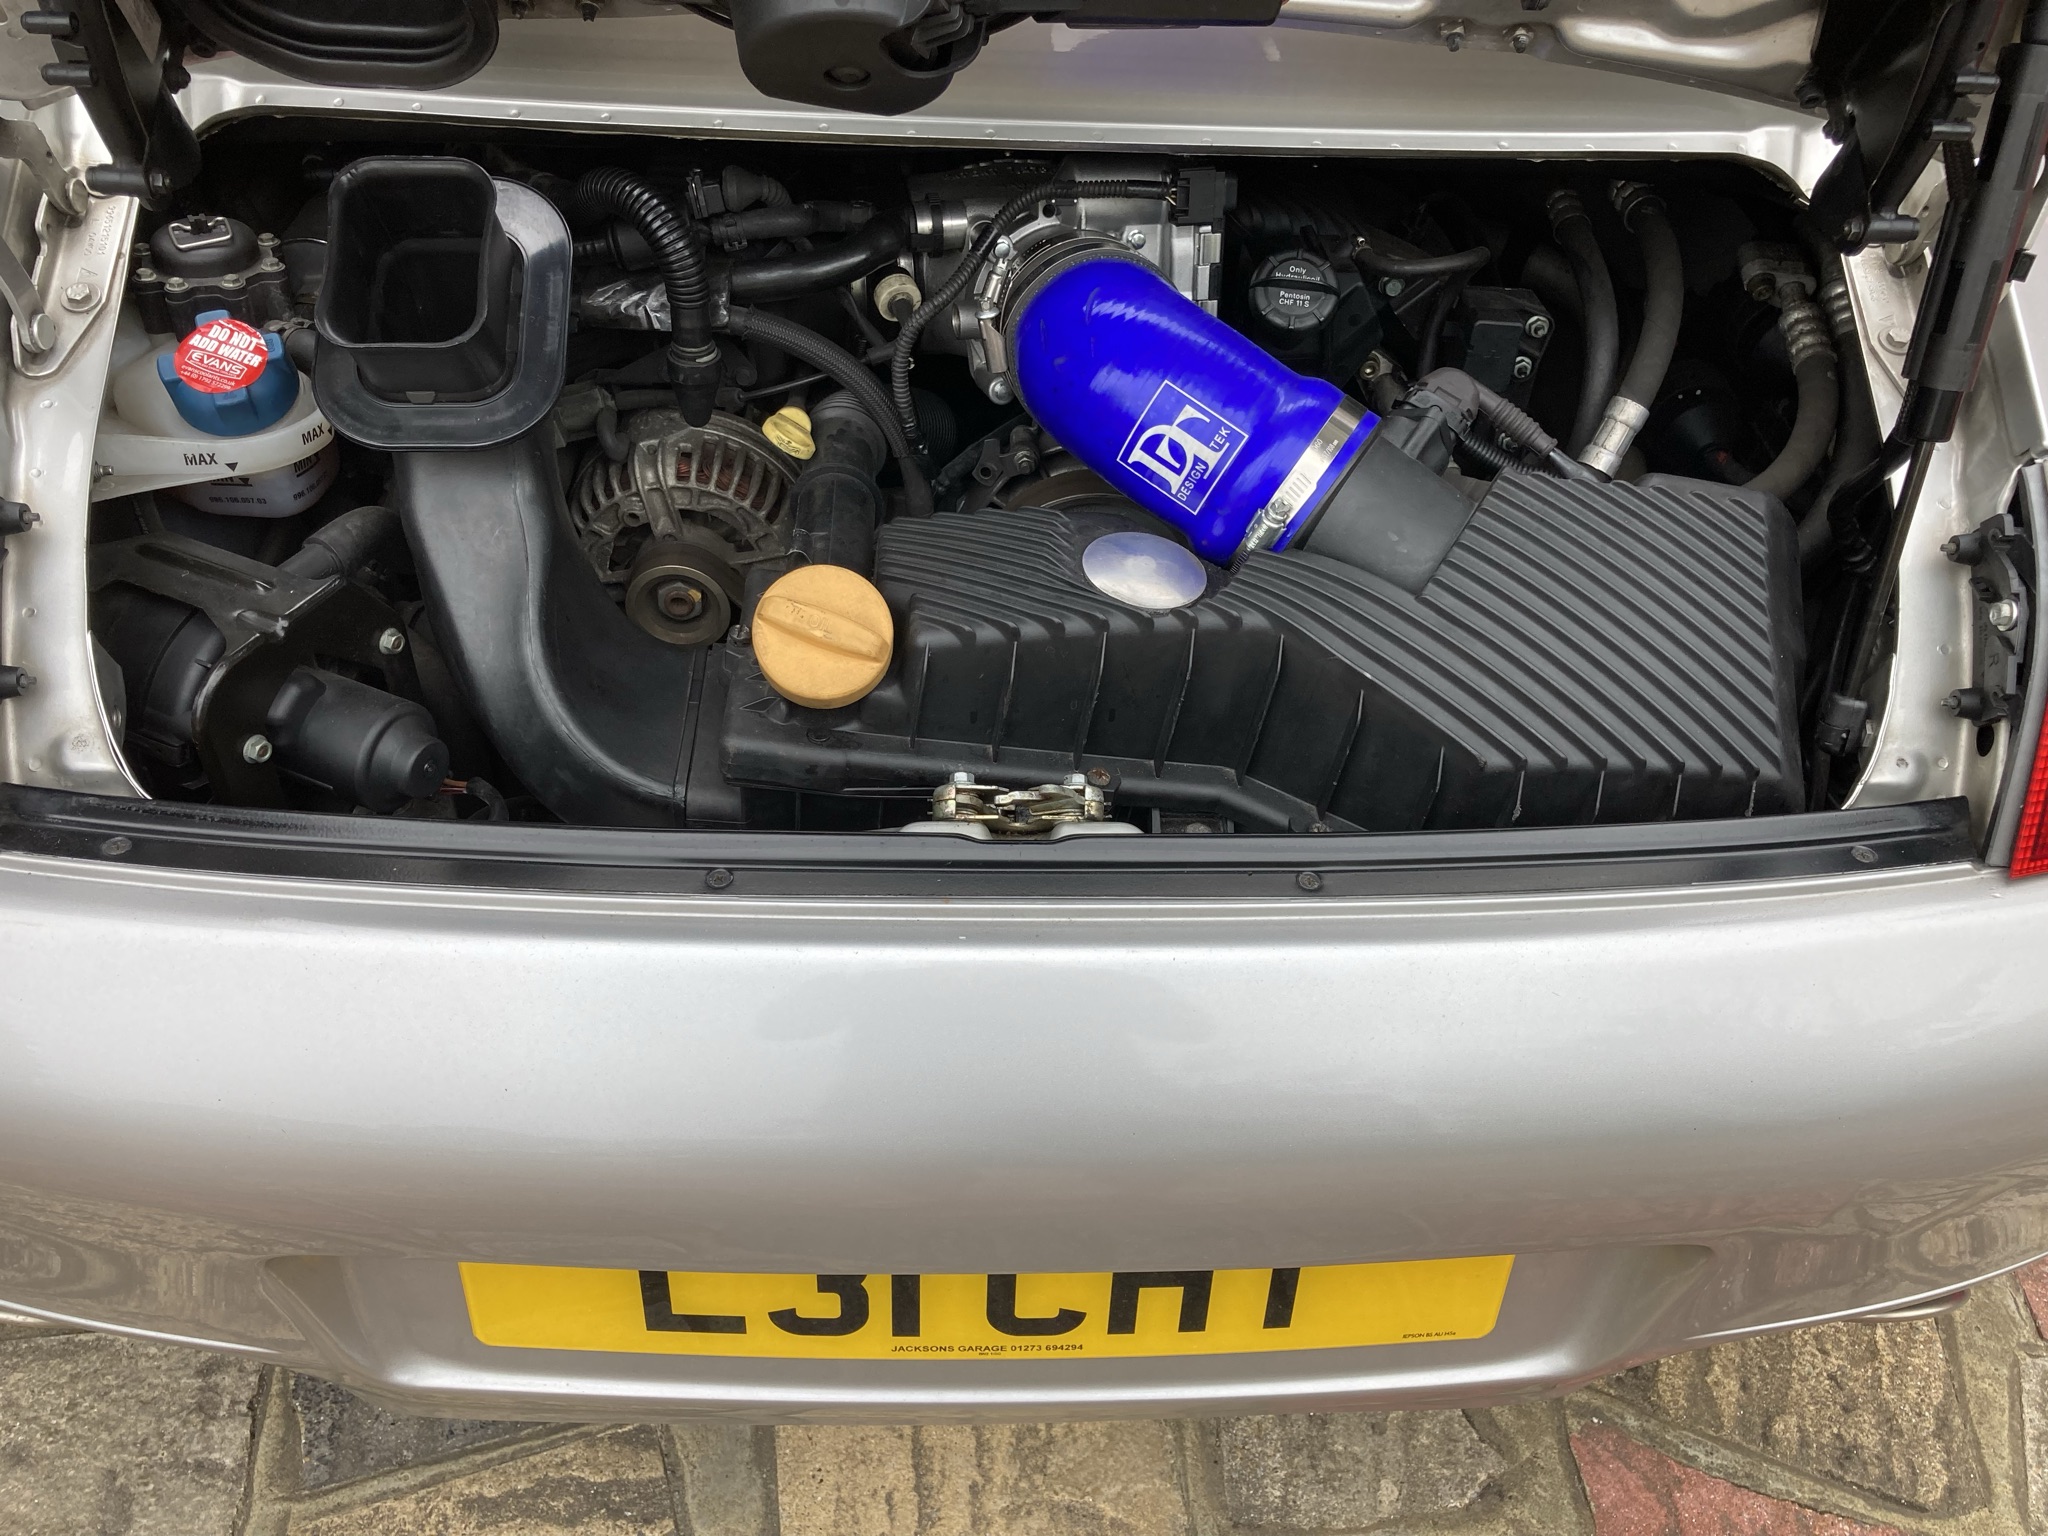

Step up Spyder Performance and their perfectly black Plenum Hose, adapted for my GT3 82mm Throttle Body. I did a little D.I.Y. on the Resonator Plug by way of a BBQ Stove rattle can with a nice Matte Black Finish; its heat resistant properties also being useful.

That looks better.
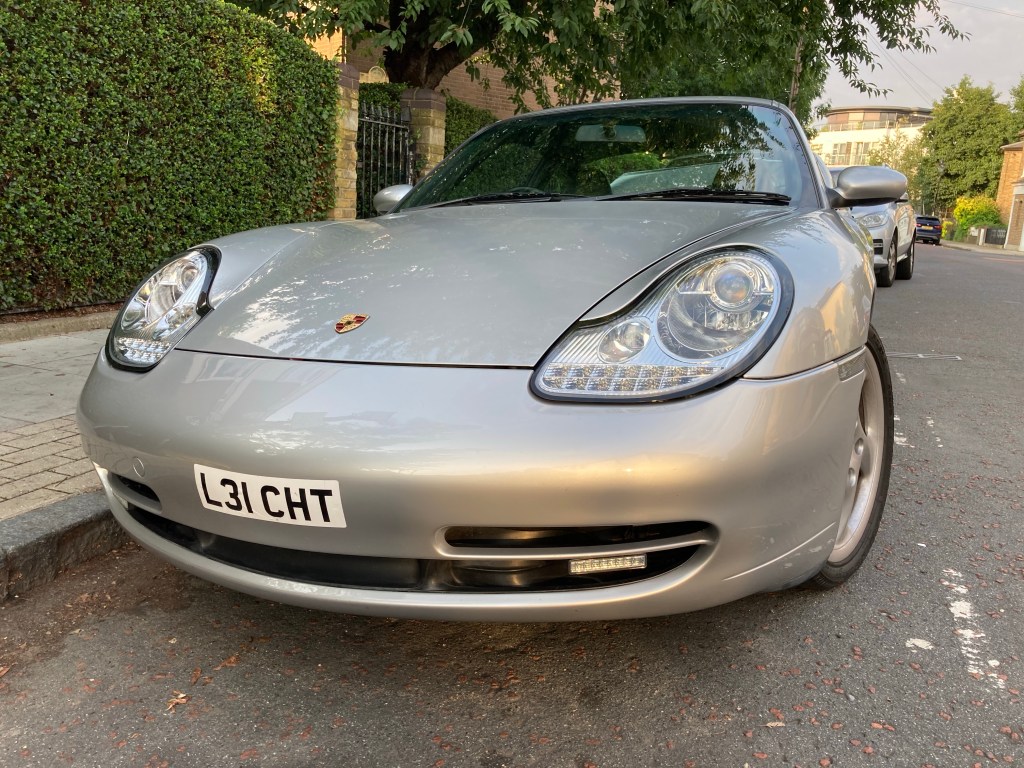
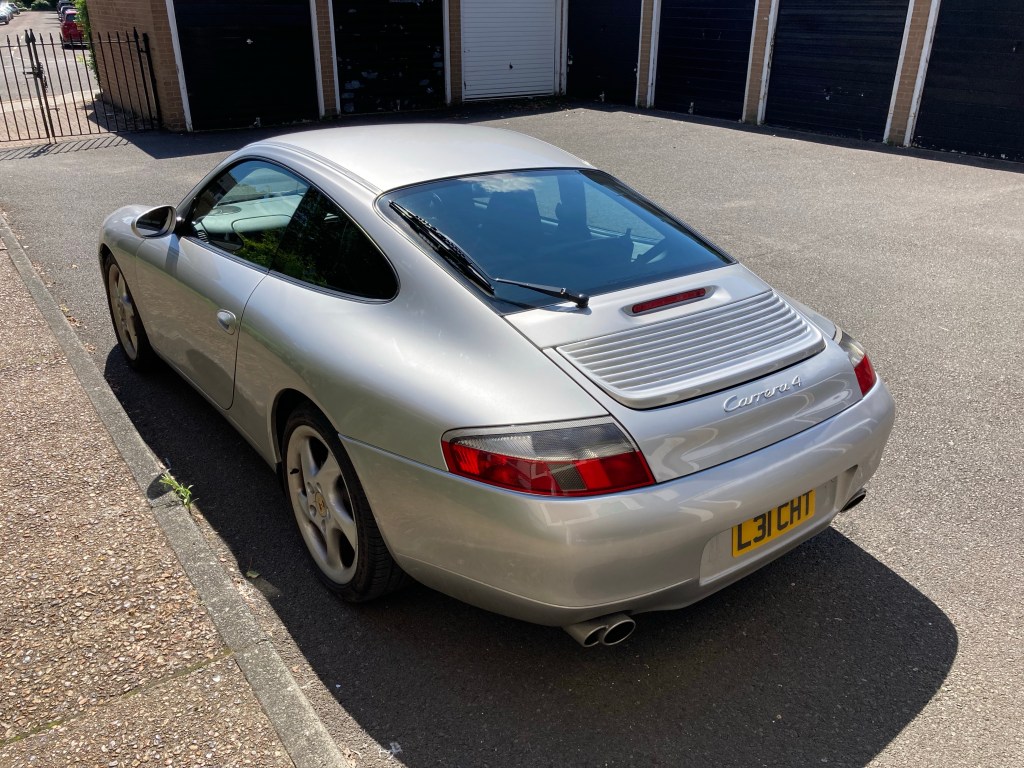
Badger
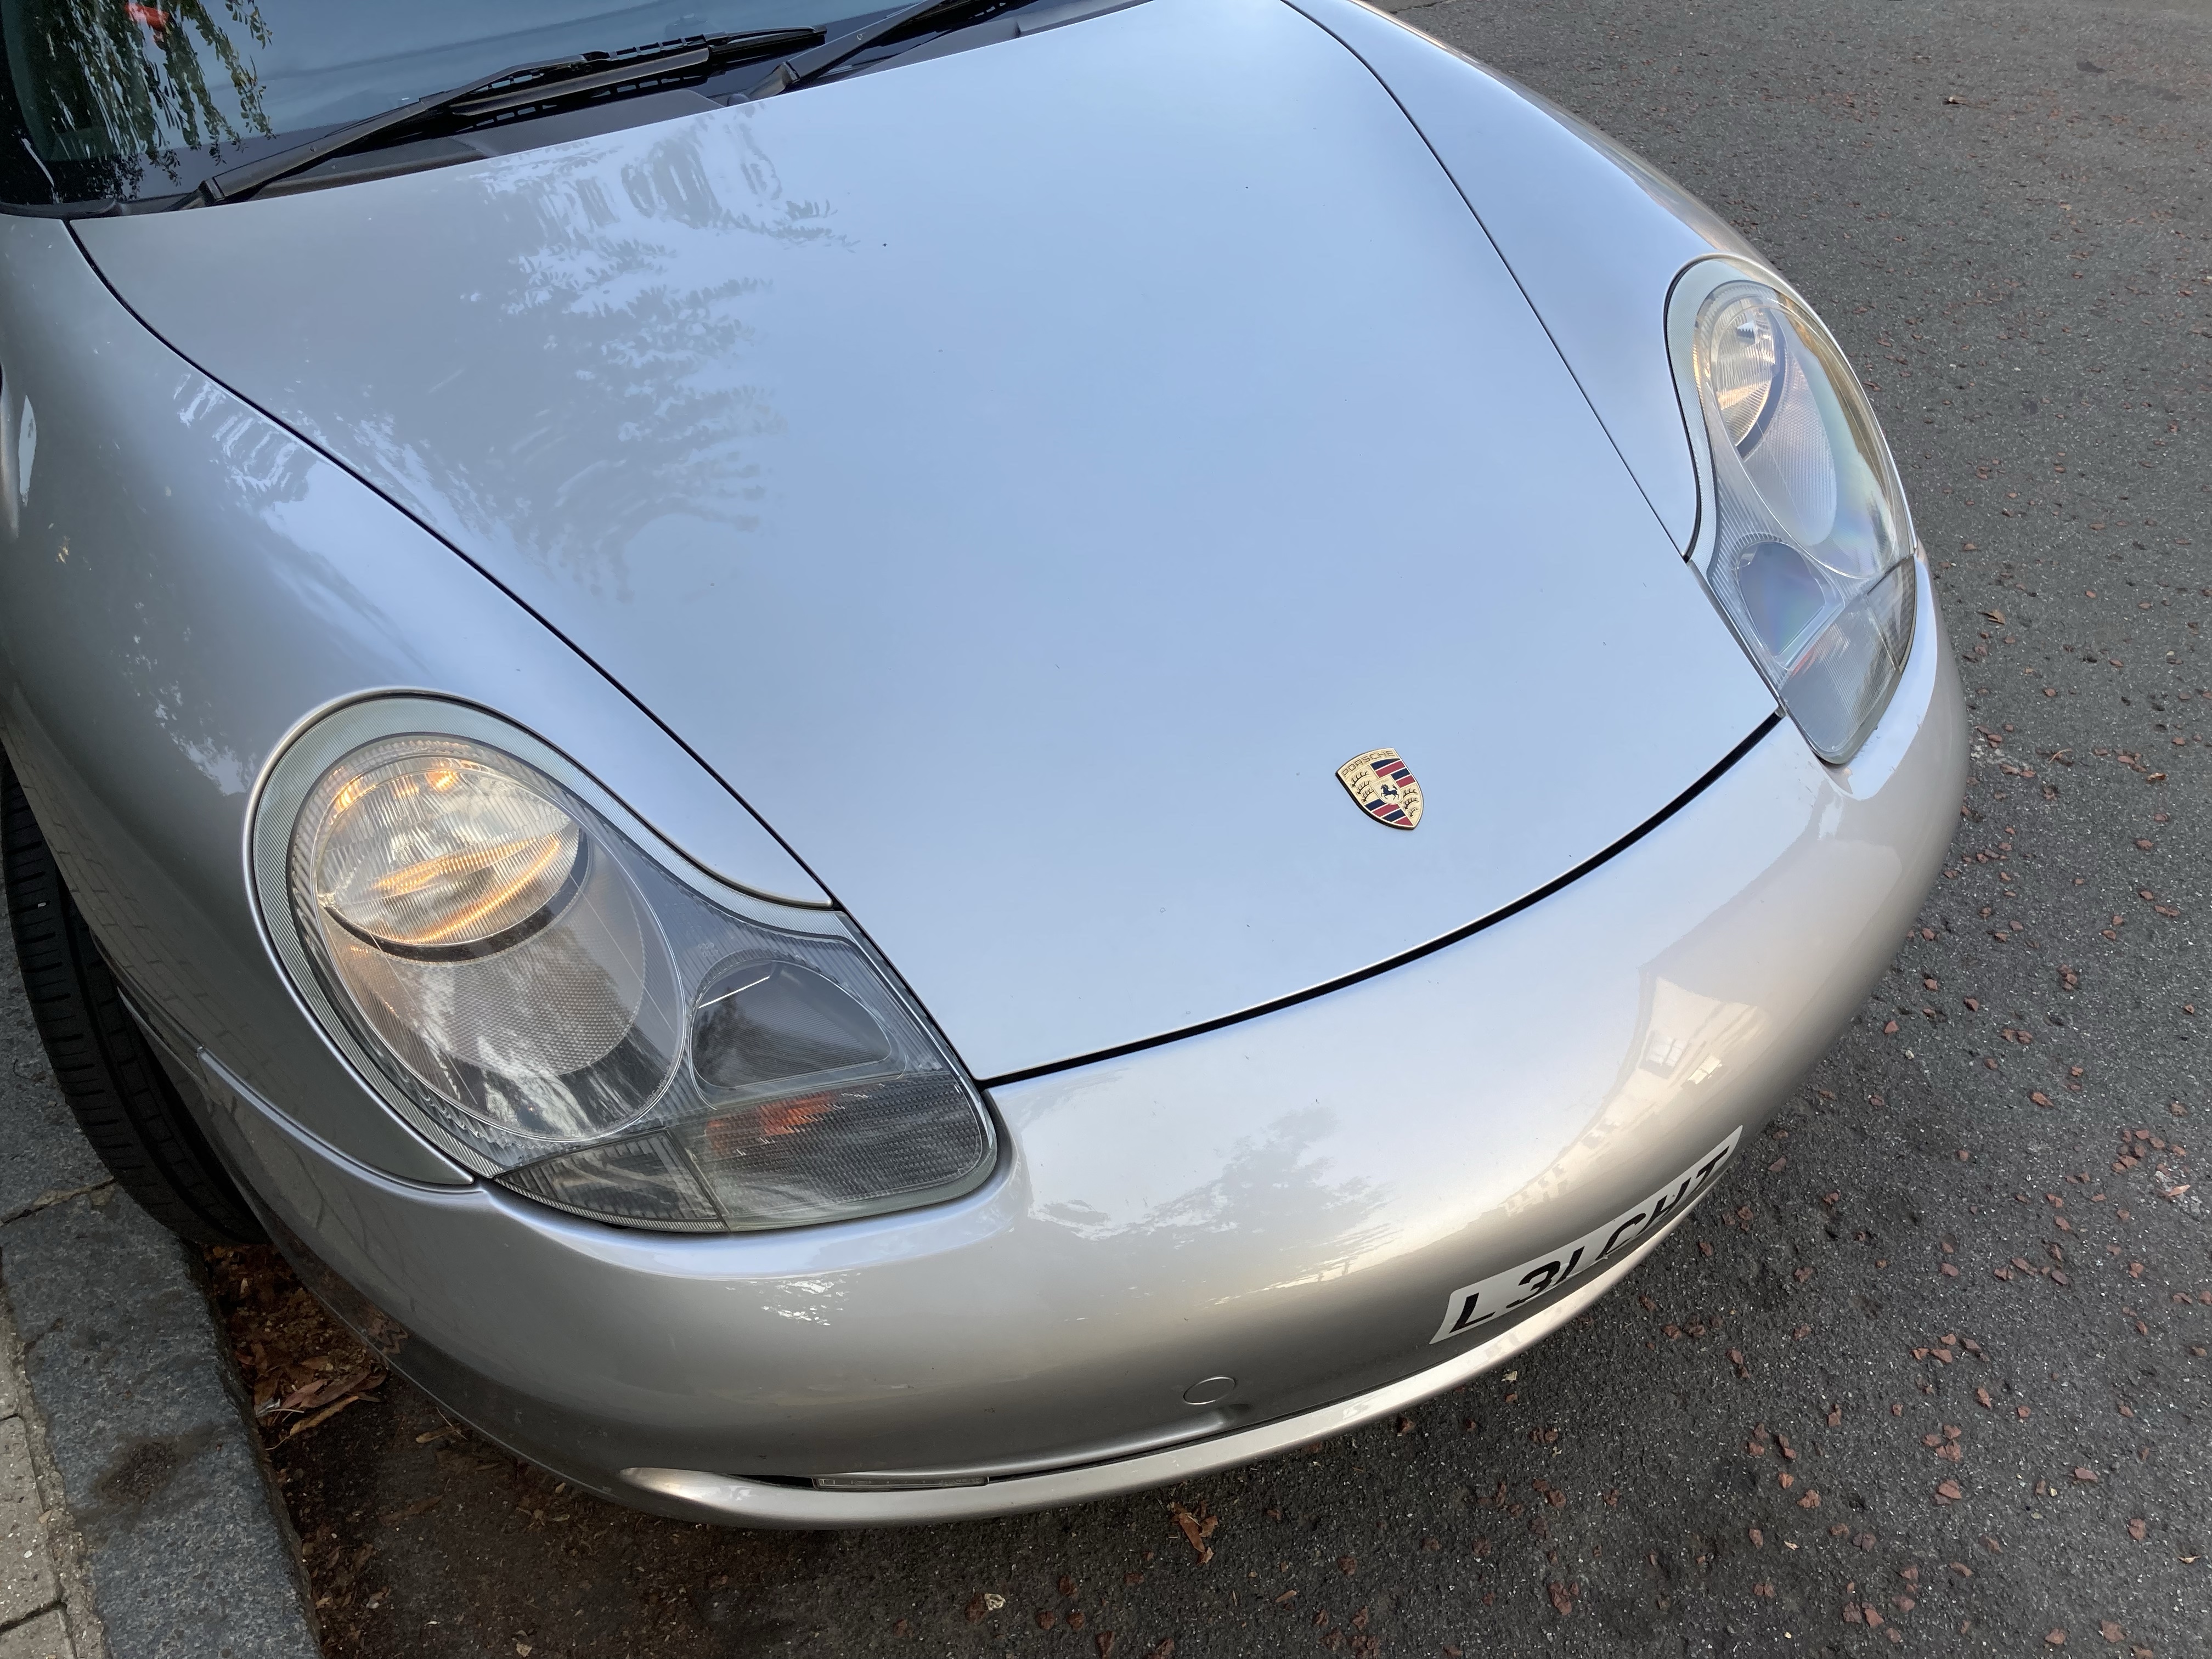
I don’t really like Model Badges; my 993 was devoid of its Carrera moniker, and I wanted the same for the 996 Carrera 4. It’s that I don’t really like the interruption of the Paintwork I think, whatever the reasoning I prefer it without.
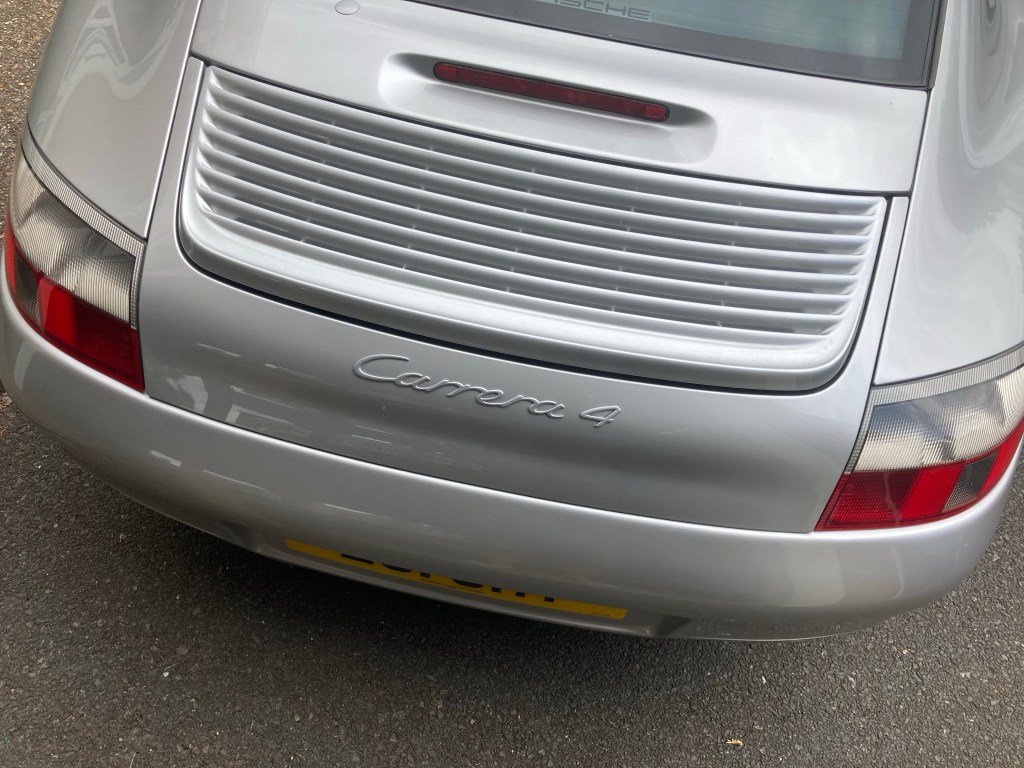


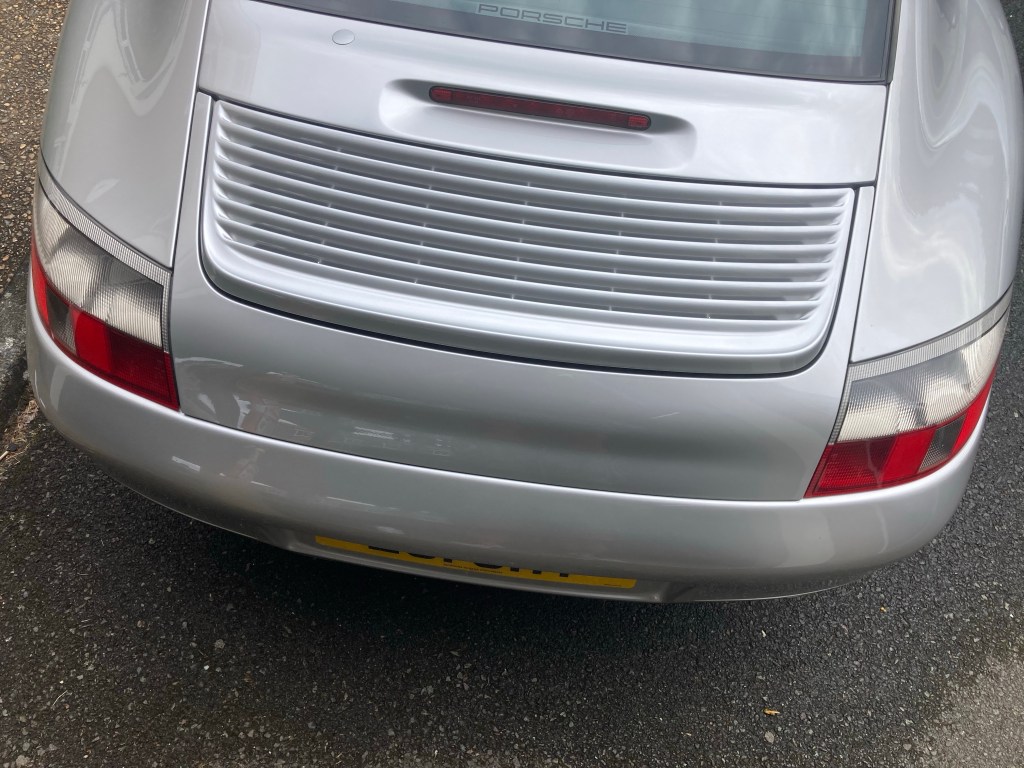

So, how does the 996 look now..? Better I think, and more “Stock” which given my proclivity to personalise and customise is rather odd. This Journey however is only just getting started.
Categories
Cosmetics, Done By Roon, Engine Work, Performance, Porsche Life

One thought on “Cosmetics” Leave a comment ›