Beast Restoration: Pre Paint

It has been nearly a Year since I collected the 4Runner from Somerset with those Blue Doors. A Year of staring at those Blue Doors, and a Year of not really knowing what was best when it came to Painting those Blue Doors.
From the ridiculous to the sublime, quotes of £10,000 to £2000 to most recently £1600, but ultimately I knew at my centre that I could do it. I could paint the 4Runner. And so a few weeks ago, that decision was made. With a 5 Day run blocked out in the Diary for the job in a fortnight or so’s time, I needed to get some Jobs done before I could start the Paint Work, involving restoring the existing Paint that would be [obviously] shown up by the new.
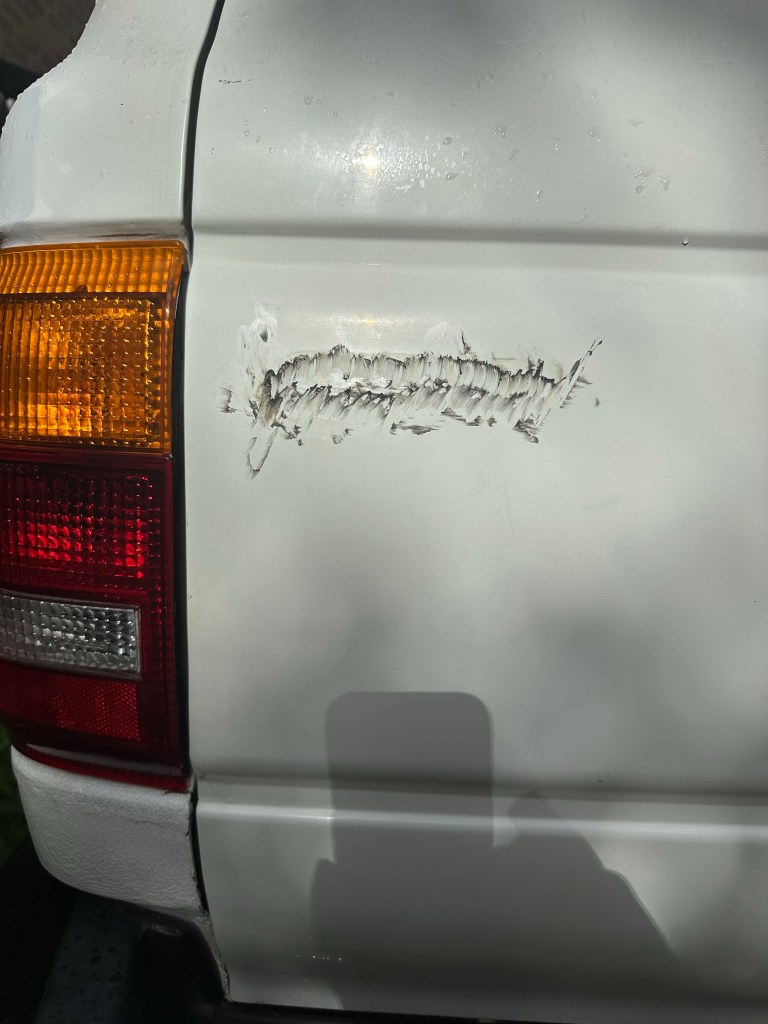
Dentist
I had done this one, and it was a corker. I hate that I did it, but I was in a hurry and my concentration faltered, reversing into a Wrought Iron Railing. That was back in 2019 and I had done nothing about it since; shame based inaction, which only adds to the shame.
Taking it to the Local Body Shop that did an excellent job on the Rear Bumper, I could only be impressed with the result.


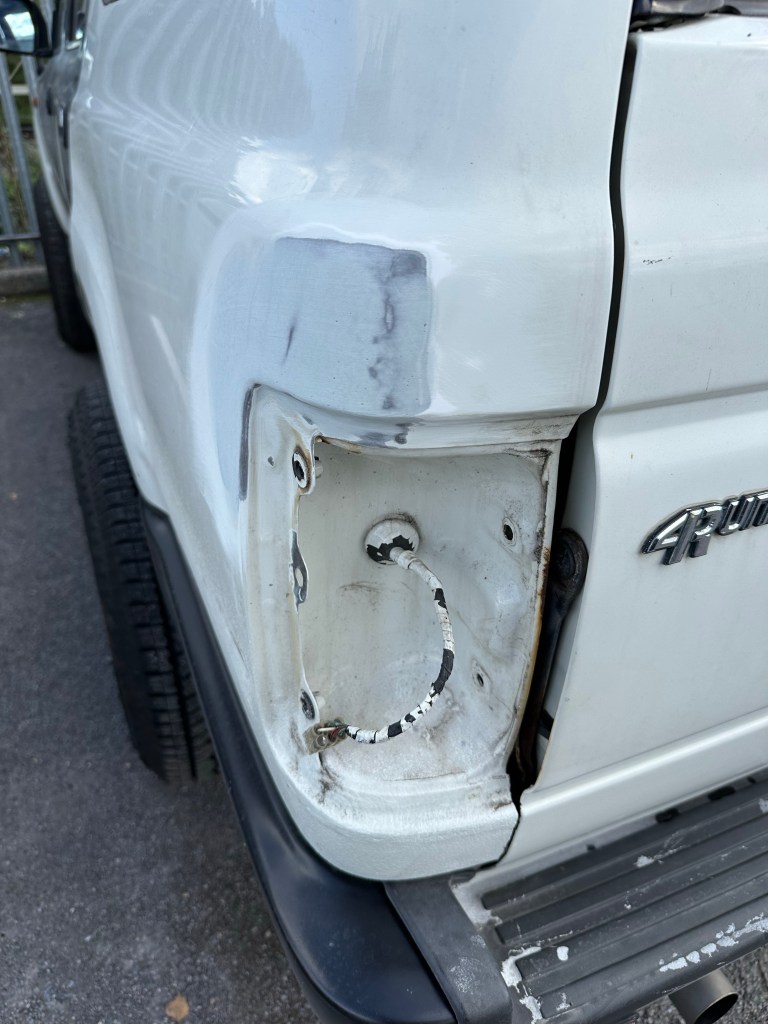
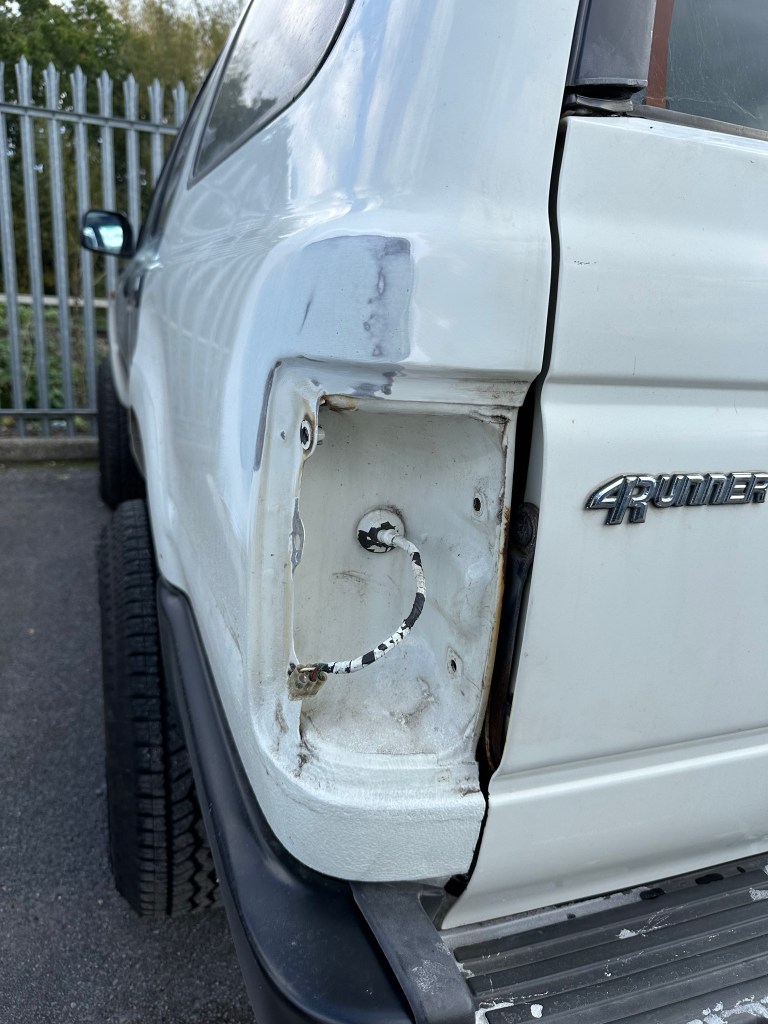


A Cash Price was agreed before I dropped the 4Runner to them, stipulating that they didn’t need to do any Filler Work, as I would tackle that, to keep the cost down. But the Bodywork Chap did the Filler Work anyways, and to perfection. I rounded up, handed him the Cash.
Once home, I sprayed [yes, badly] some Jenolite on the bare metal to protect it from the Autumn showers.
Paint Restoration
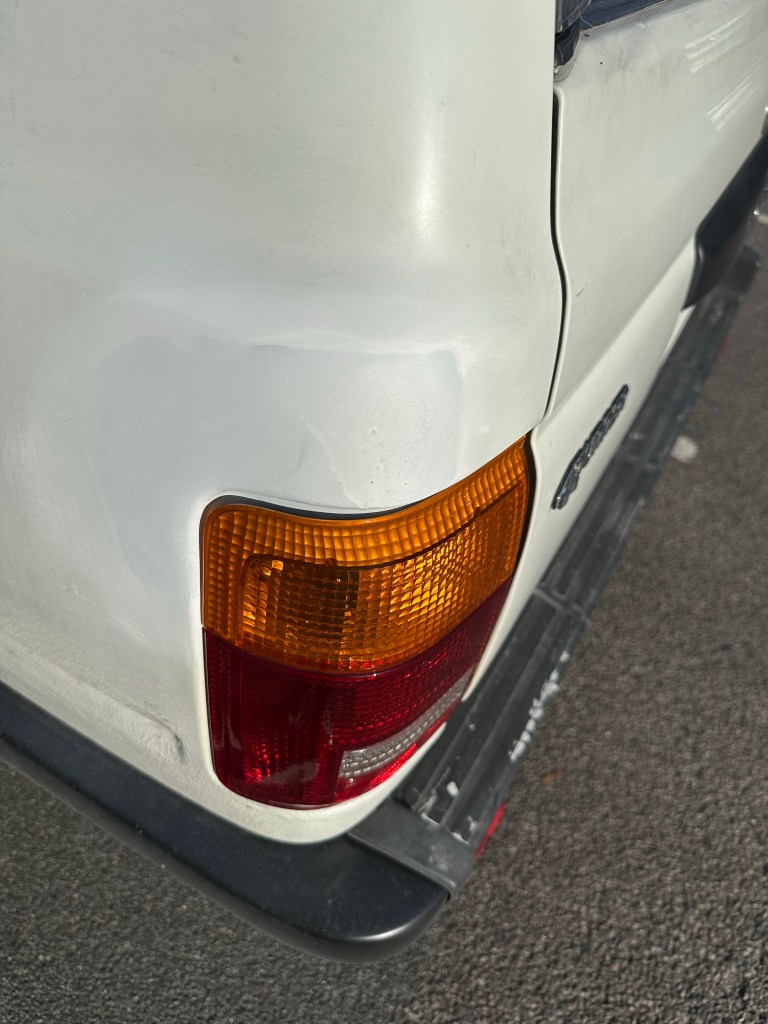
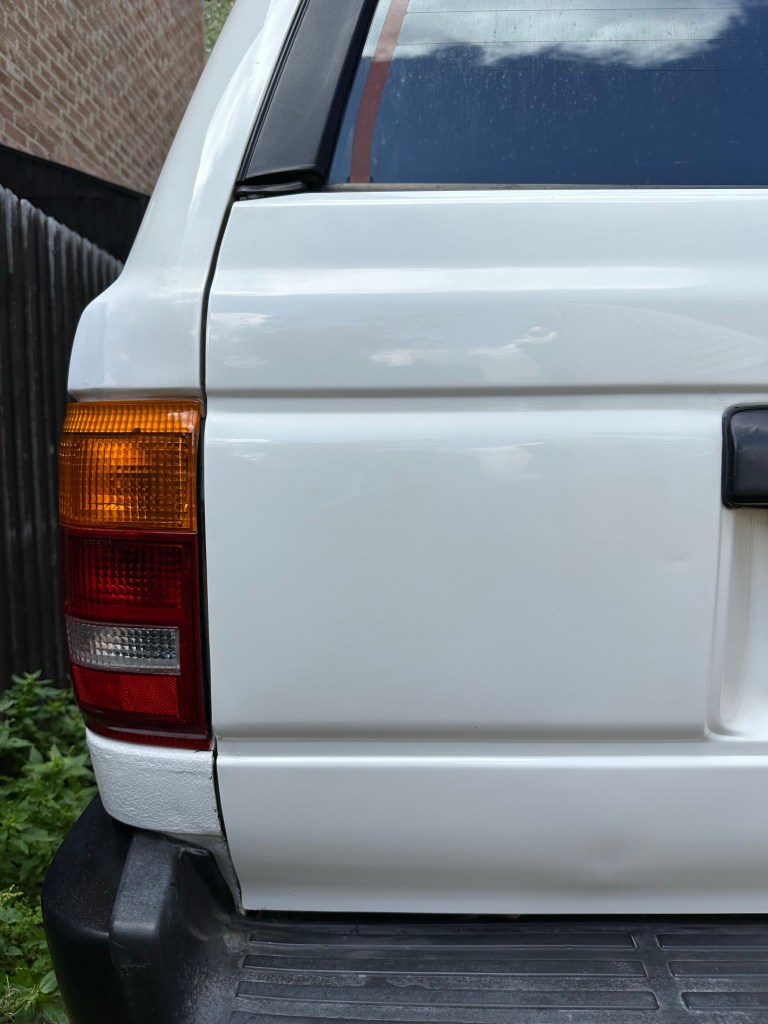
With the Fenders finished in a rather Fantastic Hue of Glacier White i.e. not bleached and battered by 30 Years of Summers and Winters, I did start to wonder about Colour Matching; new Paint was definitely going to contrast against the aged Bonnet, Front Wings and Tailgate..
Restoring the Paint on the aforementioned ahead of painting the Doors & Quarters would be a good idea I thought, if nothing but to compare to the Fenders so I could see what difference I could expect from the Doors and Rear Quarters..
First things first, a thorough and extensive Clean with AutoGlym Foaming Car Wash. I could feel the Paint under the Sponge during the Wash, resisting the glide a lack of squeaking when a little pressure was applied..
Next, I used a Clay Bar.. I have used this once before, and the result was quite amazing. It really does remove all the dirt and impurities embedded in the Paint, that even a good scrubbing won’t budge..
If you haven’t used a Clay Bar before, it is quite a simple job.. After a thorough clean, simply spray some Clay Luber on an area [start small to get the idea of it, say 6″ x 6″] and with a piece of Clay about the size of half a Golf Ball pressed to a disc, rub the Clay gently into the Paint.. You will instantly feel the Clay move easier as you retrace a pattern in the Paint. Once you have finished that section, fold the Clay disc over with the “dirty side” inward, and repeat the process on the next chosen section of Paint..


I opted for the Heavy Duty Clay Kit because the 4Runner had definitely never seen Clay Bar treatment before, and I wanted to make sure it was as effective as possible before I then used a finishing Polish.
It might seem odd to use a White Polish on White Paint, and I would have agreed with you, that is until I used it. The effect is quite remarkable. Simple application and then buffing after a 15 Minute “curing” time, by hand too so can be done on the Driveway on a Sunday without annoying the Neighbours.
Moment of truth was presenting a freshly painted Fender to the Bonnet and seeing if there was any noticeable difference..

Mucho reliefo.. Sure, there was a difference, but it’s not Night & Day..
Now that I was sure I wasn’t wasting my time by doing all that work to the Bonnet & Wings, it was time to tackle the..
Tailgate & Roof
Tailgate up next for the Paint Restore & Polish Treatment.. Order of Play..?
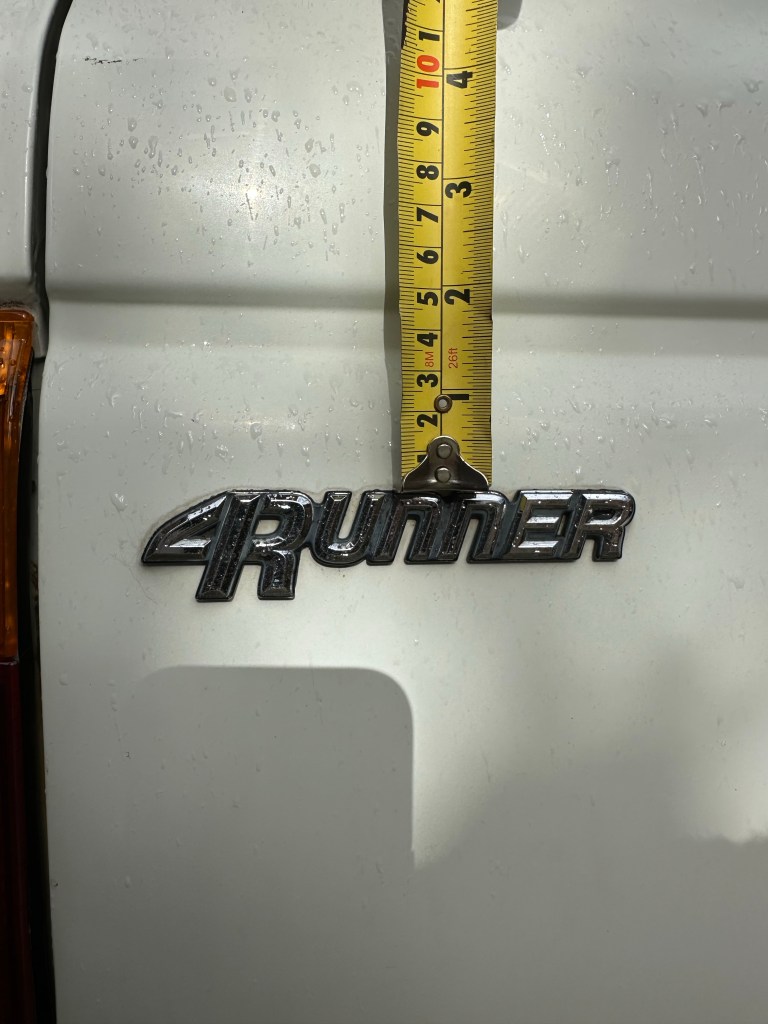
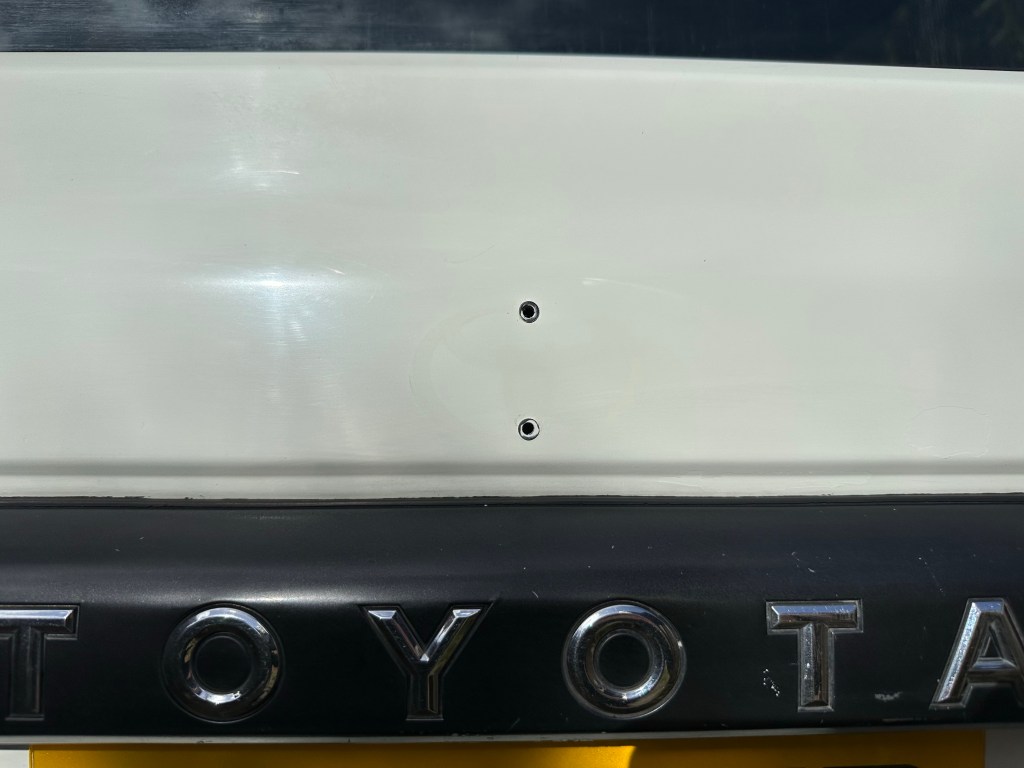
- Measure Badge Positioning
- Remove Badges
- Remove Badge Goo
- Clay Bar
- White Light Polish
Tape Measure to the Rescue..

Badge Removal is easy with a bit of Dental Floss, then out with the Toffee Wheel to remove the Sticky Stuff, and Goo Gone to remove the Goo..


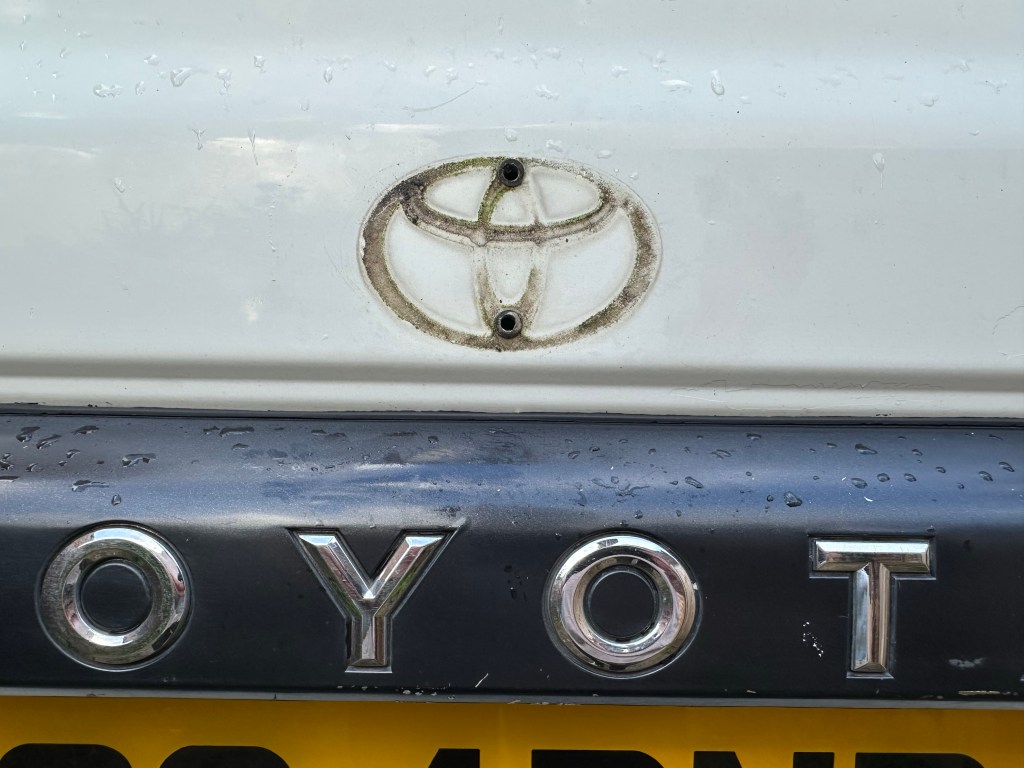
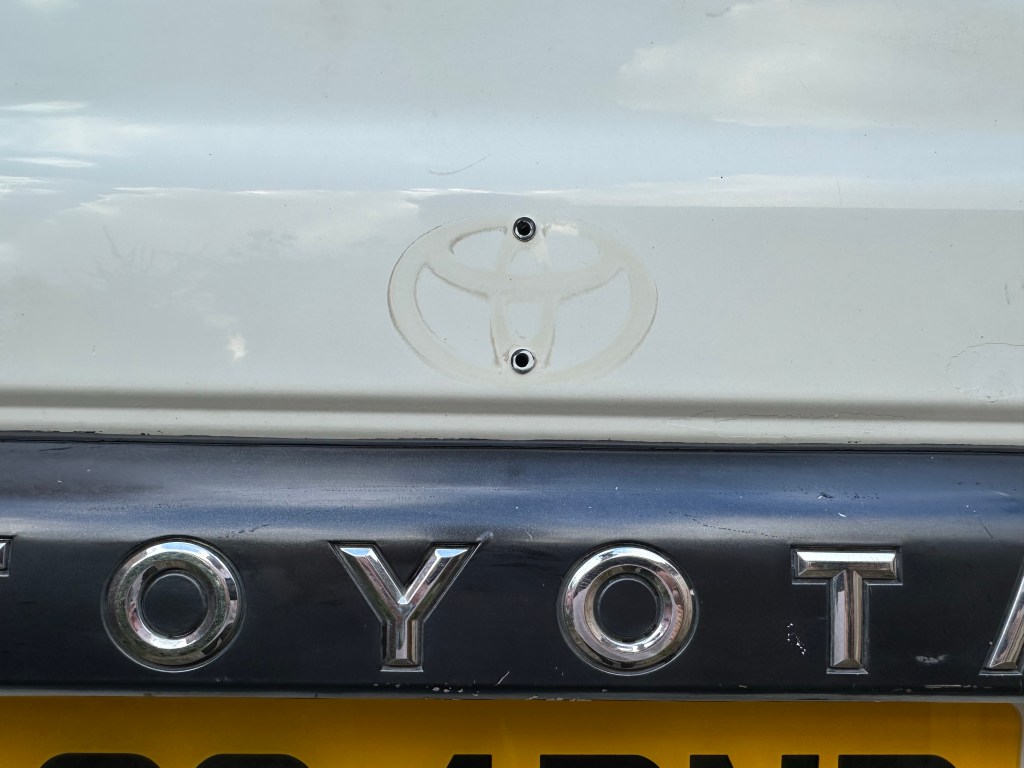
Toyota Crest..
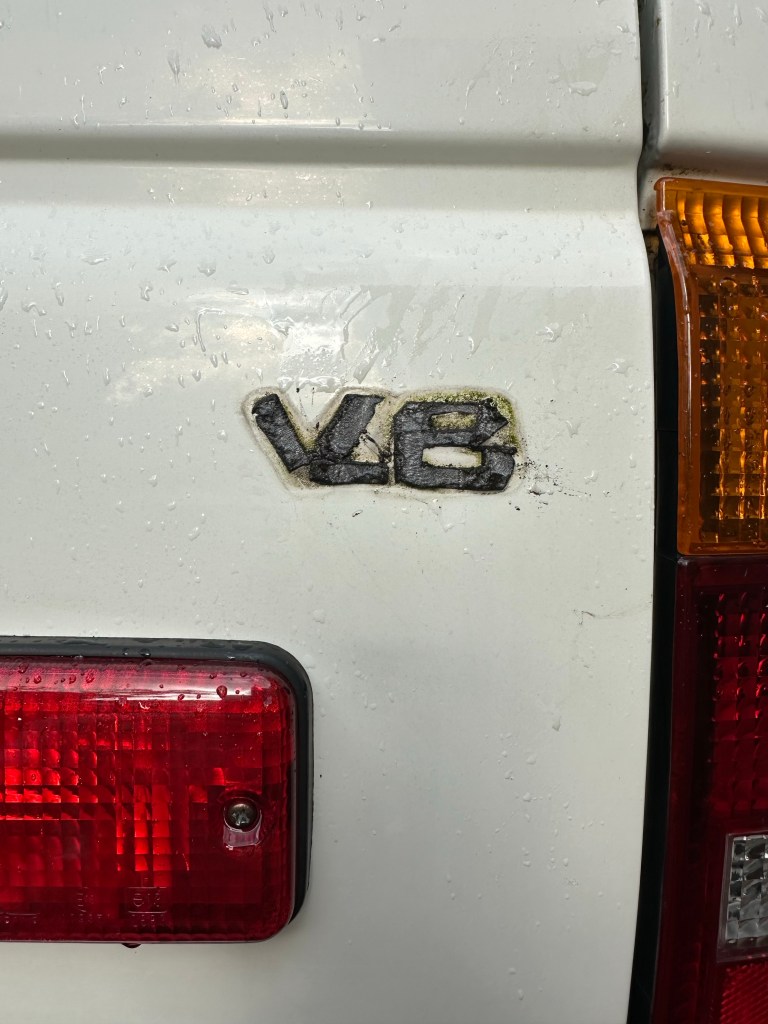
..and the V6 Badge attracted similar and if not the same treatment..


..and as I mentioned earlier, start with a small area and see how you go.. After a full Clay Barring, the Tailgate was looking much cleaner, and much brighter.. You can just about make out the outline of where the Badges were..


On to the White Light Polish, and this is where the protection of the newly cleaned Paint comes in, preventing future contamination [or at least, reducing it significantly] and brightening the Paint in the process..

Apply with a clean Cloth and allow to cure for 15 Minutes or so, then buff..


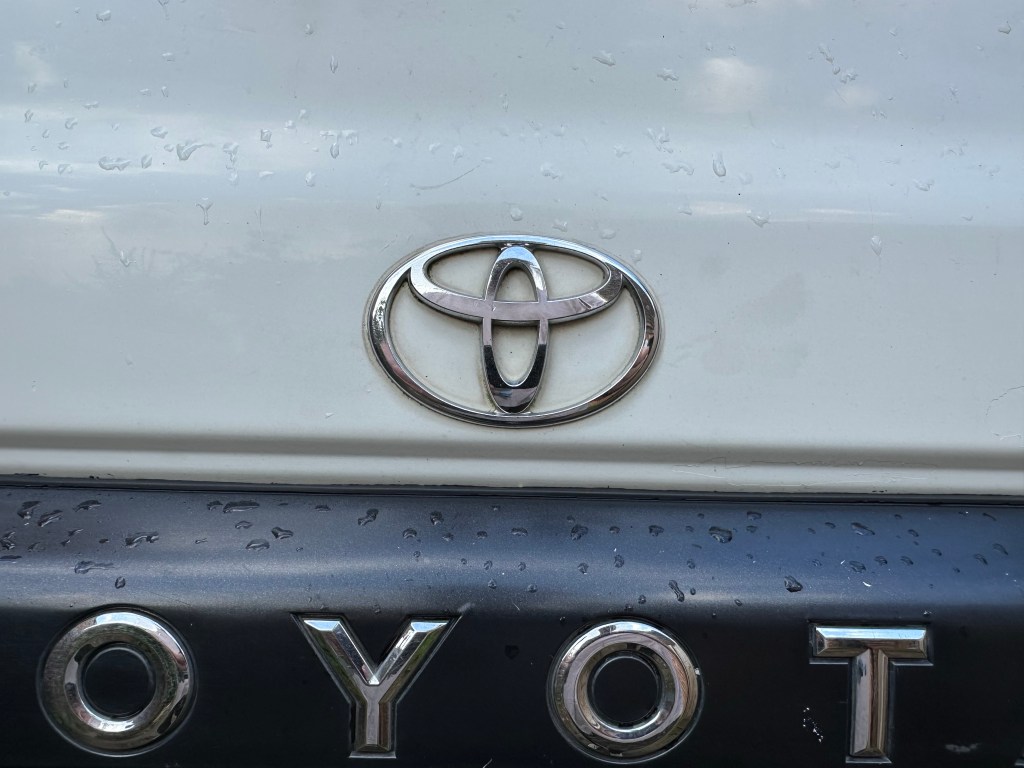
How’s that for a Finish..
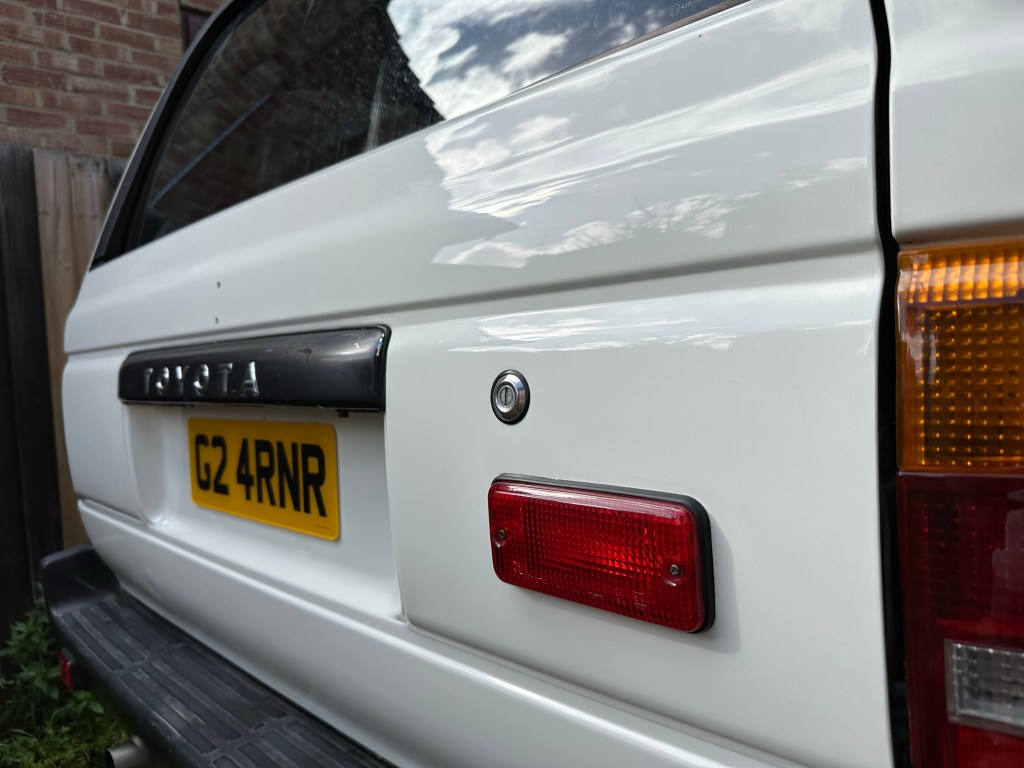
Cleaned Toyota Crest Badge refitted..


I will refit the 4Runner and V6 Badges when I have cleaned them and sourced some suitable Double Sided Tape etc.
The Roof was next for a full Clay Bar and Polish, and it came out pretty bloody good.. Sure, there are some rust spots here and there which I’ll address before Winter kicks in, but with that protective layer of Polish, it’ll do for now.. And this exercise was about restoring the Paint to a brilliance that will lessen the difference to the new Paint..
Here you can see the far half of the roof having had the White Light applied and the near half where it has been buffed.

White is not the best colour for showing before and after, that’s for sure, but trust me when I say that the feel of the Paint, both on the Roof and the Tailgate, has dramatically improved..
Of course, the Proof in the Pudding would be when the New Paint went on, and the 4Runner was rolled out into the Autumn Sunshine. That, next..
Categories

wow!! 43Beast Restoration: Pre Paint
LikeLiked by 1 person
great job mate
LikeLike