Beast Restoration: Flooring

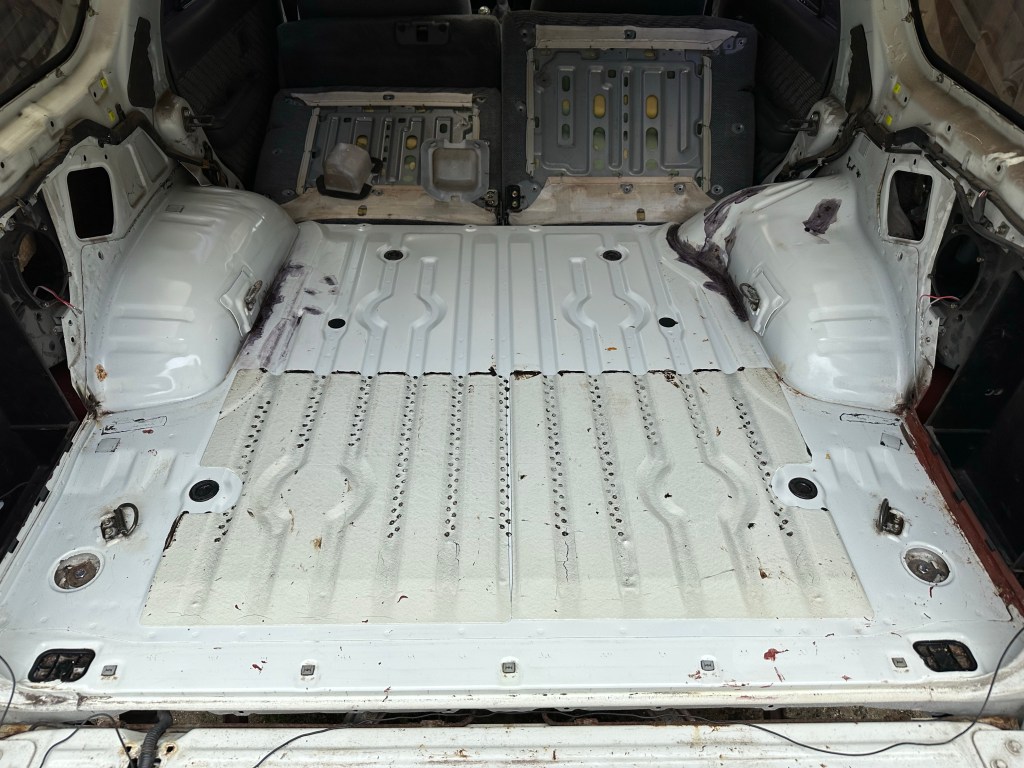
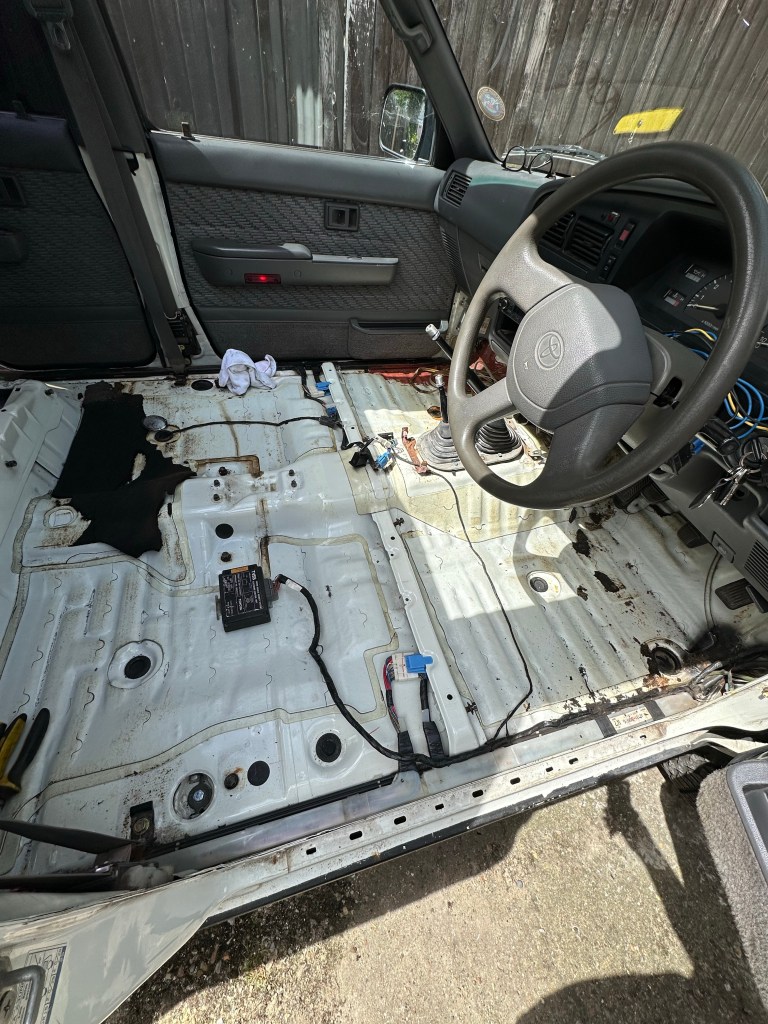
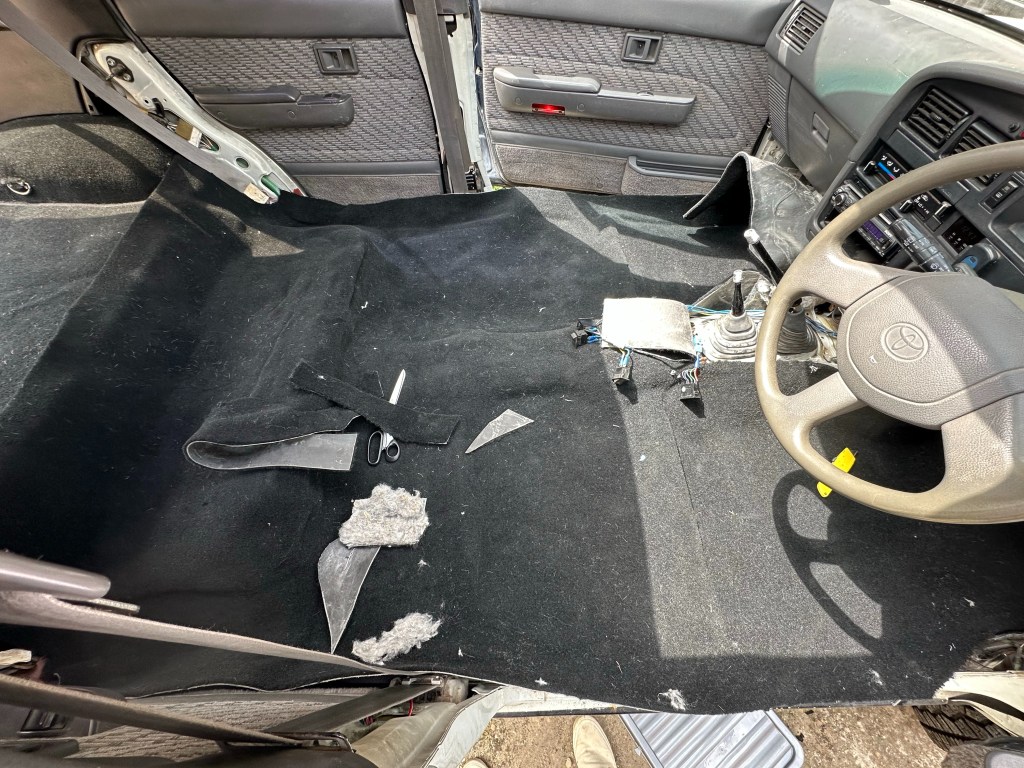
Removing the Original Factory Carpet, it was clear how in desperate need it was of replacing. Not only had most [if not all] of the Sound Deadening disintegrated, but the weave itself was thinning to the point of being thread bare. Cosmetically, it was several shades of Sun Bleached.
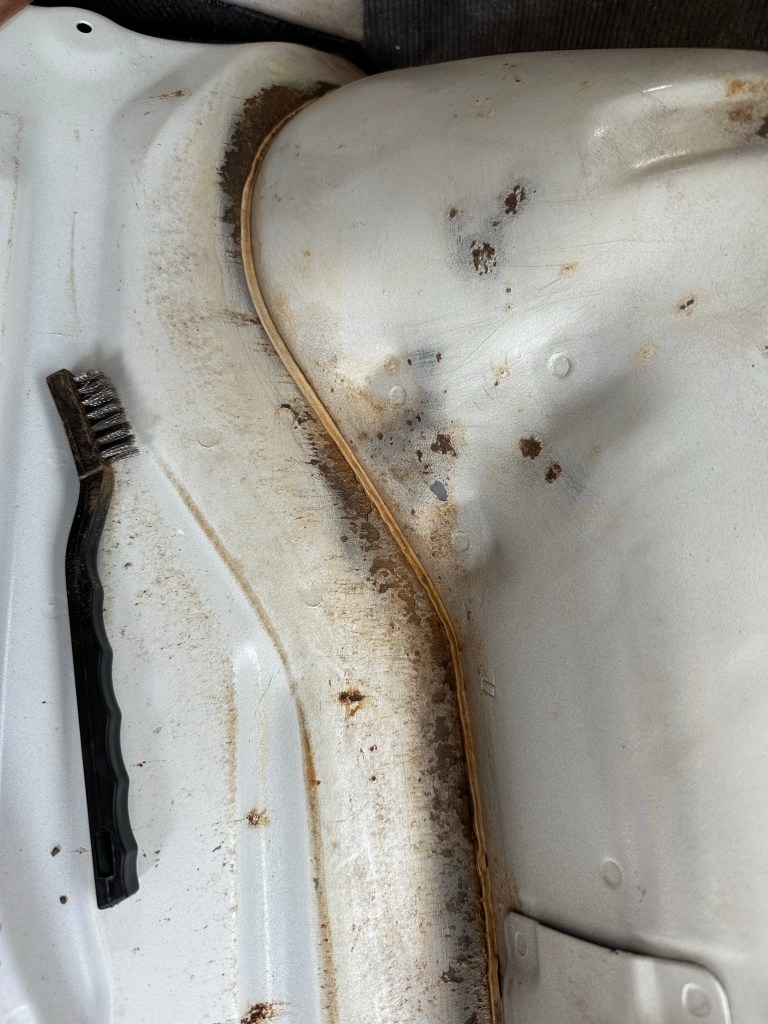
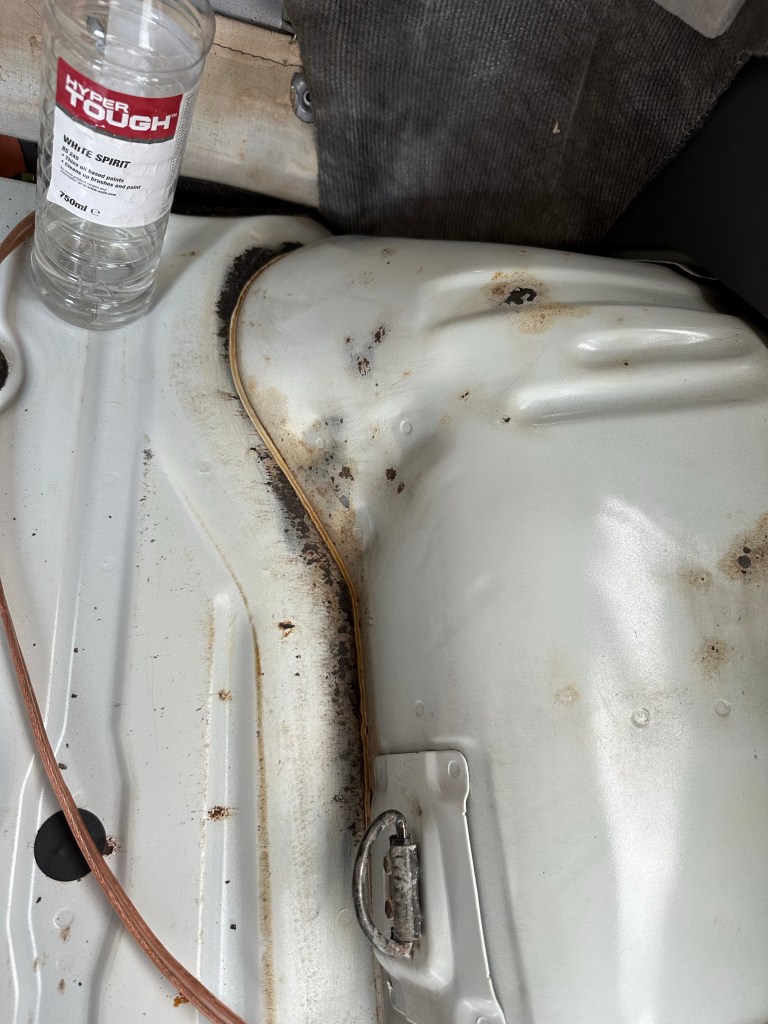
Touch of Rust
The Old Carpet had also been harbouring the 4Runner’s ubiquitous Enemy: Rust. More of the damned stuff, this time along the seam line between the Floor Pan and Wheel Arches. I can’t say I was surprised though, it’s always there, even when you think you have eradicated, treated or replaced Rusty Metal, there is always some elsewhere waiting to be [hopefully] discovered.
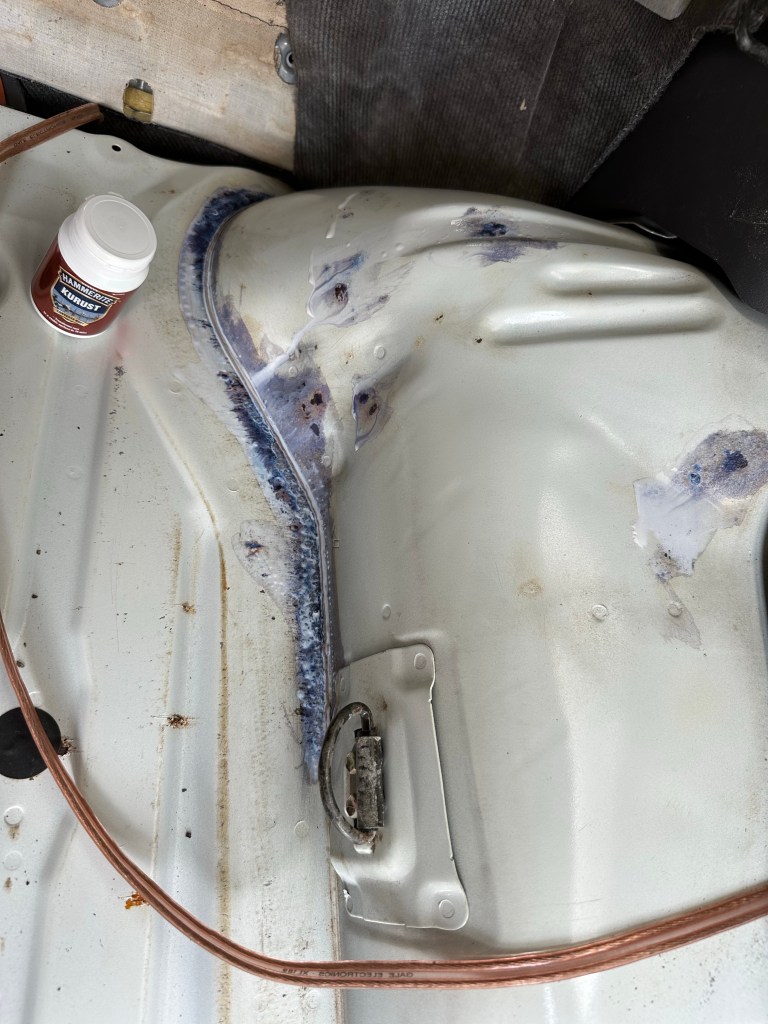
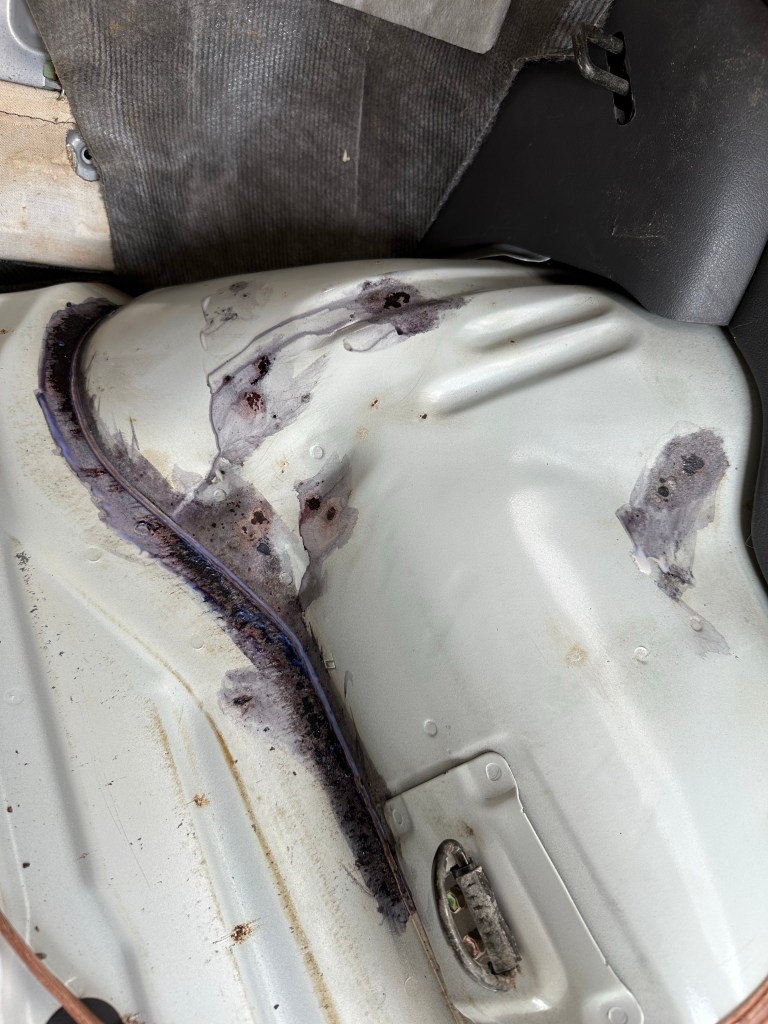
Since I knew the underside of the Inner Wheel Arches was solid this was just a case of Rust Converting the Surface Rust. Hammerite’s Kurust [Cure Rust, geddit..?] to the rescue.


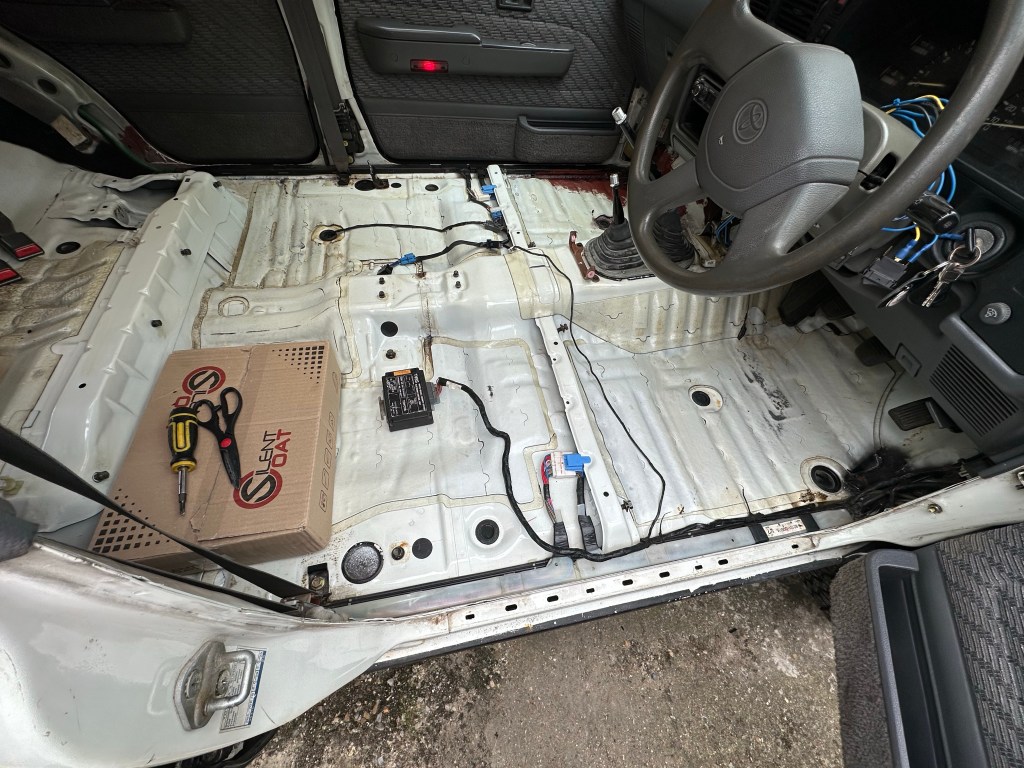
Feel The Noize
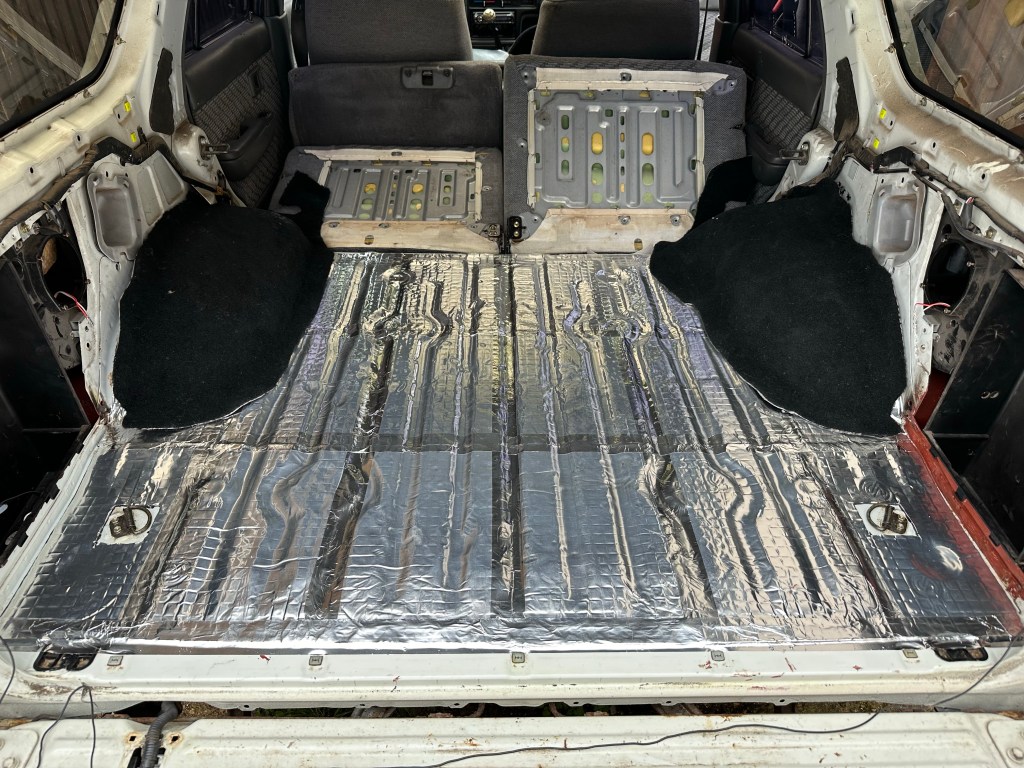
Next, Sound Deadening. Having spoken to Matt at Silent Coat, he recommended 3mm for the Cabin area and 4mm for the Boot section.


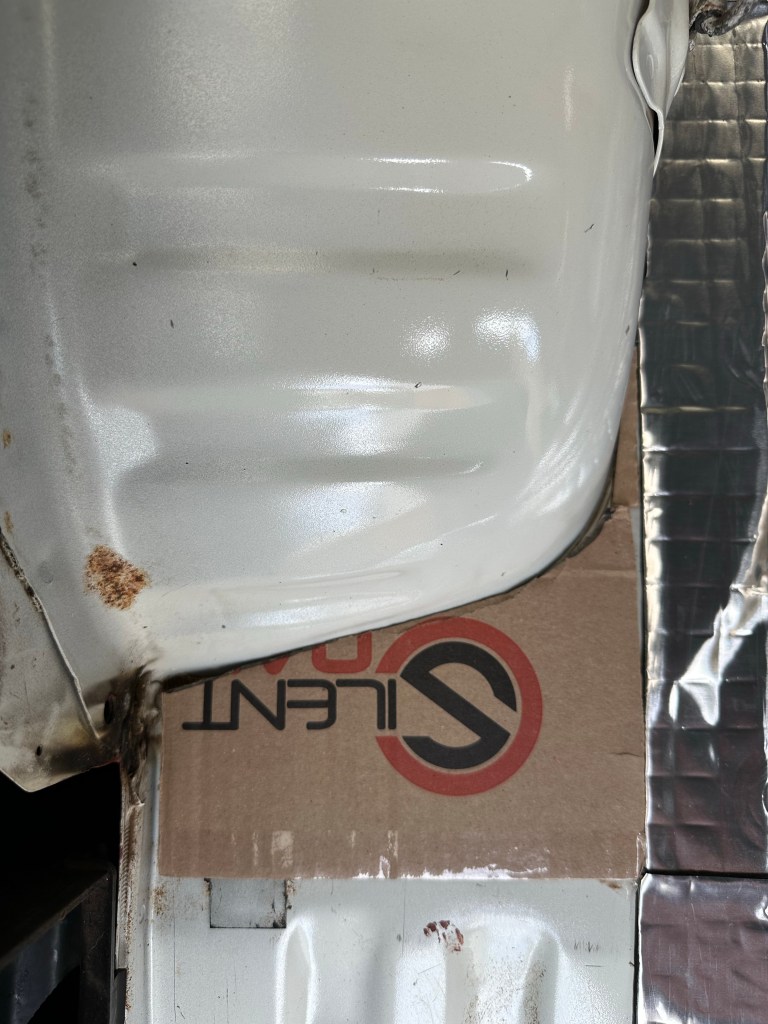
Cardboard Templates for the Wheel Arch sections, and smaller pieces to match the curved arches themselves.


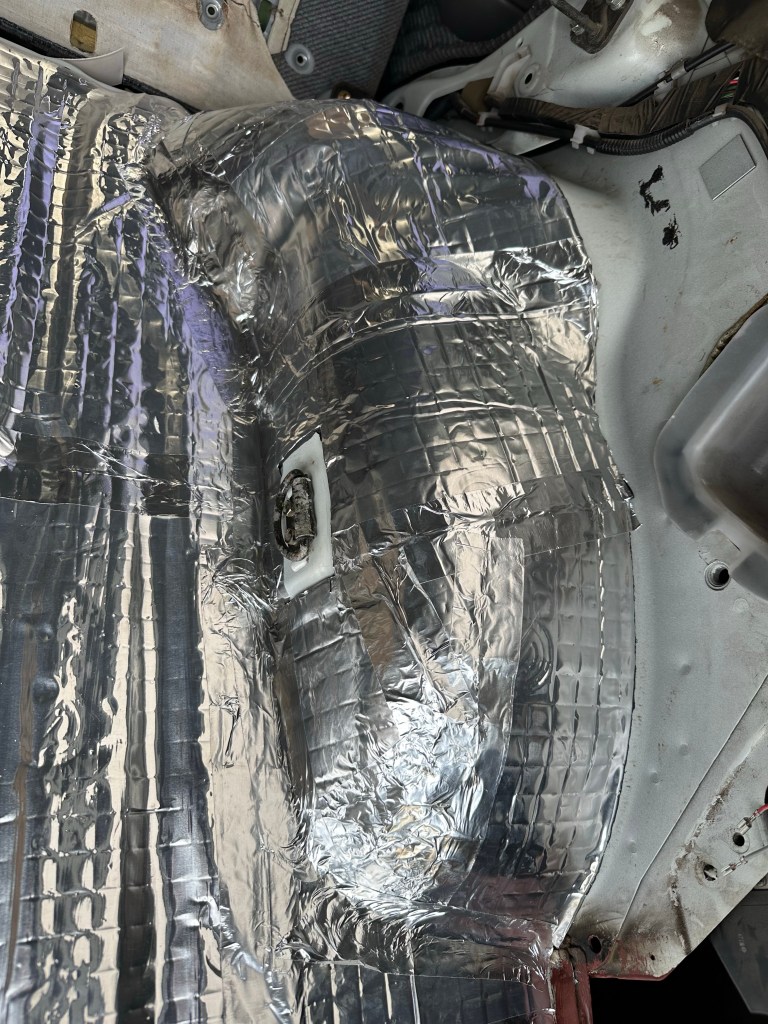


The finishing touch was Aluminium Taping all the Joins, this was the most laborious part of the Job. That Tape is Super Sticky, Super Inflexible and Very Very Sharp.
Deep Shag
I have had my eye on the replacement Carpet on offer at Ray Buck in the US, waiting for the right moment. Shipping was the deal breaker every time I went to price it and click Buy Now. I had also gone around in circles over the Colour Combo for the Interior. Greens, Blues and Browns, but ultimately knew that Black would be the most logical for colour matching when it came to restoring the Trim Parts and ultimately replacing the Seats.
At the beginning of April Ray Buck decided to have a 20% Off Everything Sale, so I seized that moment and hit the Button; a coupla weeks and £80 Import Duty later, the Carpet Set arrived.


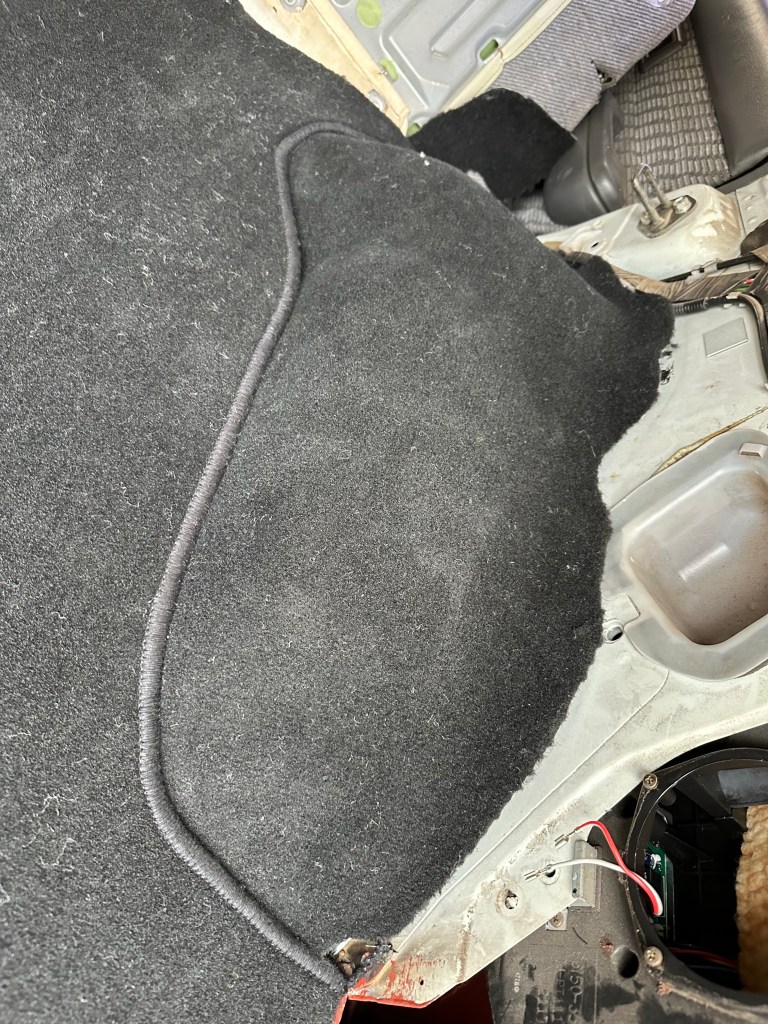
Naturally I went for the more expensive option of the Mass Backing, which more or less doubled the cost of the Carpet but provided an extra layer of Comfort, Quality and Sound Deadening. Laying out the Carpet, this seemed a much more straight forward undertaking than previous experiences.
Starting at the Back and working forward, the Boot space gets the New Carpet first, and these Sections of Carpet were cut perfectly to fit so no Trimming required. Although I did need to cut openings for the Cargo Net Hoops; brought back memories of the 968.


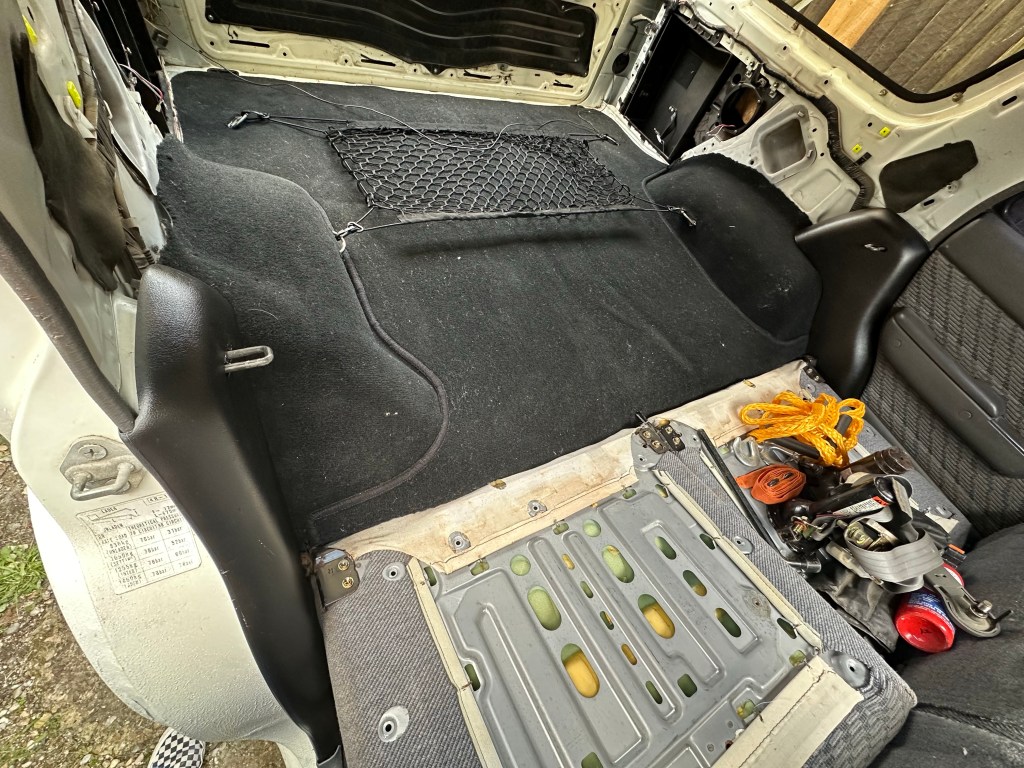
Time to more forward, literally.
Rear Seats came out okay, but the Fronts gave me a surprise. The Passenger Mounting Frame has a split in it at one of the Feet, added to the fact that the securing Bolt was rounded I decided to sacrifice the Foot and grind it off enabling removal the Seat. Yes, somewhat rudimentary and yes, I butchered the Mount, but I could/would not have put the Passenger Seat back in the 4Runner with the Foot the way it was anyways, so.


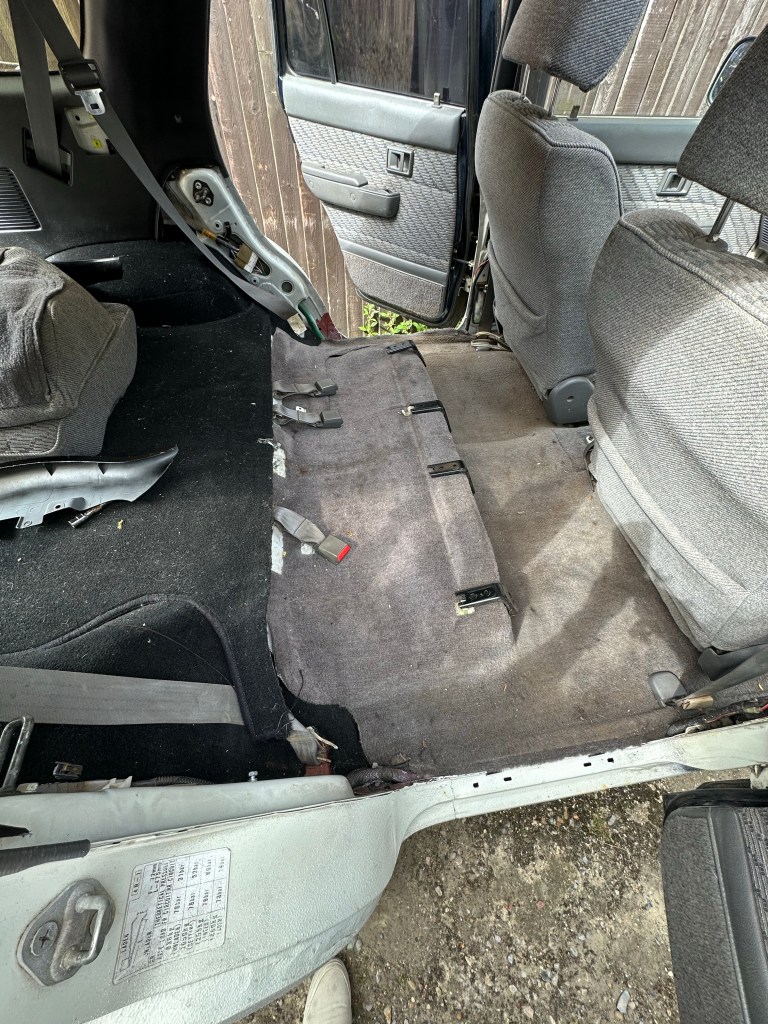

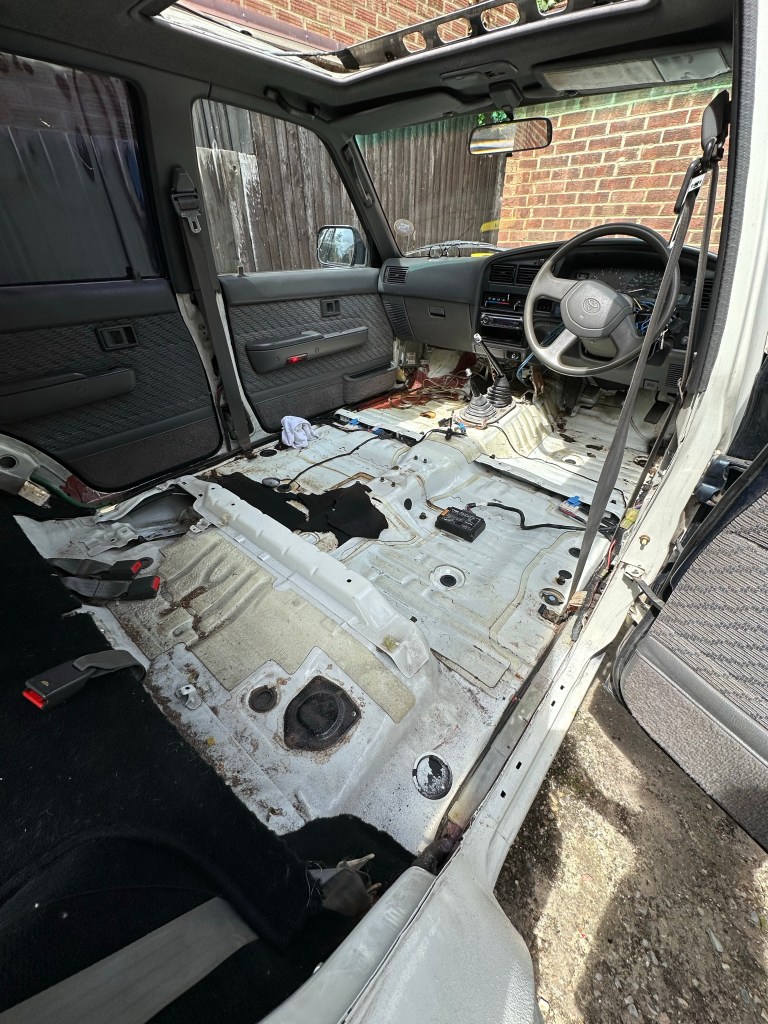

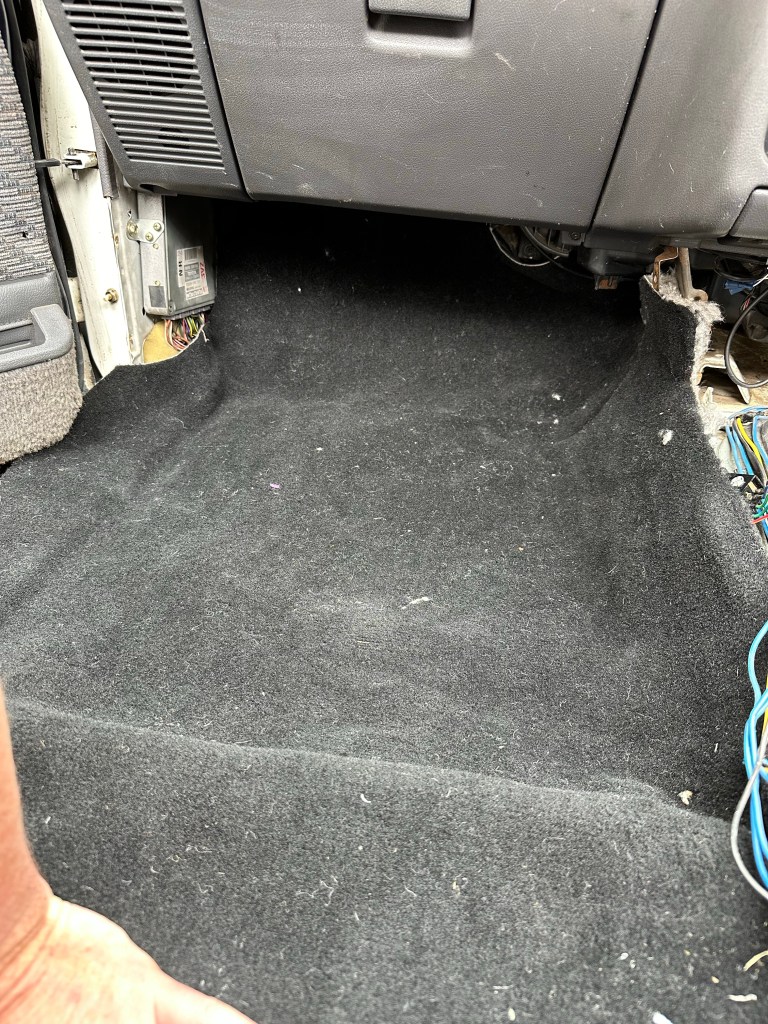
It was a bit of a mess under that Carpet to be honest. The Factory Sound Deadening [for what it was worth] had disintegrated over the years to an exhausted Dust, and Years of Dirt and Debris had found its way through the threadbare Carpet. Despite most of the Carpet having been moved out of the way for Body Work at Hellbent, there was still much that had not seen the light since 1994.
Hoovering, Goo Gone and a Damp Cloth went to work cleaning the surface in preparation for the Sound Deadening Mats.
It’s very satisfying working from a Blank Canvas.

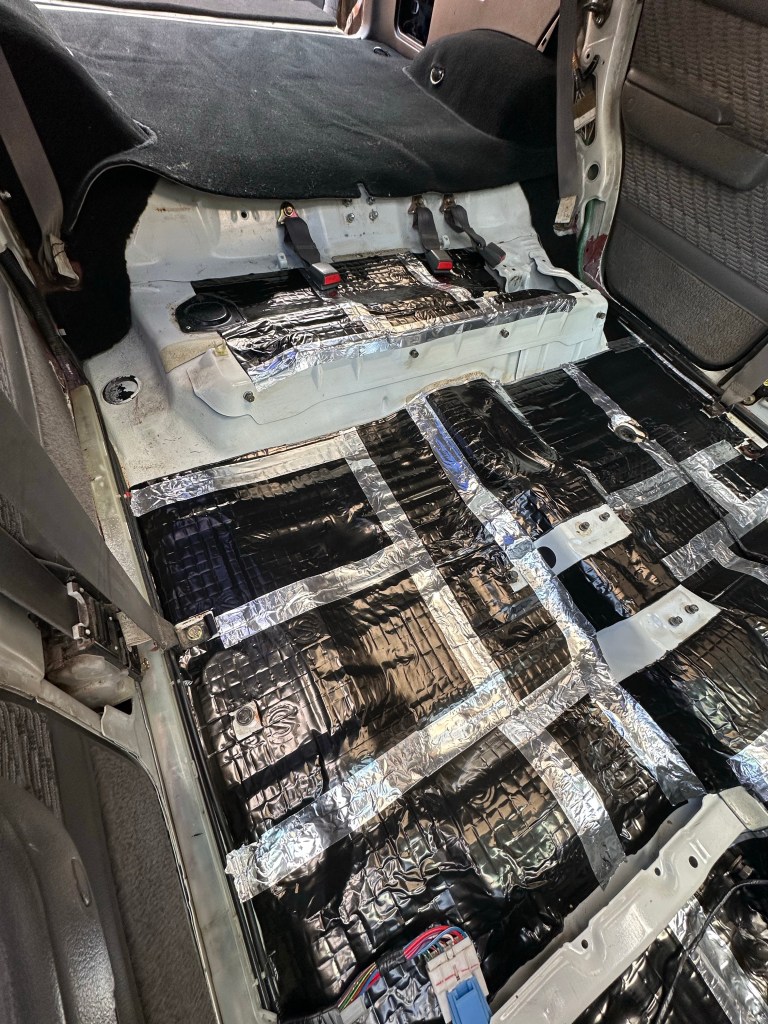

I was very nearly going to skip the Taping this time, but something inside me just couldn’t let that happen. I put a little section between the Transmission Rubber Gaiter and the Body just for good measure too.

In with the Carpet.. Laying the Carpet out on the Lawn, I thought I might just check the alignment of the New with Old lying on top of it. Can you imagine my surprise when I flipped the Old Carpet, and found a Dog stuck to the underside of it..??


The New Carpet went in very well, with markings in the Mass Backing to help me with trimming. Nevertheless, I went with a Measure Three Times / Cut Once approach.

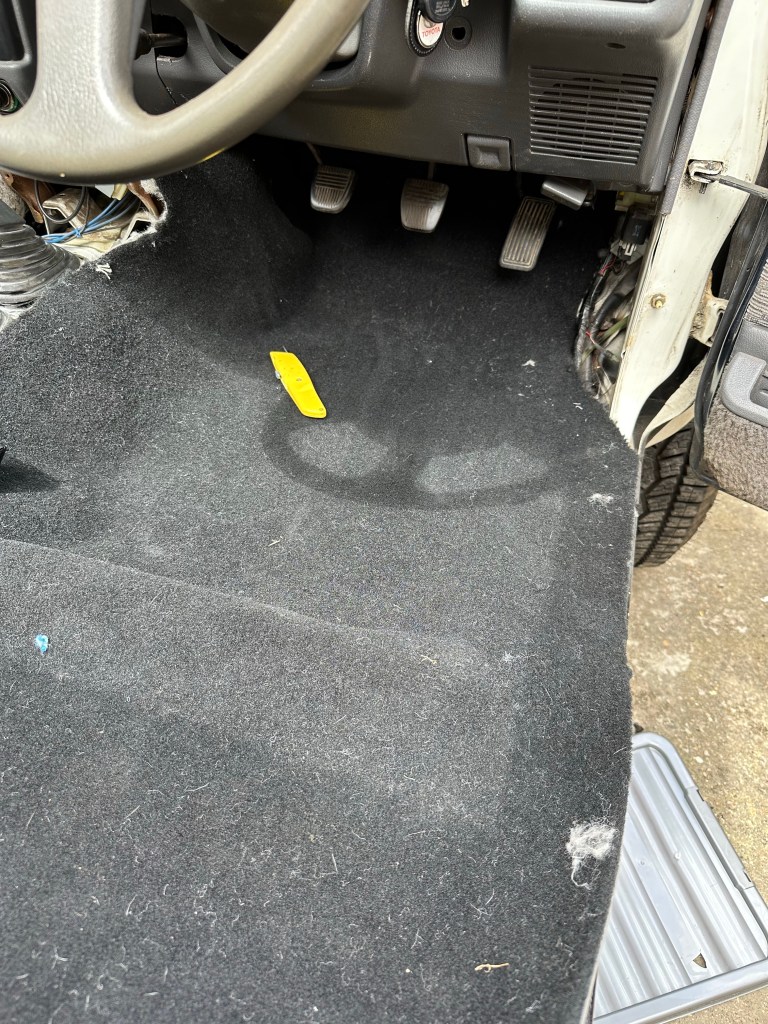
After bumping my Head about two dozens times, cutting both hands comprehensively on the Stanley and getting Carpet Burns on both Knees, it started to look pretty good.


Yes, very happy with that.
Added bonus this time around, was that the Cabin didn’t reek of Contact Adhesive [as much fun as that was in the 993], replaced instead with that New Car[pet] Smell, sort of. Next step was to put back in all the Trim that held the Carpet edges in place; Centre Console, Tread Trim etc. And of course the Seats.

Categories

One thought on “Beast Restoration: Flooring” Leave a comment ›