Air

In.
A Performance Air Filter is very often the first Engine modification to be made when seeking extra Horse Power from an Internal Combustion Engine. Allowing more Air in through the Intake Manifold with less resistance allows the Engine to burn more Fuel and hence produce more Power.
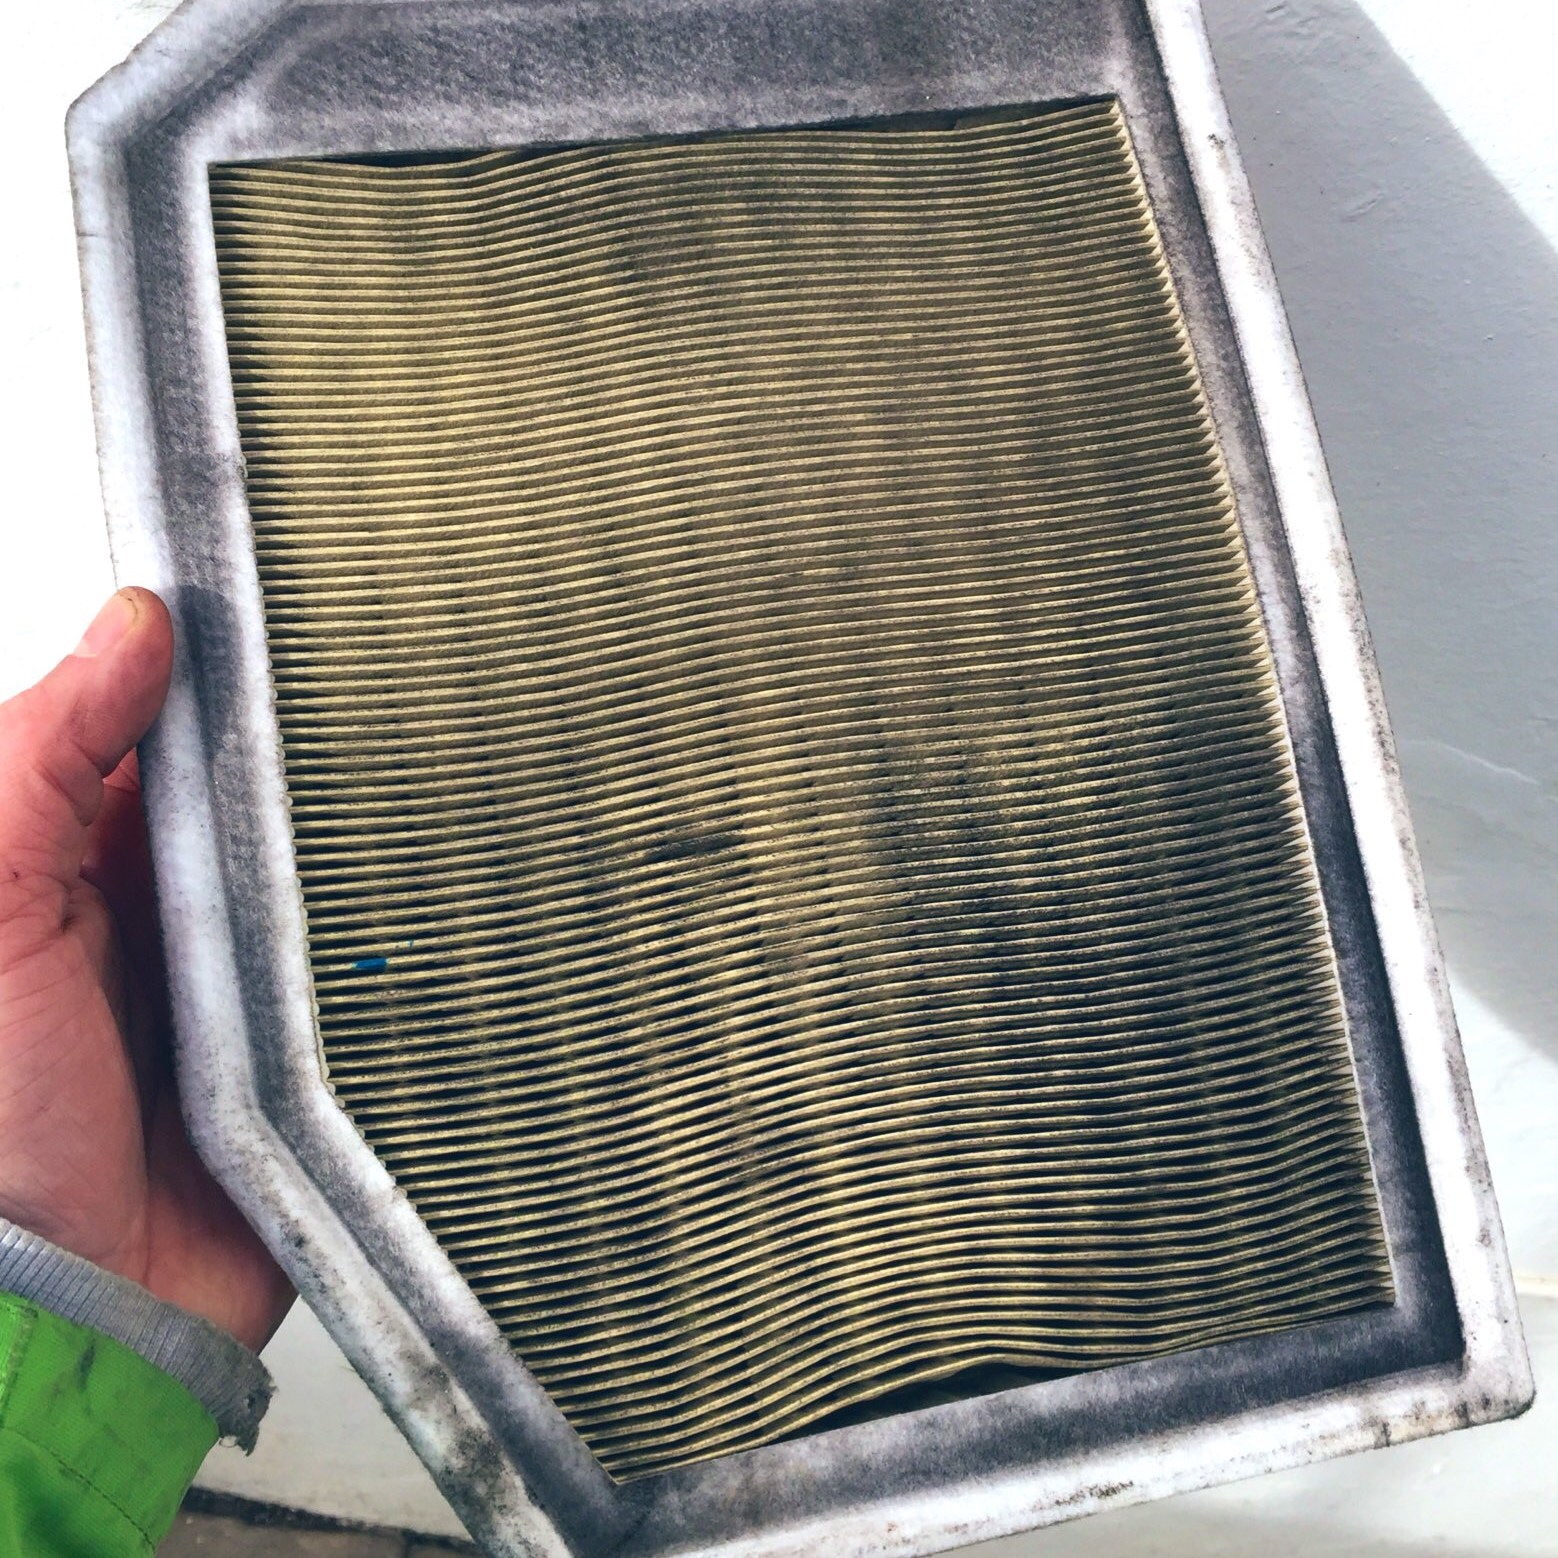
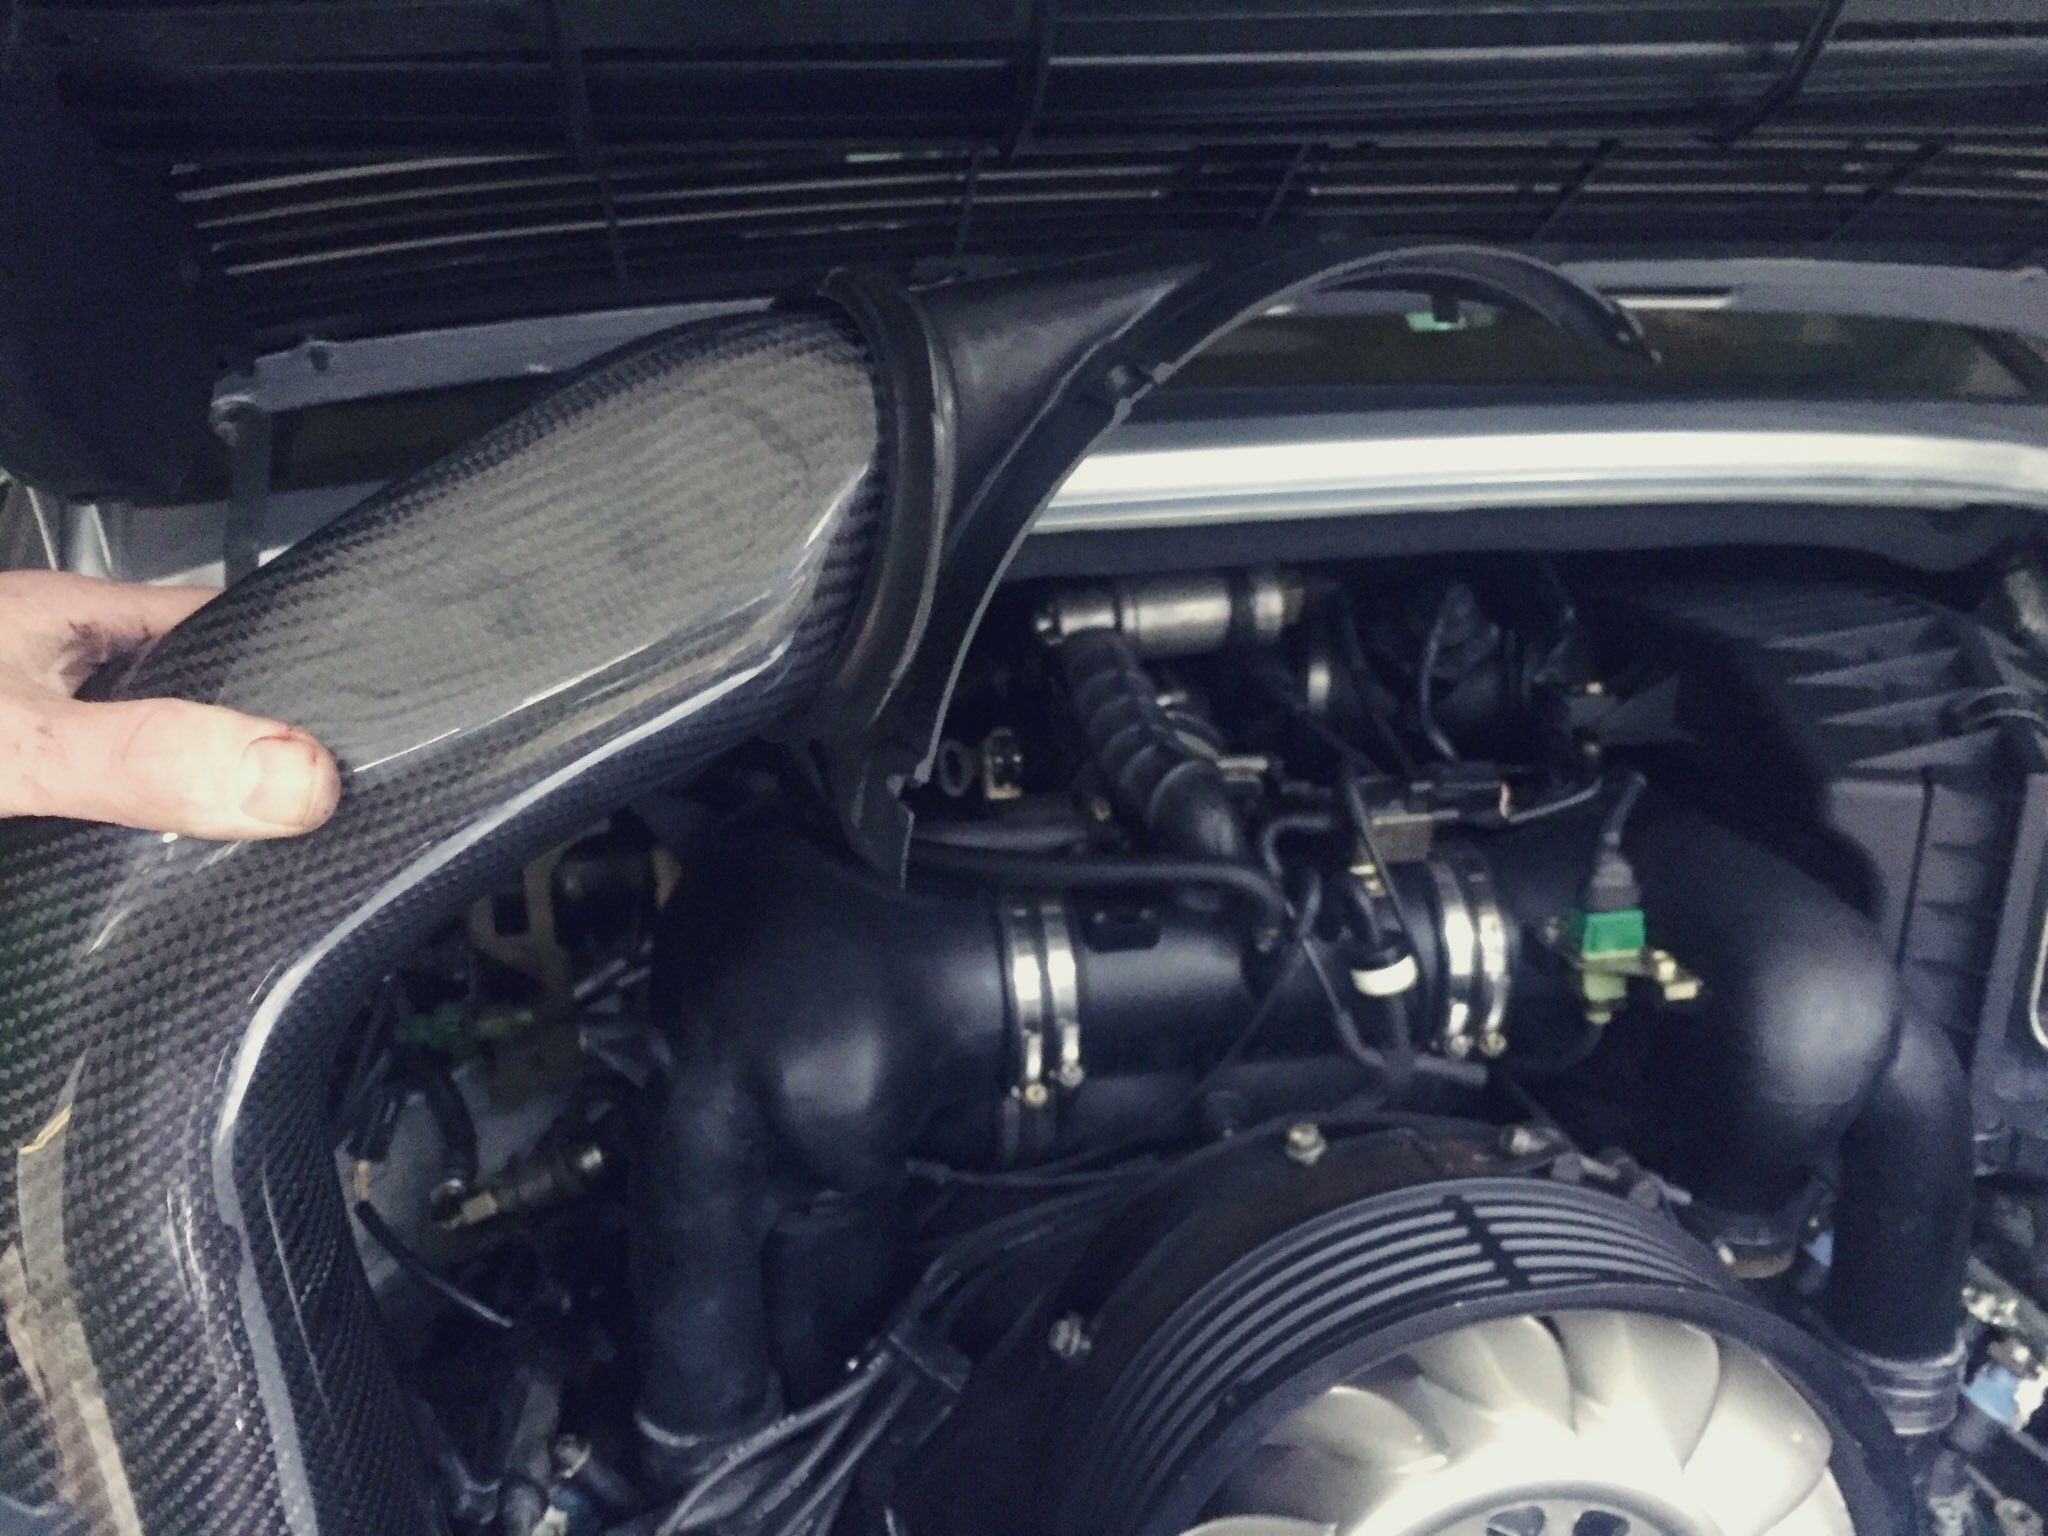
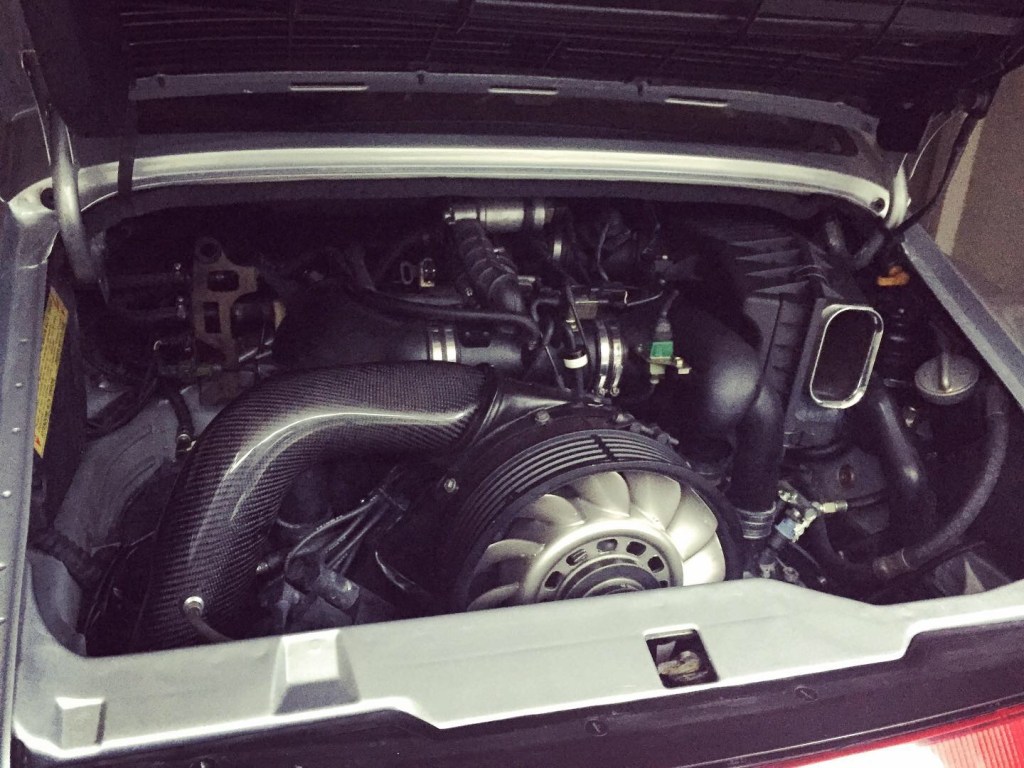
The 993 comes fitted as standard with a Box & Filter through which Air is drawn, it enters via a cassette/cigarette packet size aperture. Increasing the size of this entry obviously increases the volume of Air into the Engine, and so replacing the entire unit with a Conical Air Filter makes total sense. Some say that the conical filter actually allows [more] Warm Air into the Manifold, which is less dense than its Cold cousin, but to hell with it; the conical one looks cool..


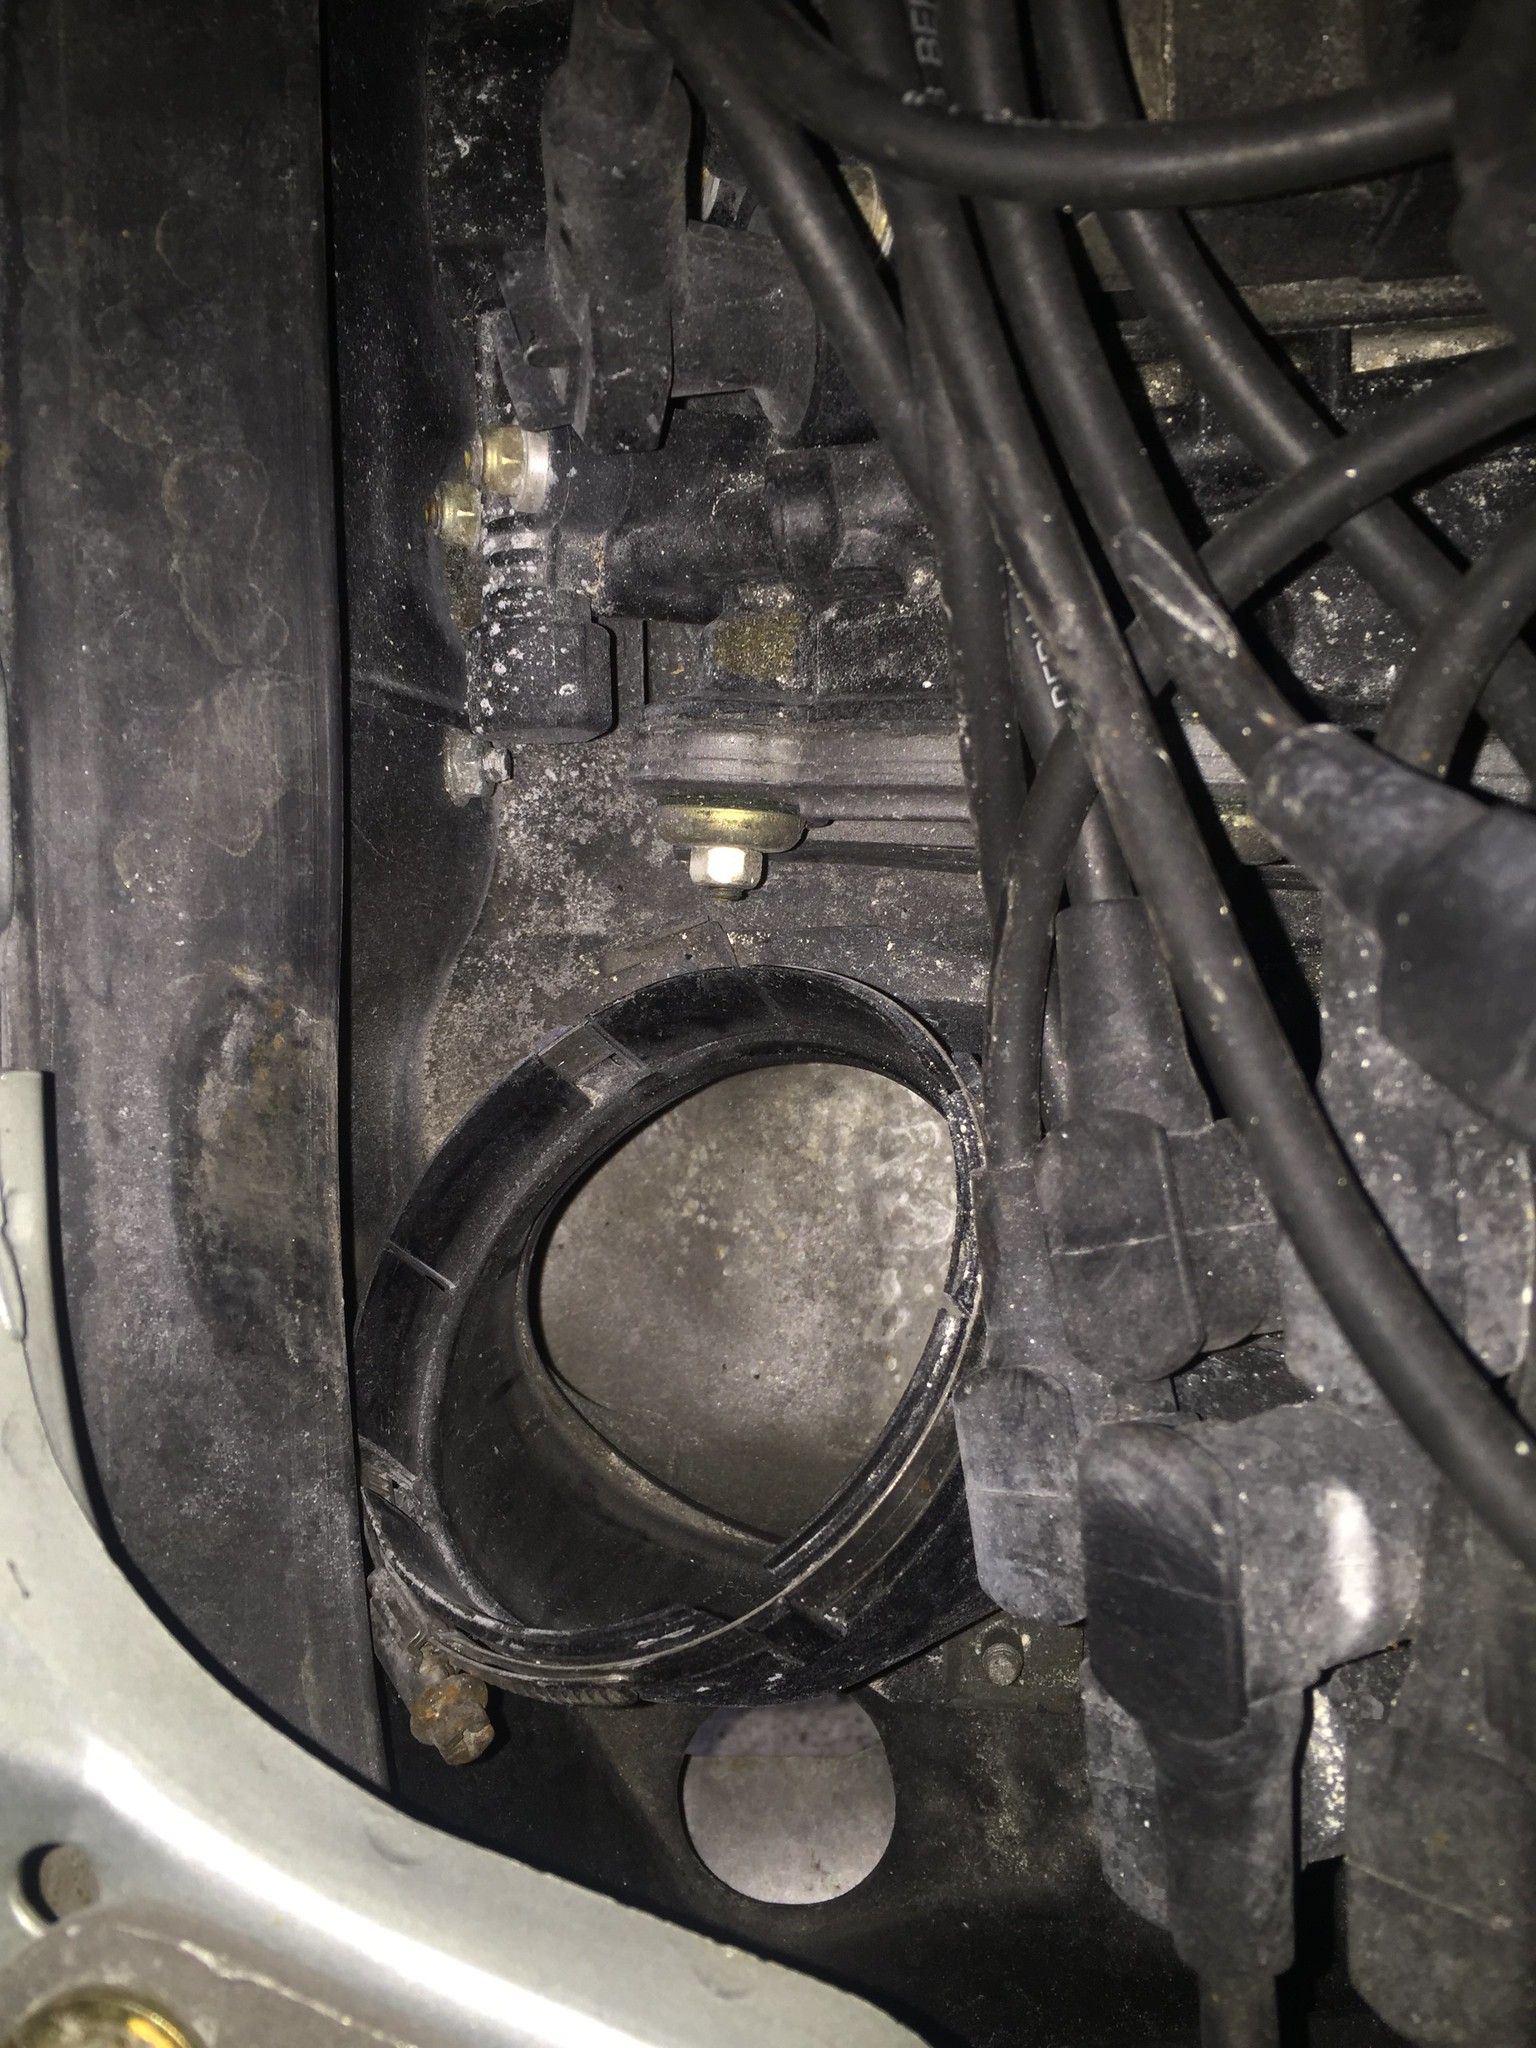
Take care when removing the OEM Box, because whilst it is a simple procedure, you must be careful not to damage the Mass Air Filter. Believe it or not, there is a very very fine filament across which the Air passes before entering the Manifold. If you damage this, not only can it be costly, but it is also a very time consuming replacement [I have been told].
For my performance filter I chose the BMC Filter & FVD Brombacher Power Flow Intake kit that also handles the Residual Clutch Dust “goose neck” bypass. Why does the Clutch have a Rubber Hose from the Bell Housing to the Intake Filter..? Porsche 993 Launch Material – “Impeller blades inside the pressure plate draw fresh air in; the hot air exits through exhaust stubs in the bell housing into the engine air filter, with engine vacuum assisting.” So there. Apparently it helps with Clutch Longevity.
Some say that is also reduces the expulsion of Clutch Dust into the atmosphere, which seems a bit like a Diversionary Tactic for the 911’s Performance Combustion Engine carbon footprint.

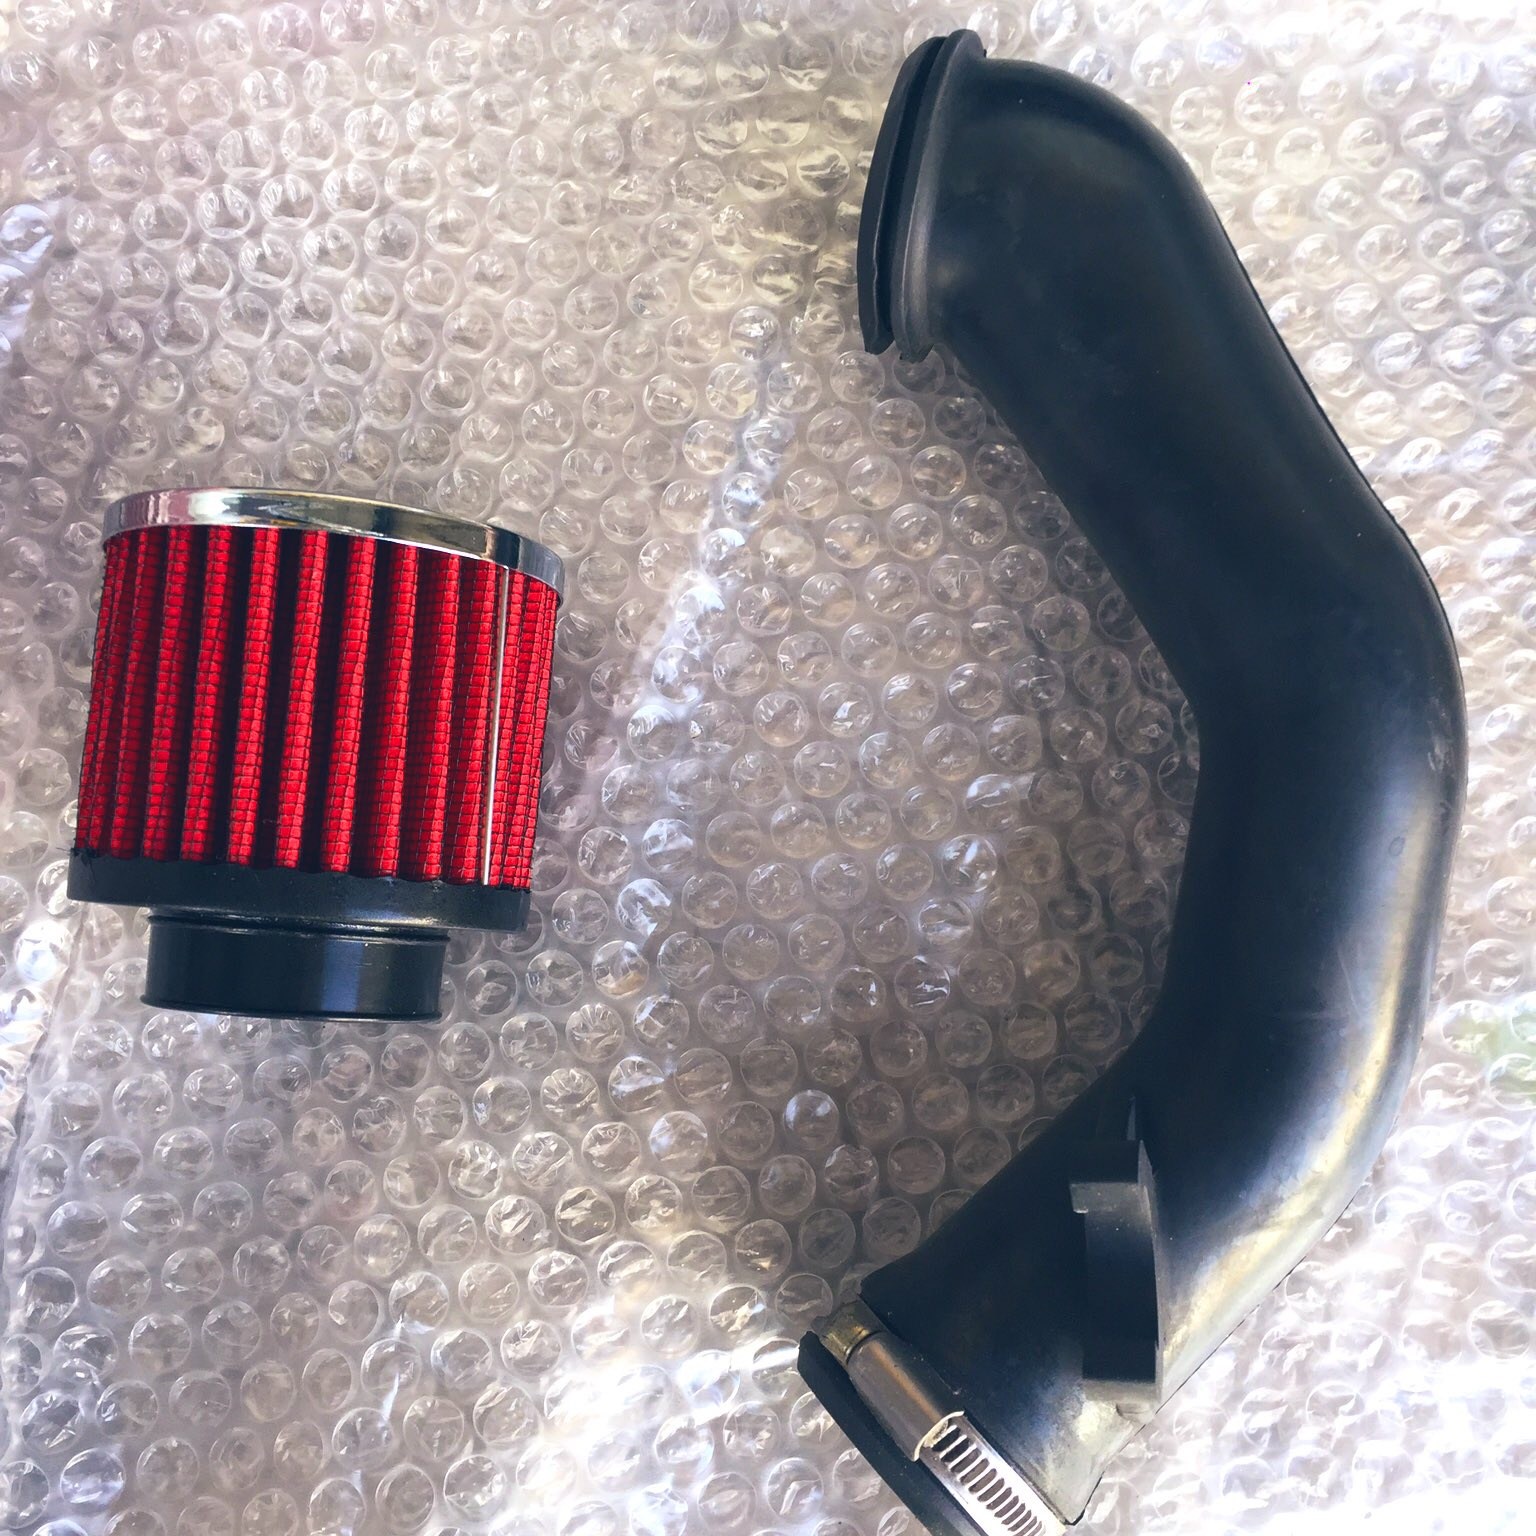
Fitment is straight forward and requires little time [and surprisingly little patience too, which is rare when dealing with a classic 911]. Keep a hold of the old Air Box though, because whilst others may tempt you to sell it to recoup the cost of the new unit, you never know when you might need it. Cap the Clutch Dust Inlet into the Engine Bay with the small Filter.

Note the smaller Clutch Filter, bottom right
Out.
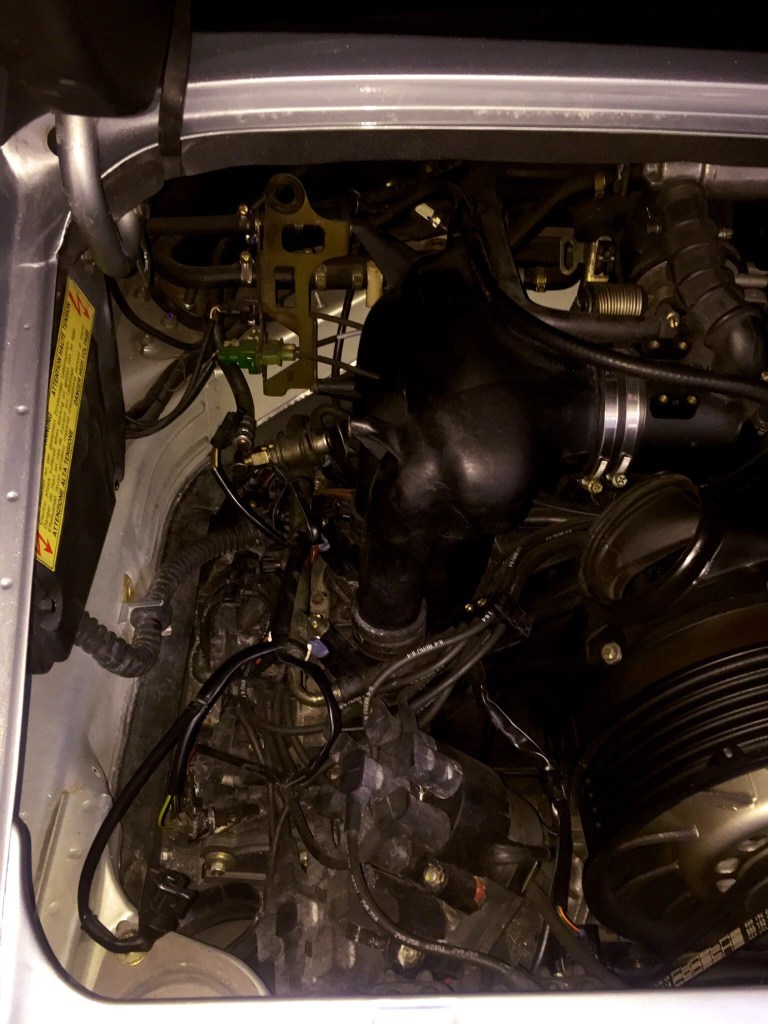
The Heater mechanism in the Engine Bay draws the Hot air off the Engine Block by means of an electric impeller fan, blowing the Hot Air into the rear Heater Pipe. It’s the big thing on the left in the photo below, with the white sticker on it. This mechanism weighs a couple of Bags of Sugar and can easily, without much loss of Heat, be replaced hence bypassed, by a simple pipe connected to the Fan Shroud and the Heater Pipe.

Again, a relatively easy and trouble free upgrade / procedure, the only bit of bother presenting itself is the working of the Bypass Pipe into the Fan Shroud cap.
If you have a Varioram Engine [which my 993 does not], you will need to additionally purchase a 964 Fan Shroud part in order to connect the Bypass Pipe. I chose a replica of Porsche RS Lightweight Factory part, not only because I thought this was as true to the original as possible but also because, well, it’s Carbon..
There are two bolts holding the Blower in place, and they are on the underside of the unit itself. You will have to feel your way when undoing these.

Easy enough though, the old unit should wriggle out once you have disconnected the Hose, Jubillee Clip and Fan Shroud attachment.

Once you have the Blower Motor out, lay out both parts, weigh them, do whatever you want to justify the spend. I did.
That nipple on the Bypass Pipe is for the Distributor Breather Pipe, don’t forget to connect that up when fitted.

Before attempting installation, it’s best to remove the Fan Shroud part and fit it to the Bypass Pipe. Trying to fit this with the Fan Shroud cap in place is pretty difficult. Trust me. Remove it. Mate the two parts. Slot it all back together. Don’t forget to place a new Jubilee Clip around the base of the Bypass Pipe.
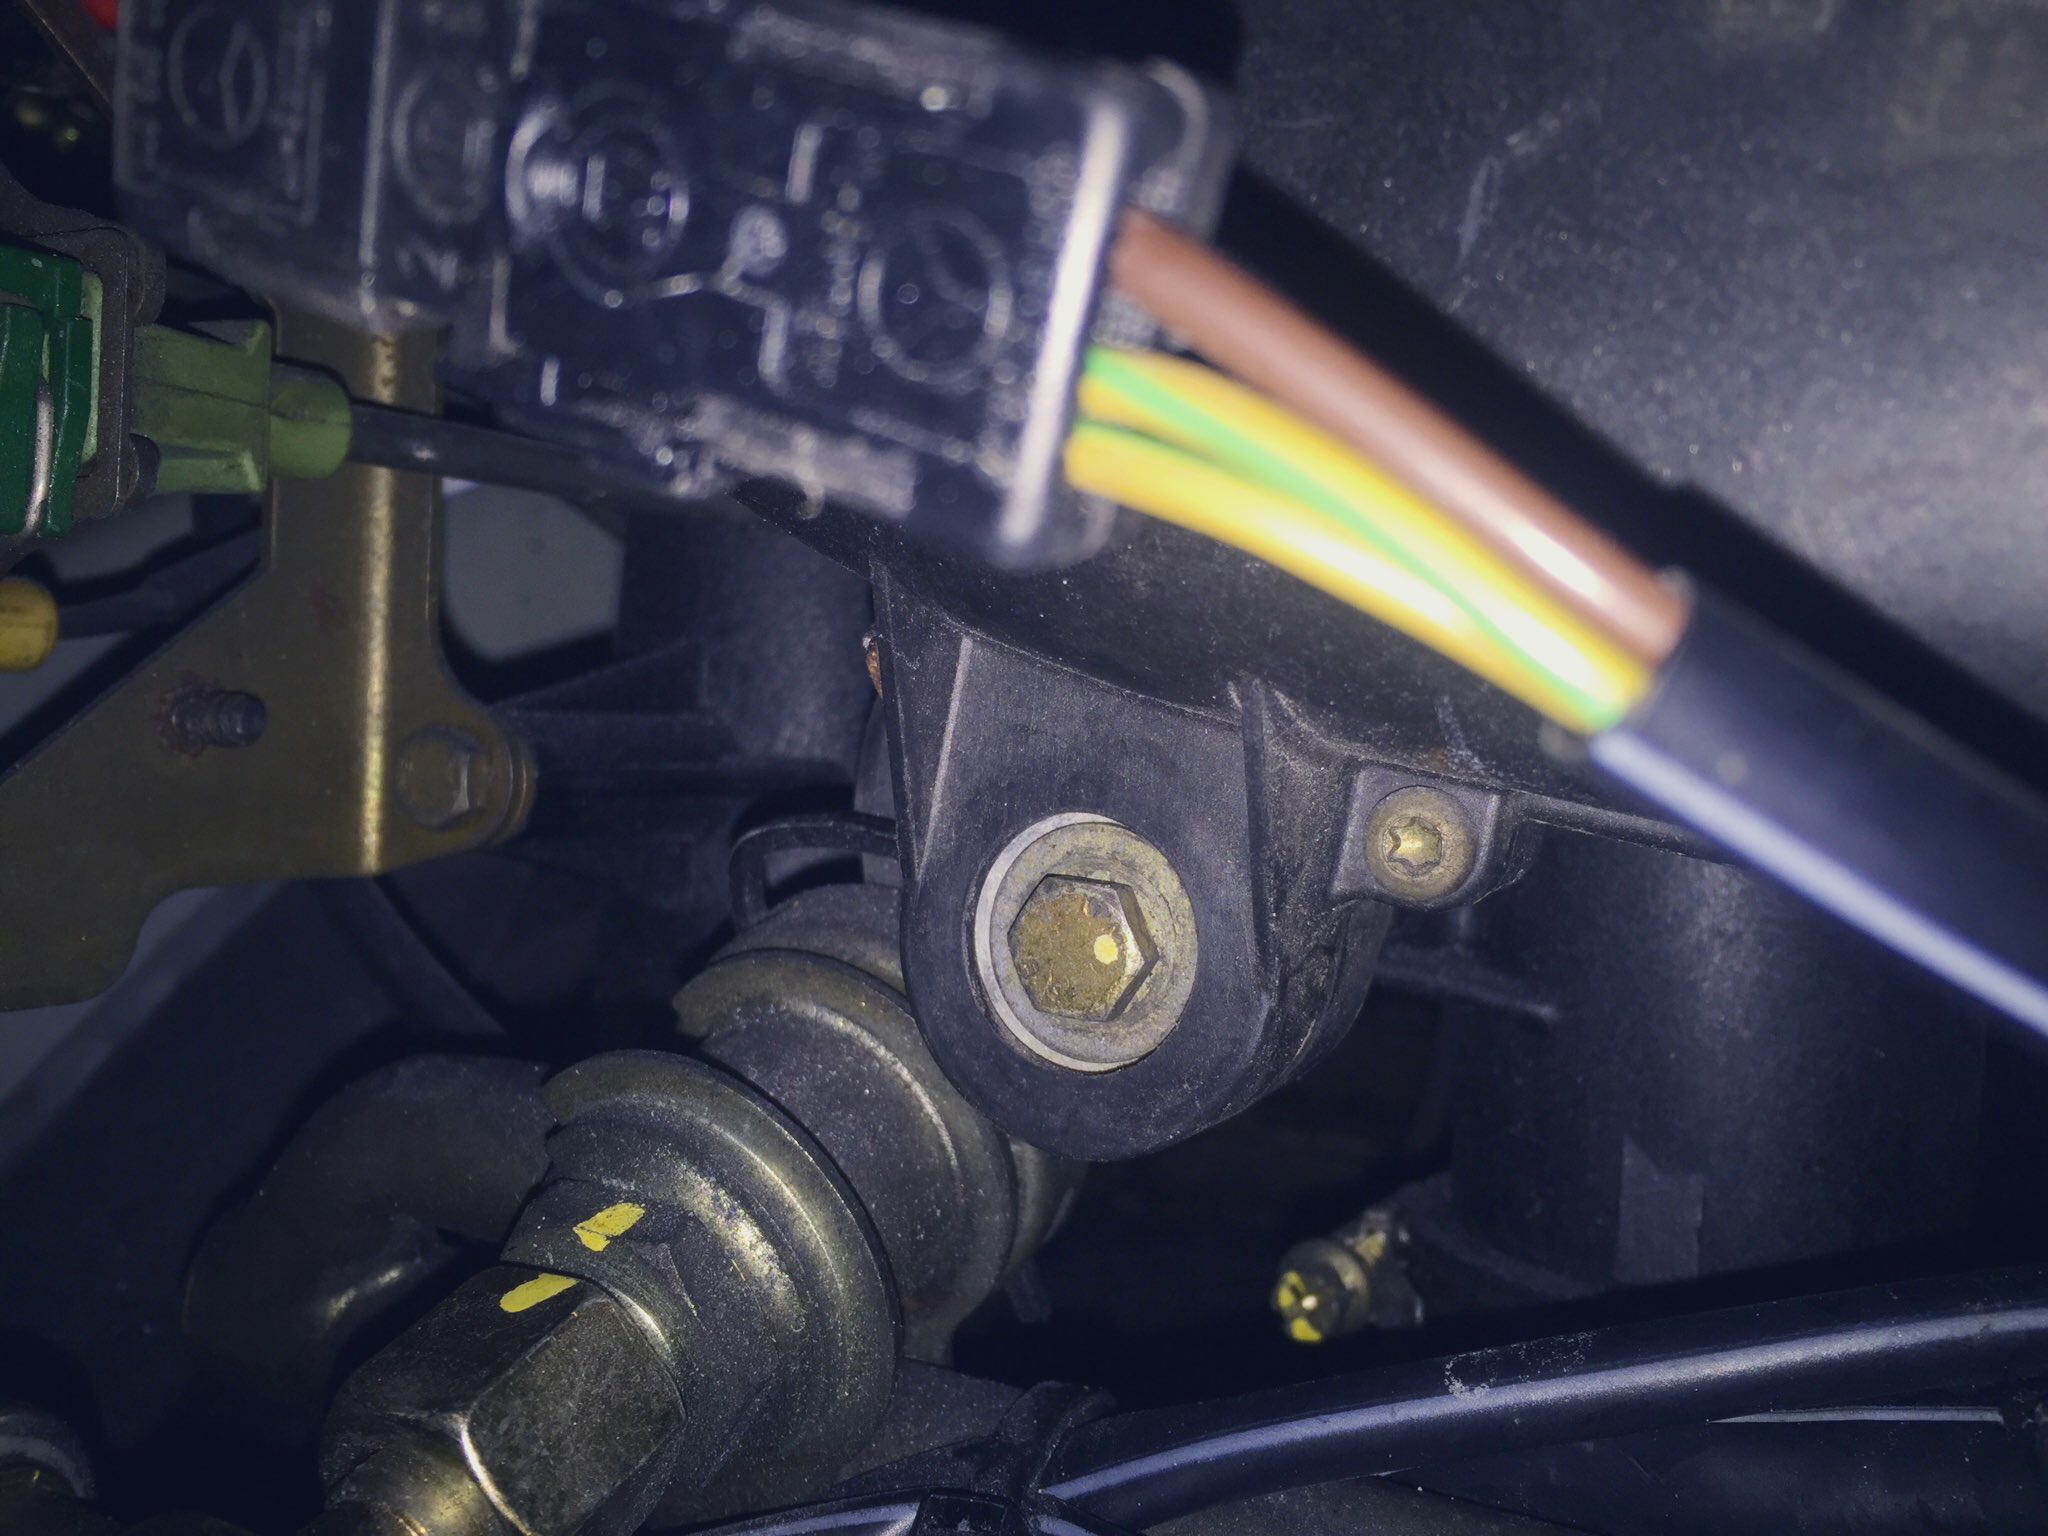
Once installed, you can access the Fuse Box on the left of the Engine Bay, and replace the Relay for the now removed Heater Blower. I chose to go the expensive route on this one, but it can be a homemade unit using a short length of cable.
Disconnect the Heater Element and use some insulation tape to seal the ends of the now redundant Wiring; Zip Tie these Wires neatly to the left hand fuel rail. Reconnect the Vacuum Pipe to the silver nipple half way down the Bypass Pipe.
Because you can end up with a rather unsightly Void at the back of the Engine Bay, I chose to purchase a rather cool Titanium Blanking Plate.

Categories

3 thoughts on “Air” Leave a comment ›