Beast Restoration: Paint

Getting to this point, where the 4Runner was going to get Paint, was overwhelming relief; that I was going to do it myself was almost incredulous.
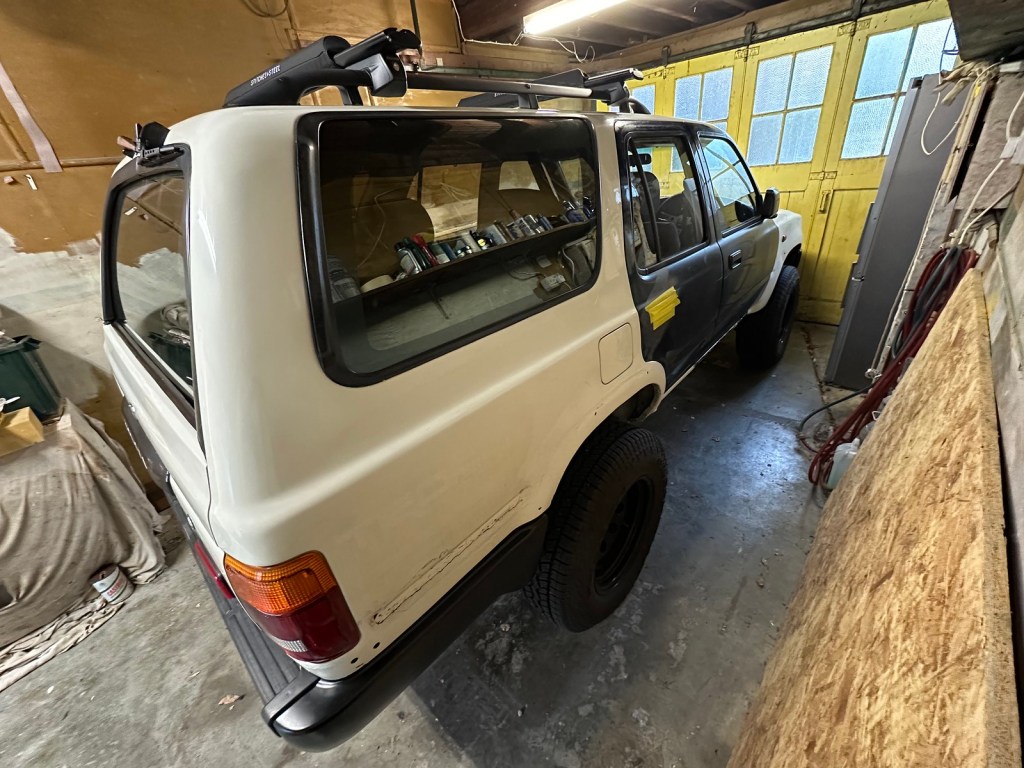
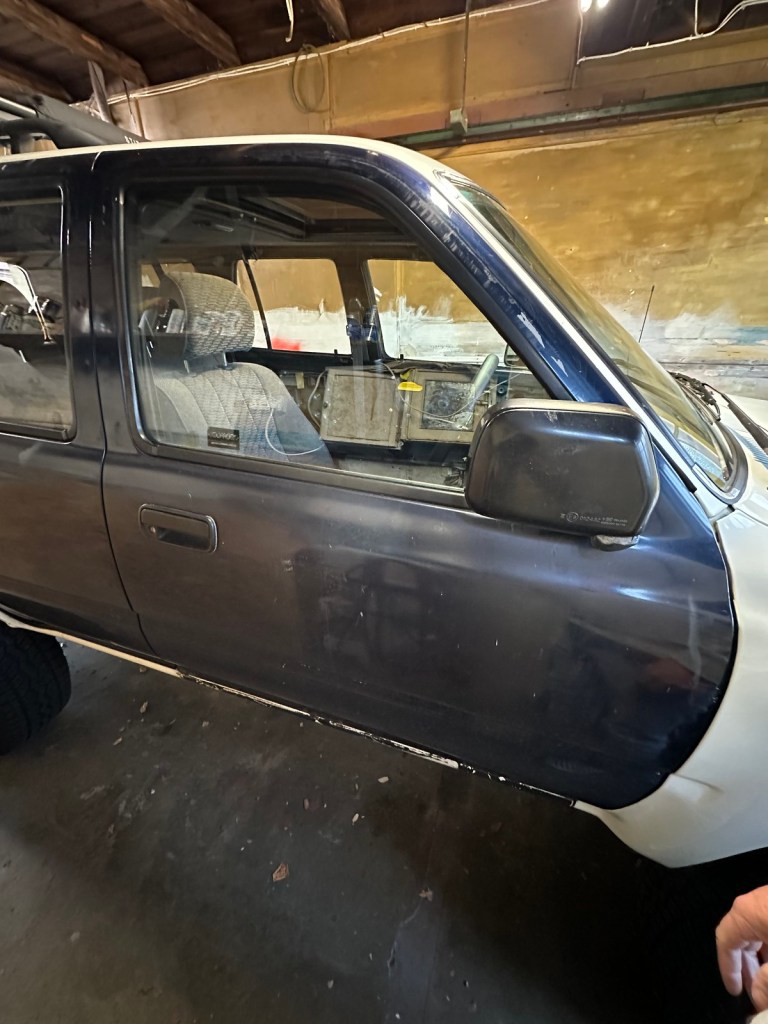
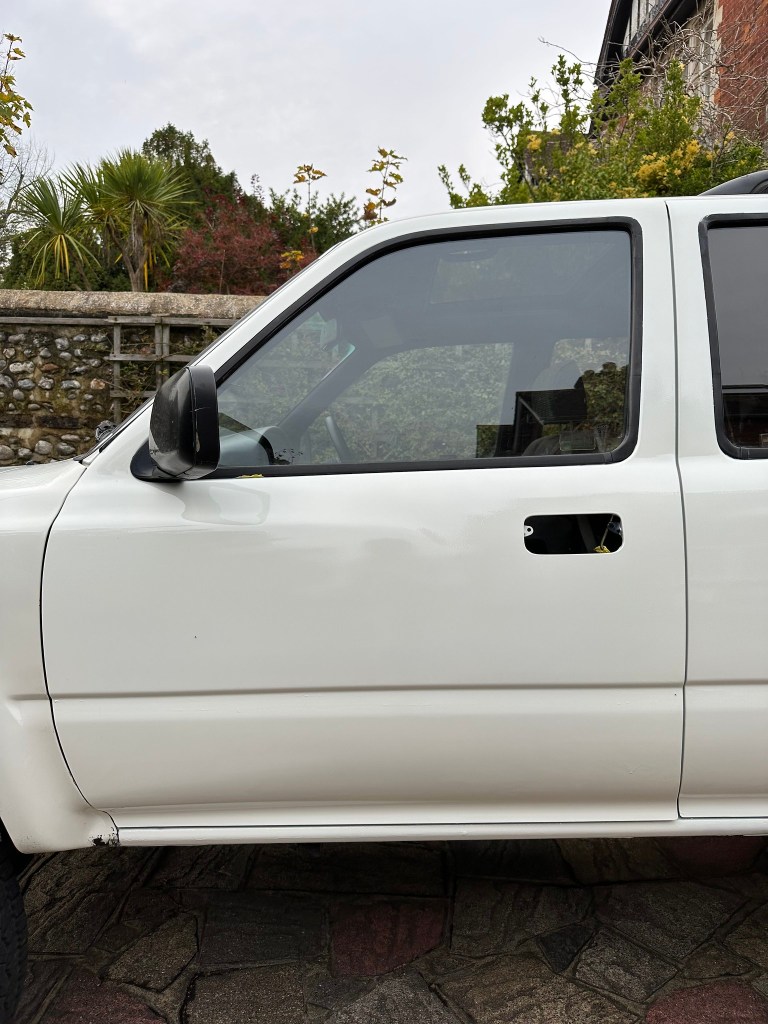
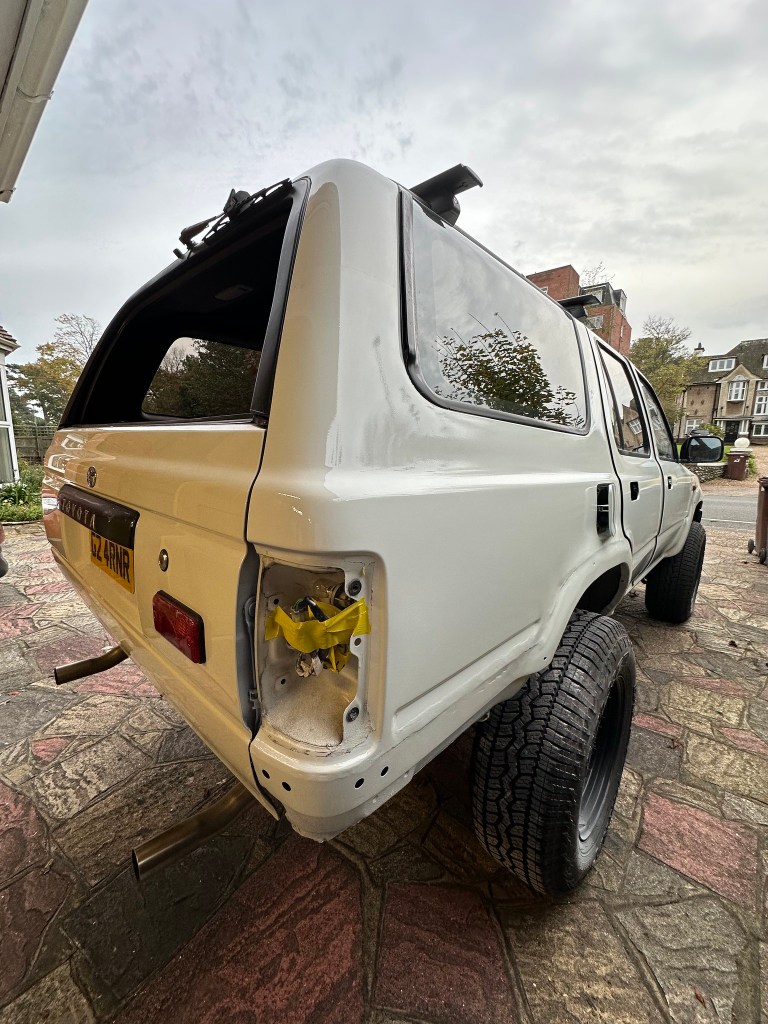
However, removing the Door Handles was pretty much a commitment to painting the 4Runner without delay; I certainly couldn’t park it anywhere in public. I had a Garage ready for the Job [thanks, Mum], so parked it away on Friday evening, ready for what Saturday would throw at it.
Prep
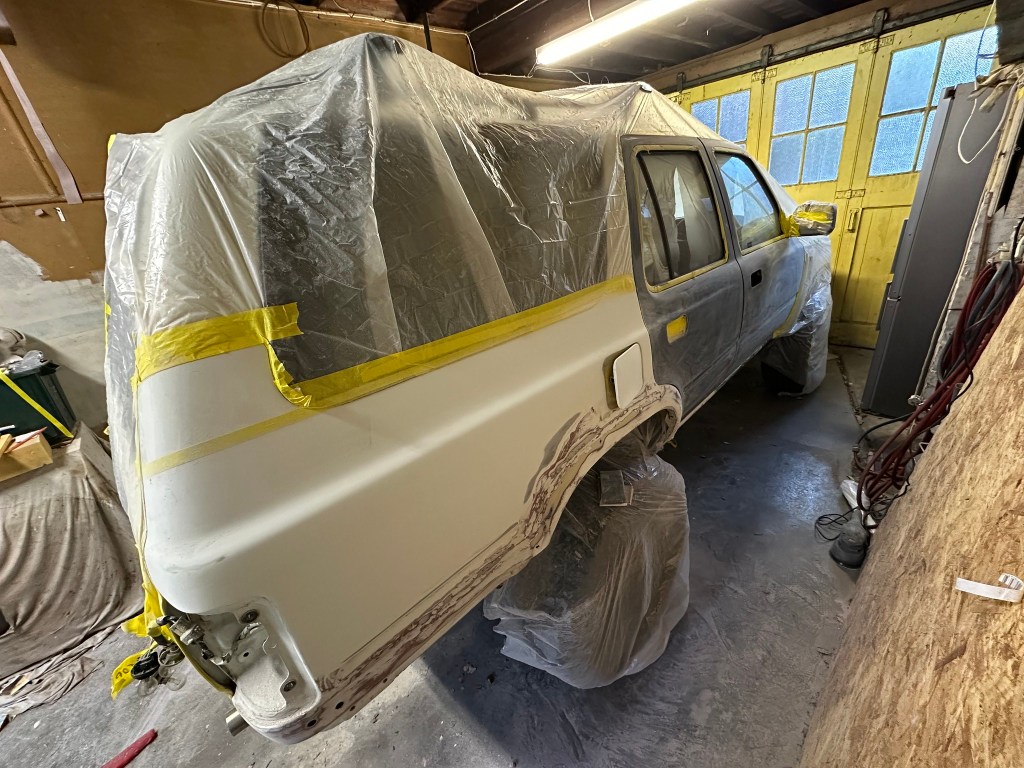
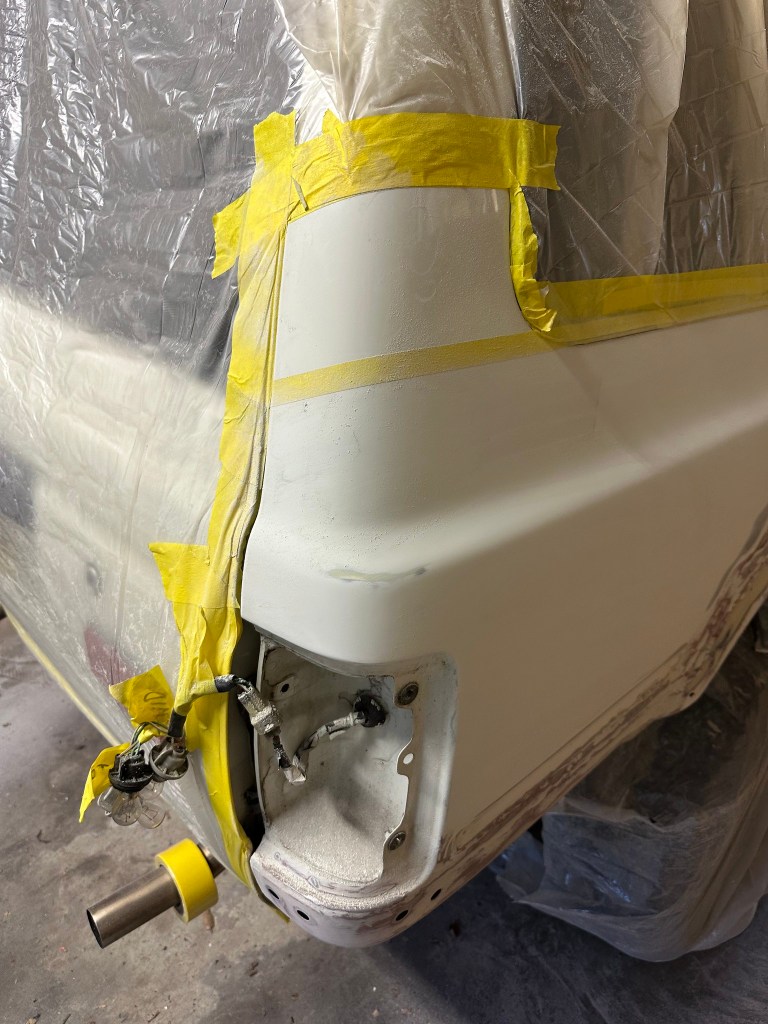
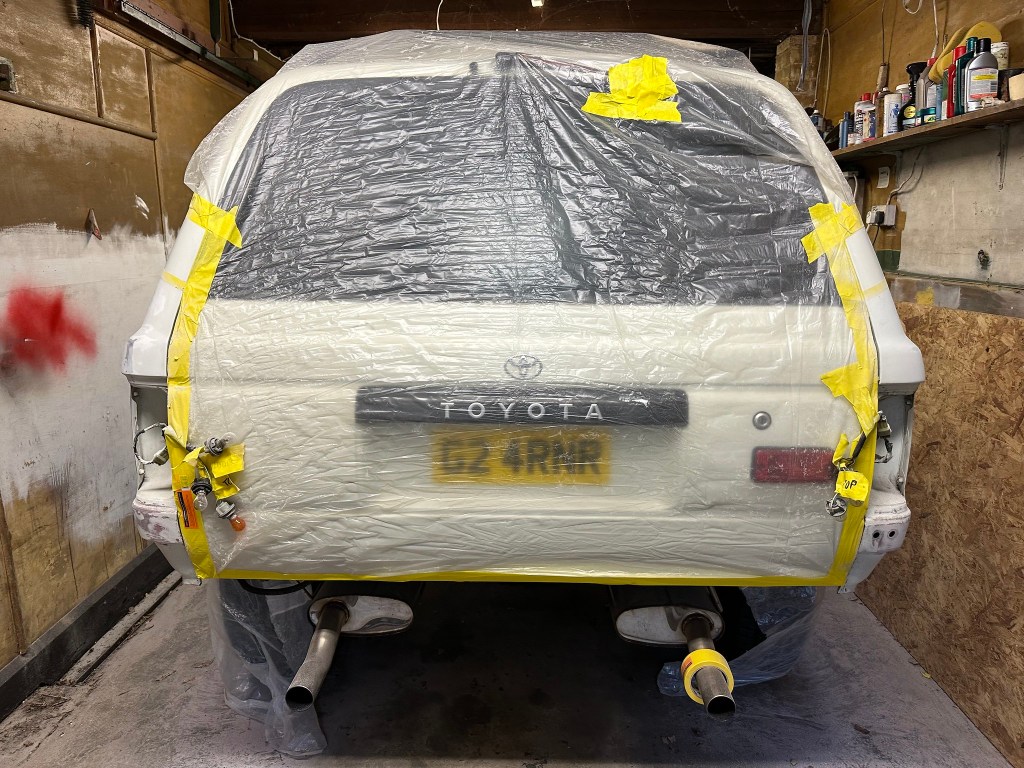
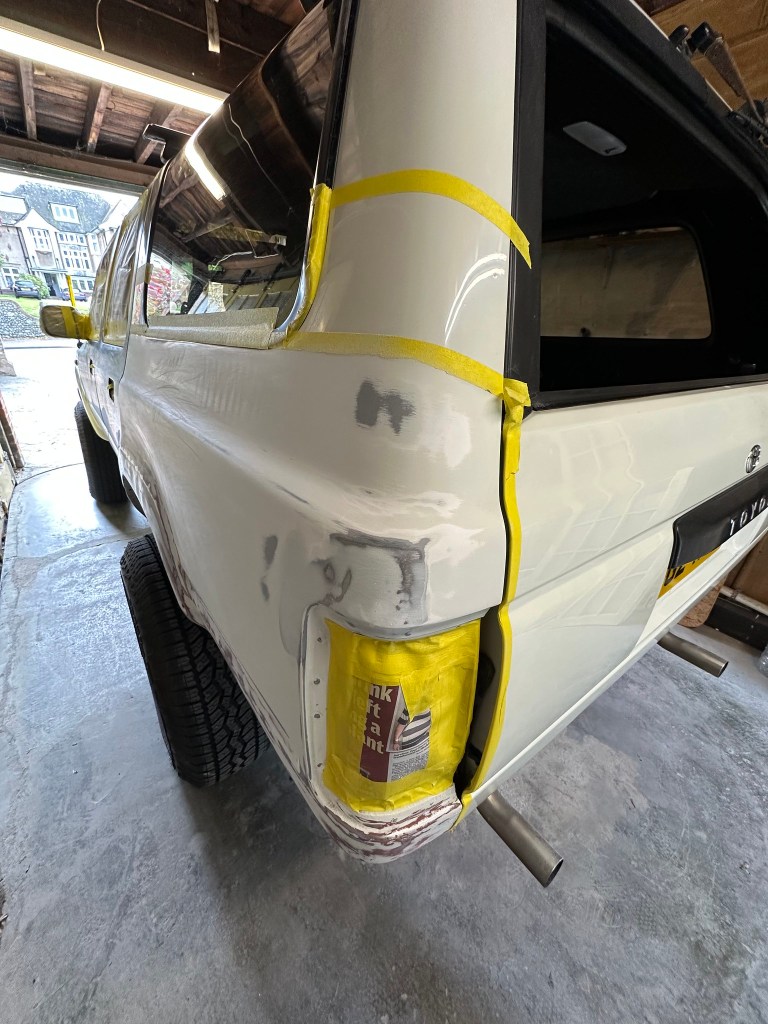
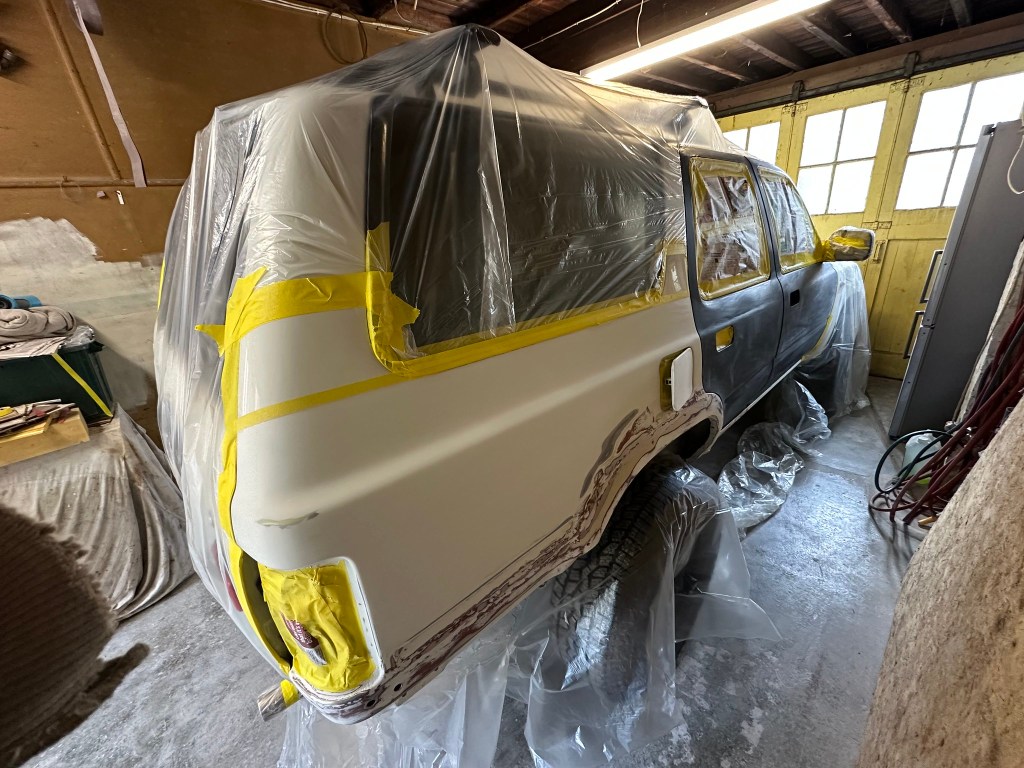
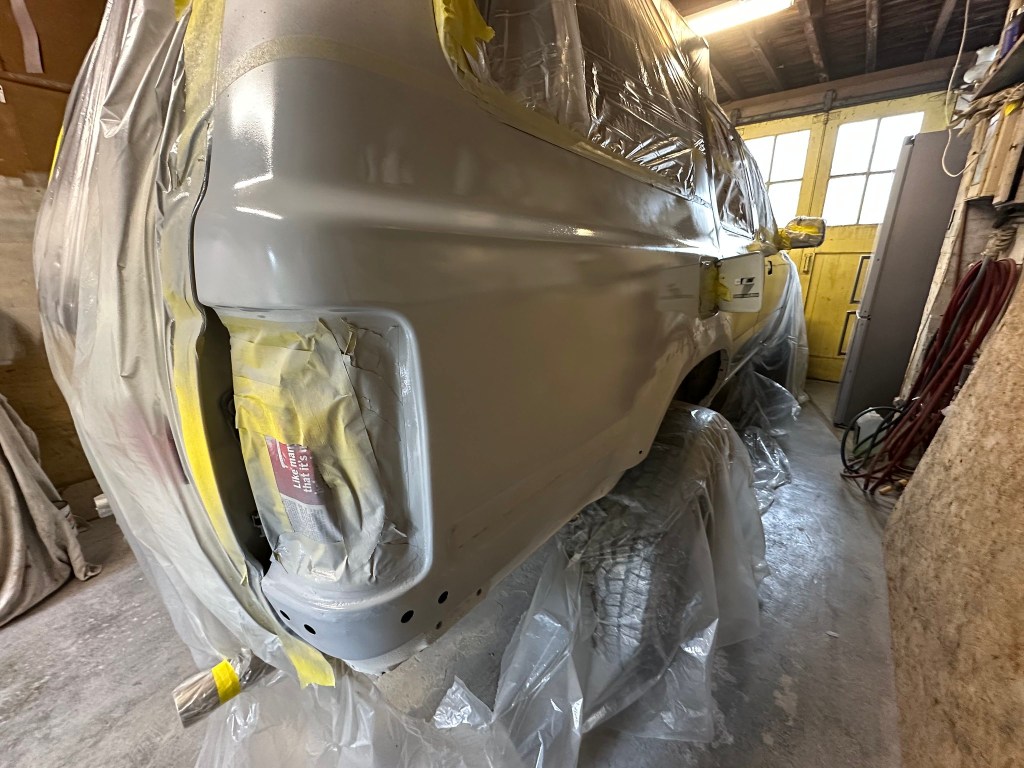
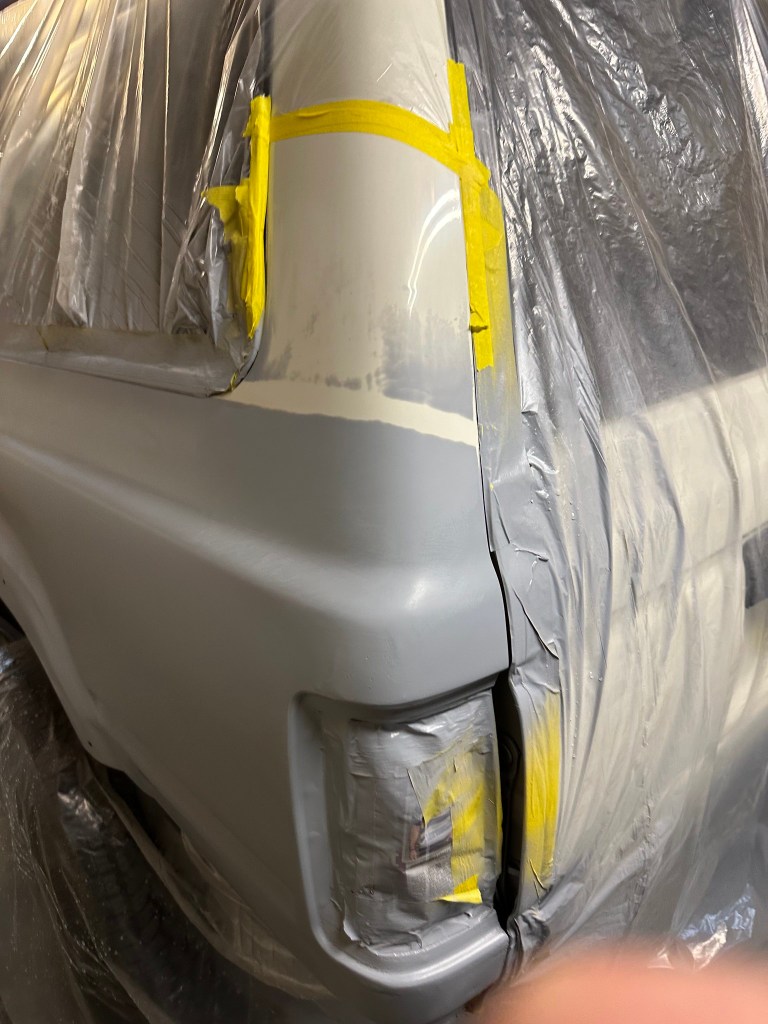
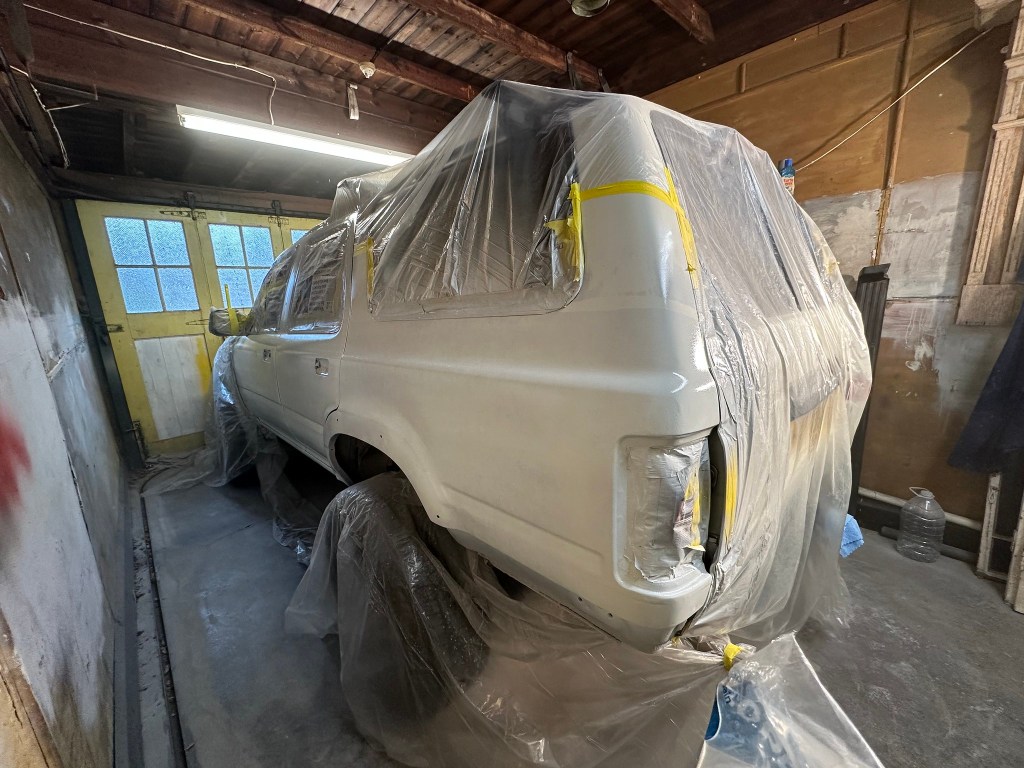
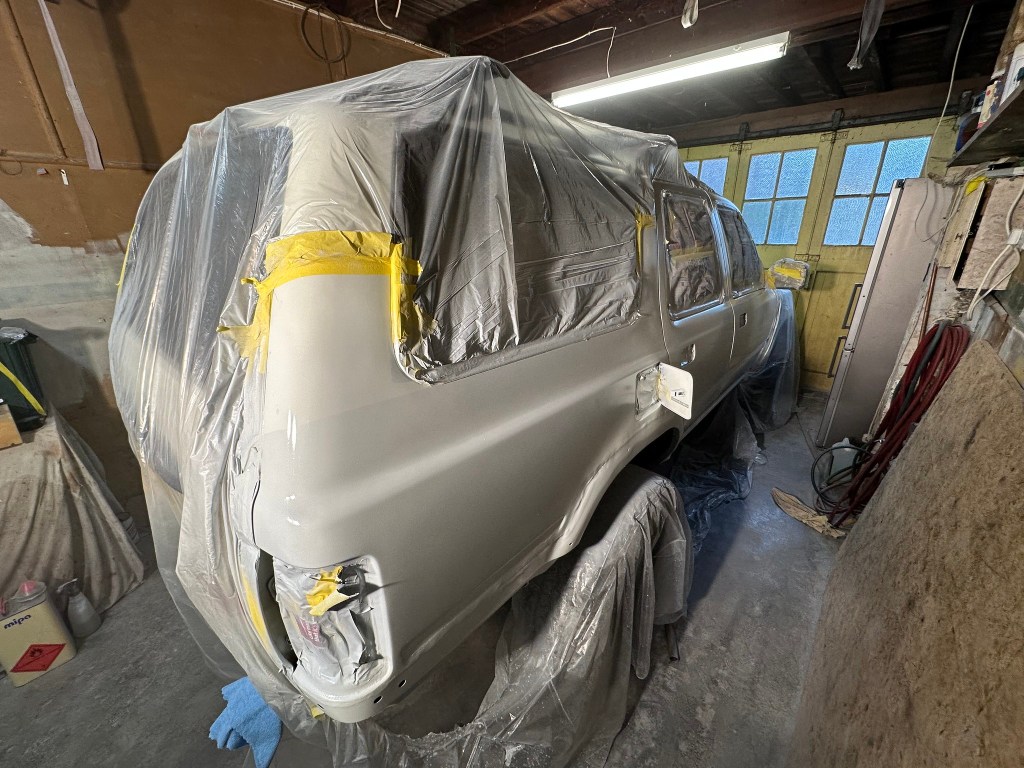
First Jobs were Driver’s Door Handle removed, Rear Lights removed, and Rear Bumper Off, then Polythene Sheet and Masking for the Sanding.


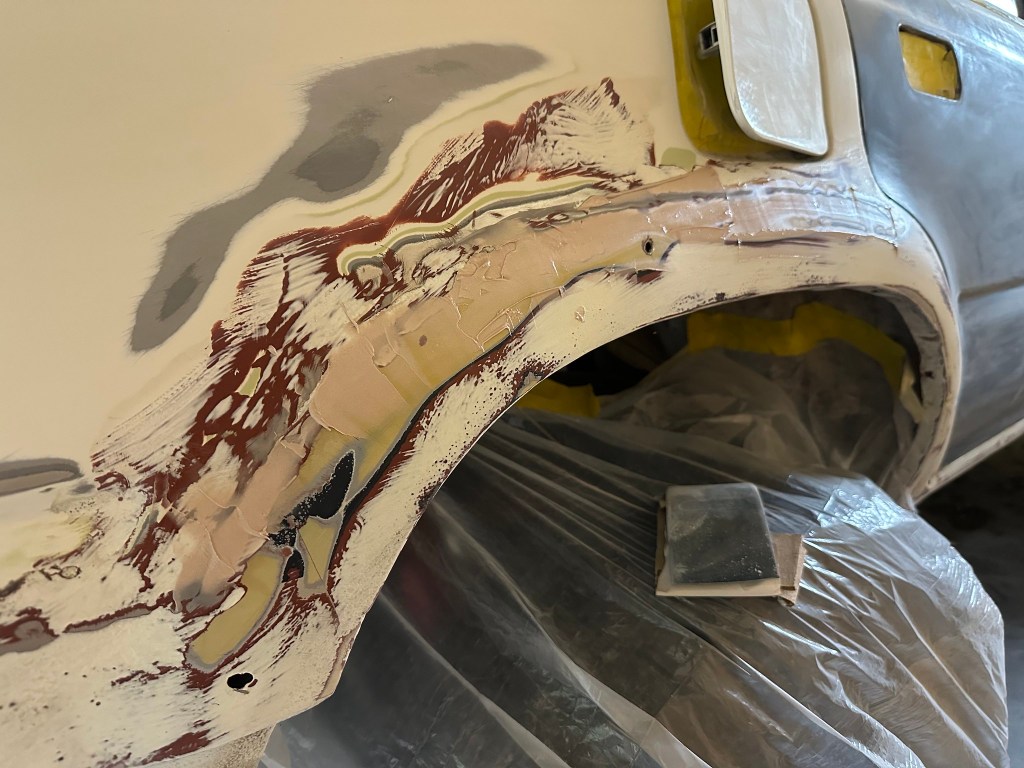
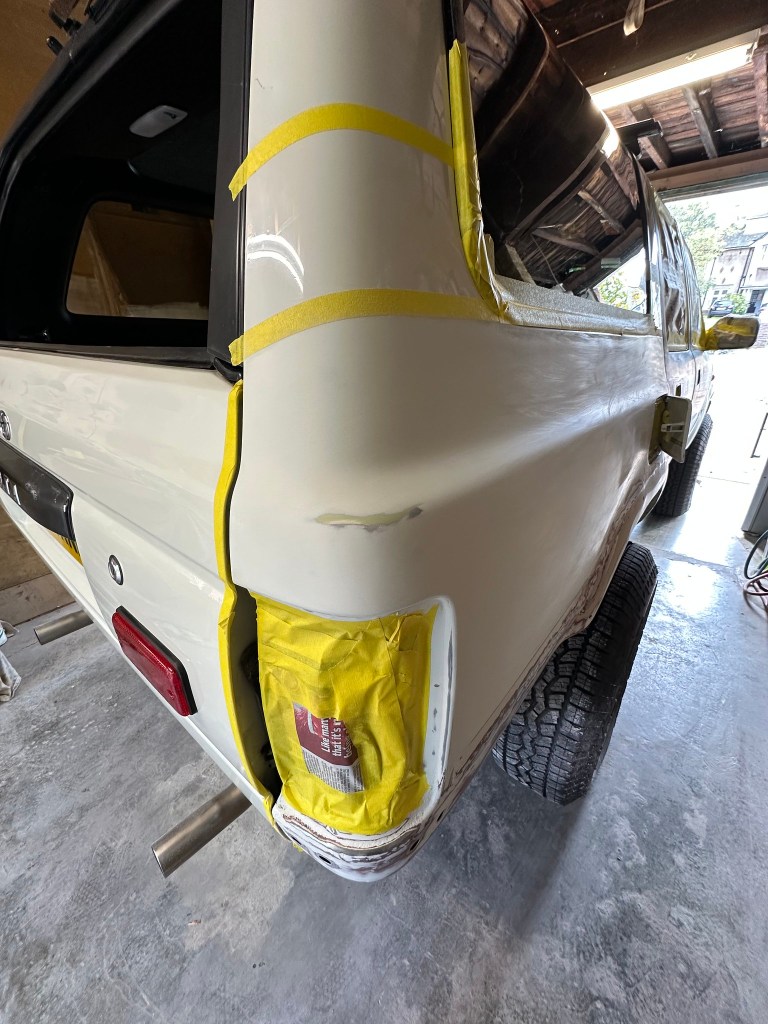
I went with a mix of 60, 80 and 180 Grit on the Rear Quarters depending on the level of sanding required. The Bodywork done to the Wheels Arches wasn’t finished perfectly, so I knew I’d need to do some Filler Work.

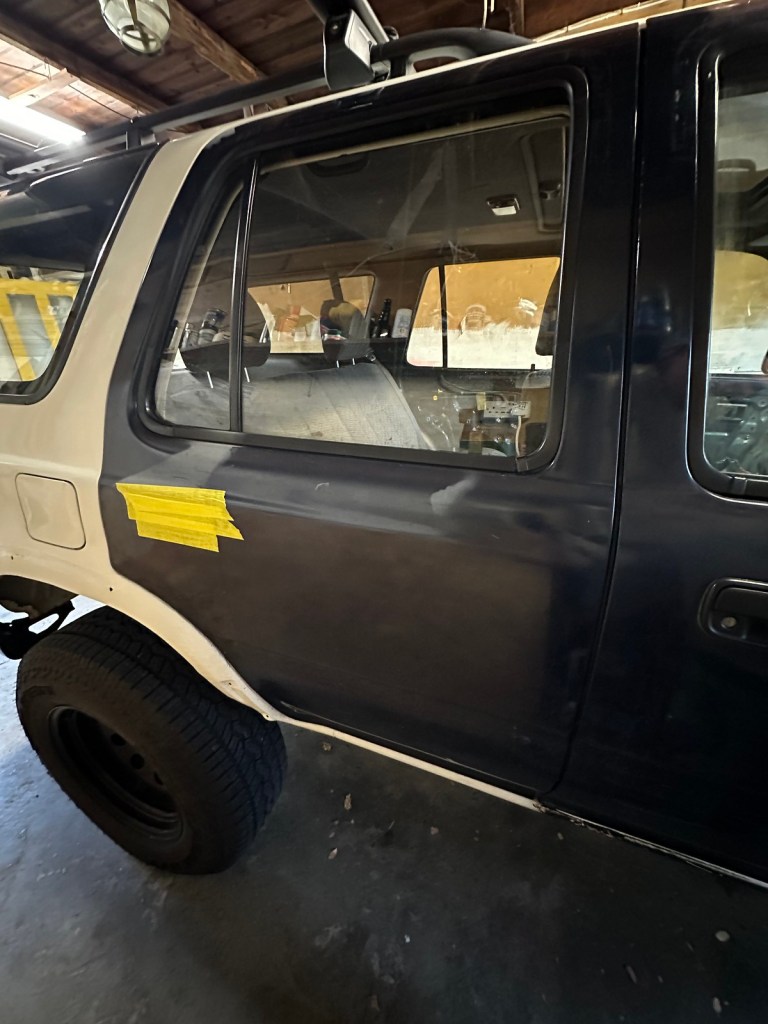
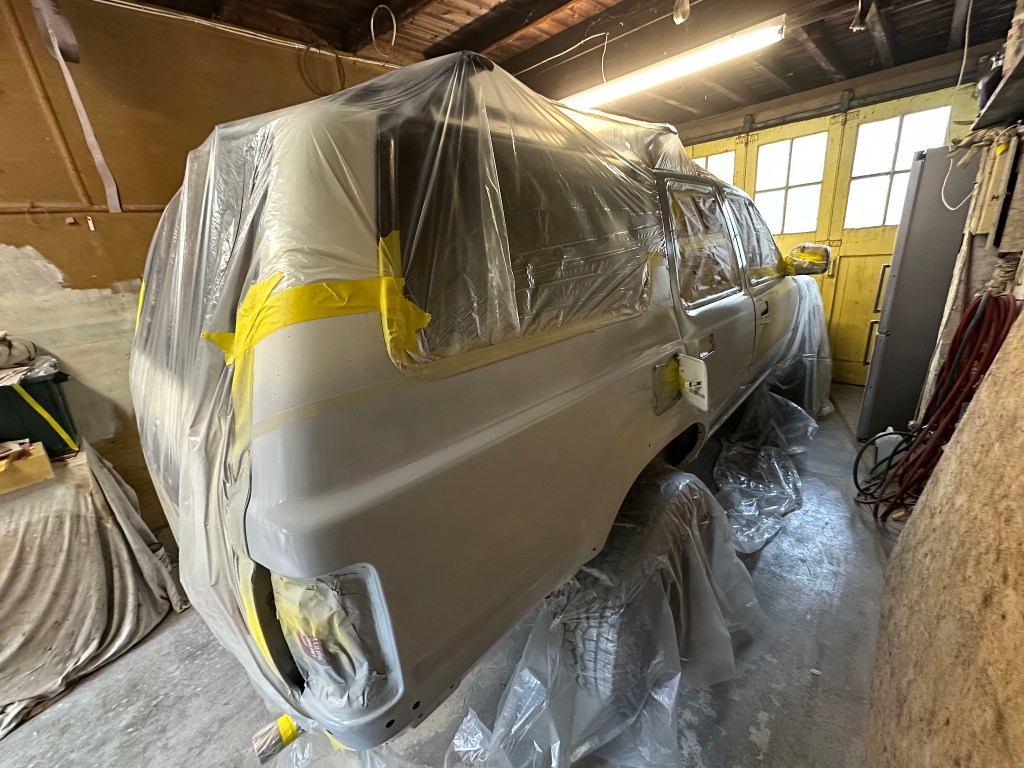
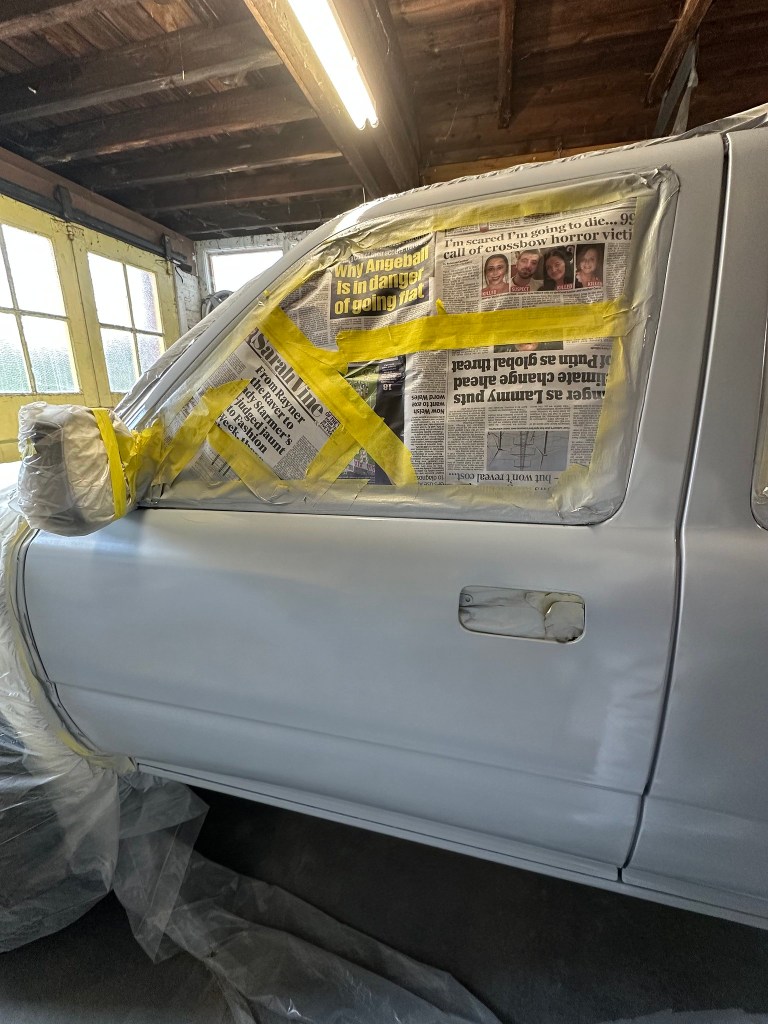
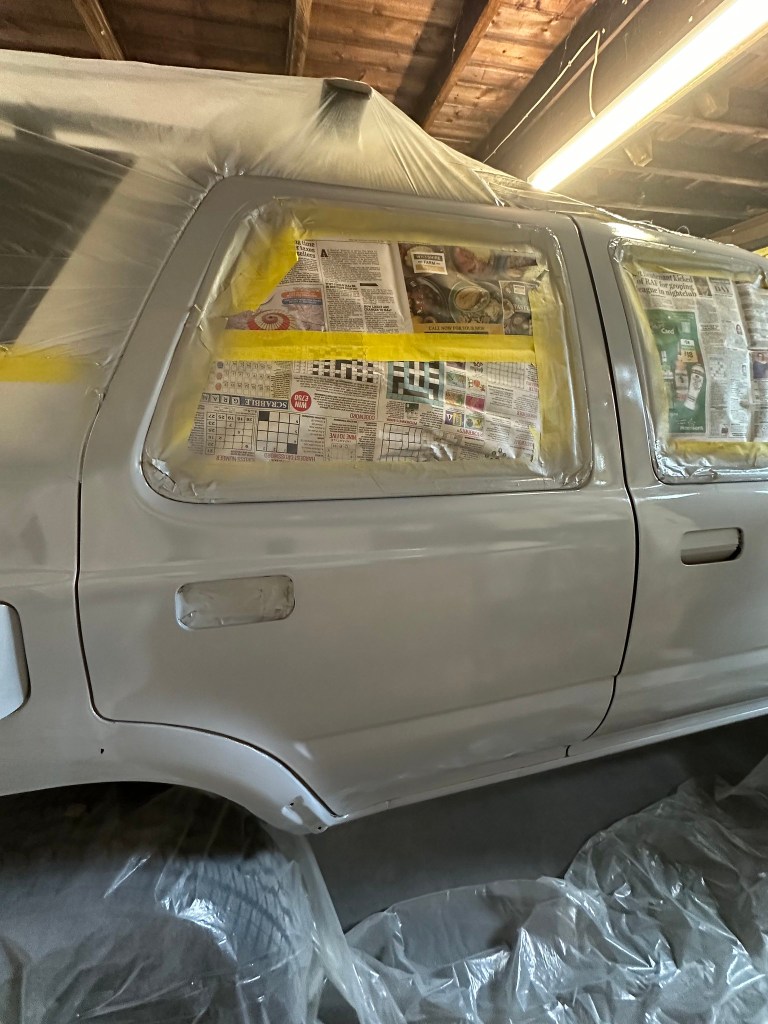
The Doors were a less resistant, and needed only 320 and then a finishing 600. That Blue Paint must have seen quite a bit of Sunshine, it was pretty thin, and I had to be careful not to go too deep with the Sanding. After a going over of 600 on both sides, all panels, I was ready to remove the [exceptionally dusty] Polythene Sheeting, roll outside for a good wash and sweep up the Garage, get it all Clean for the Painting. Time to mask up those Windows.
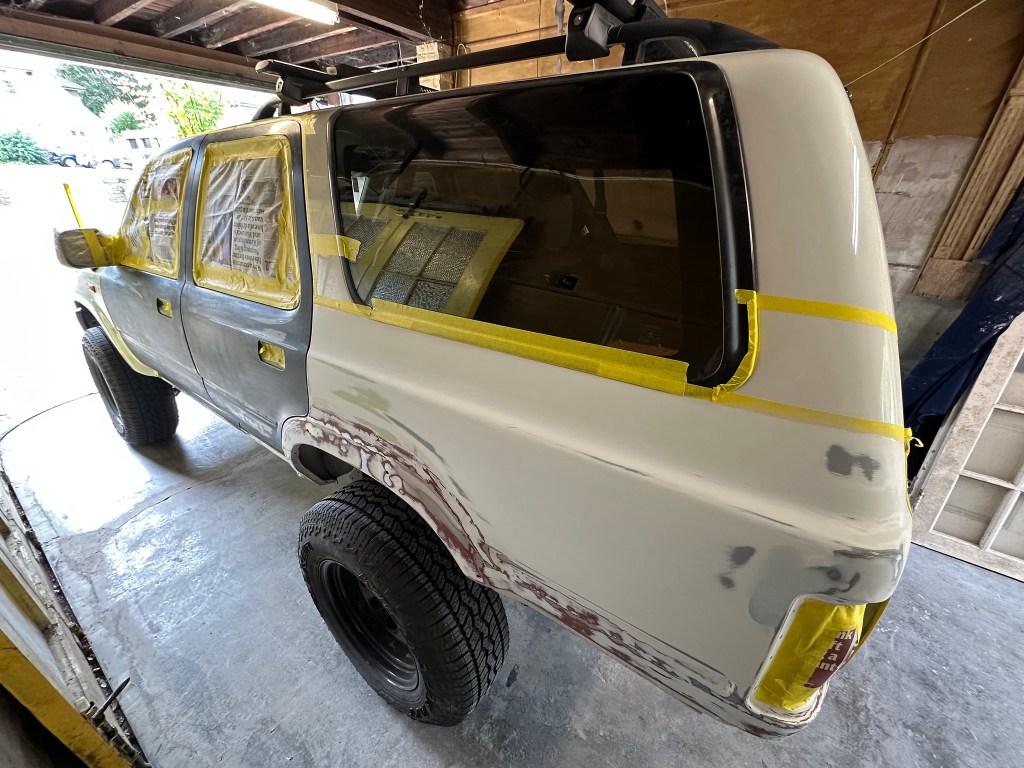
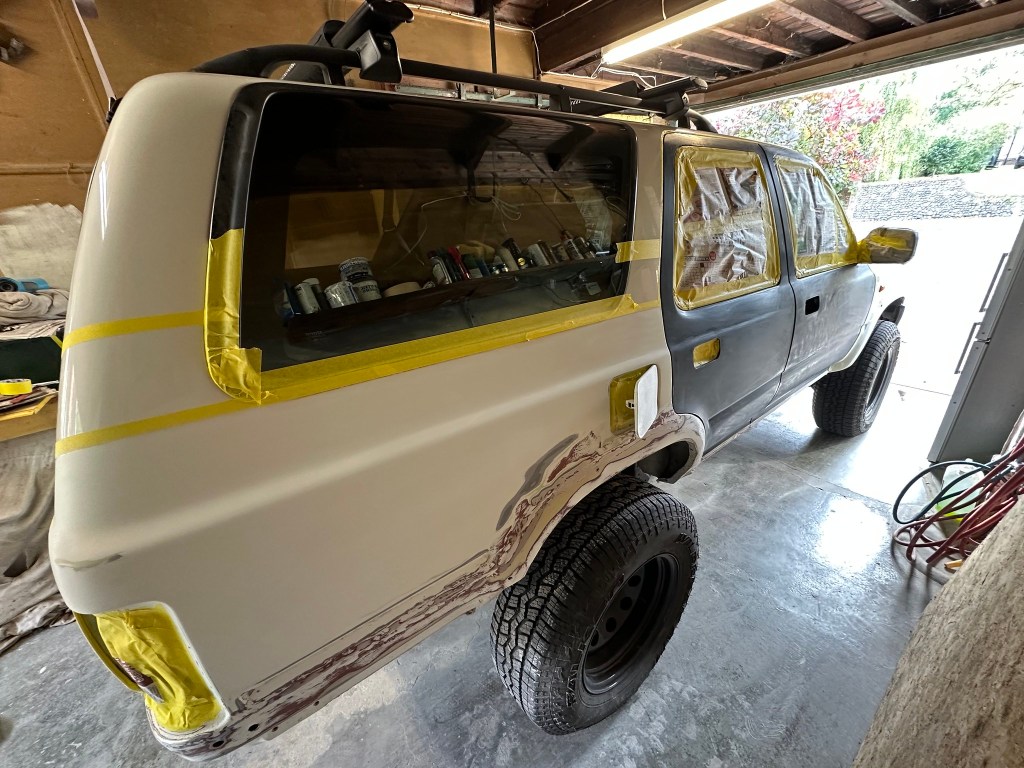
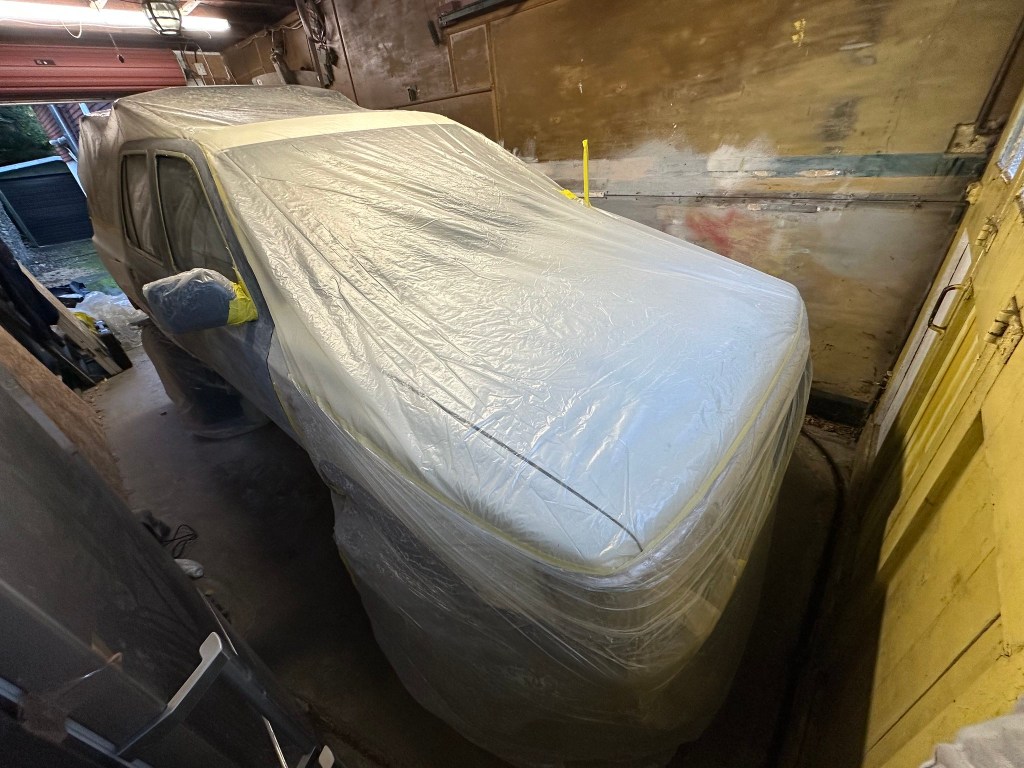
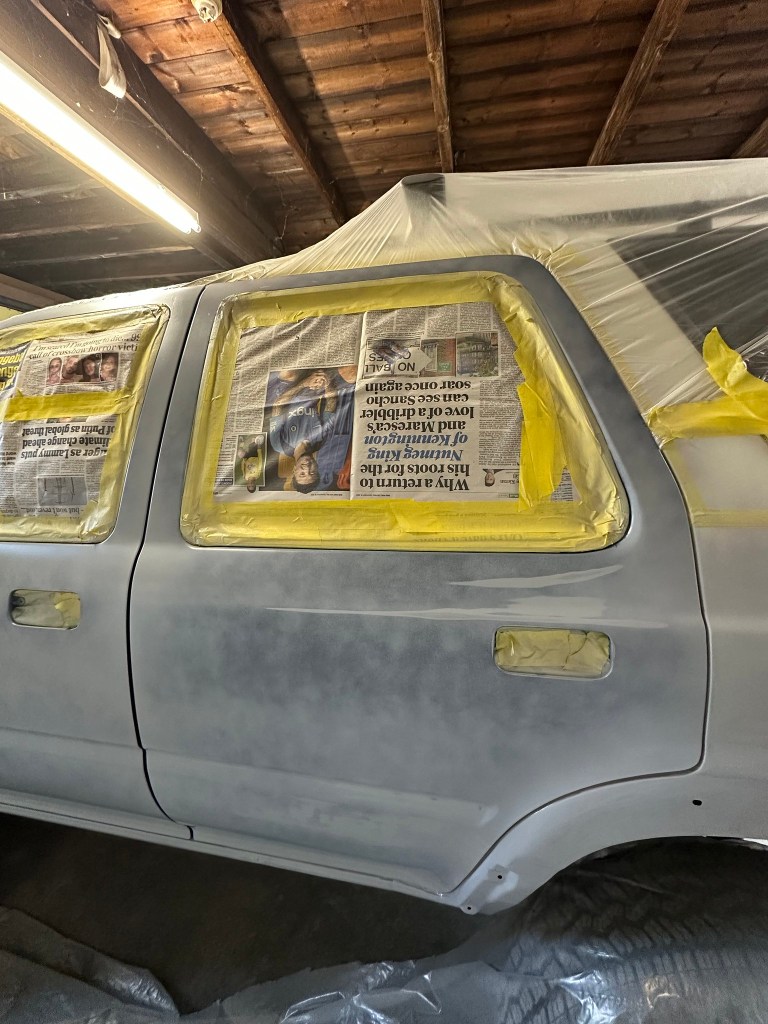
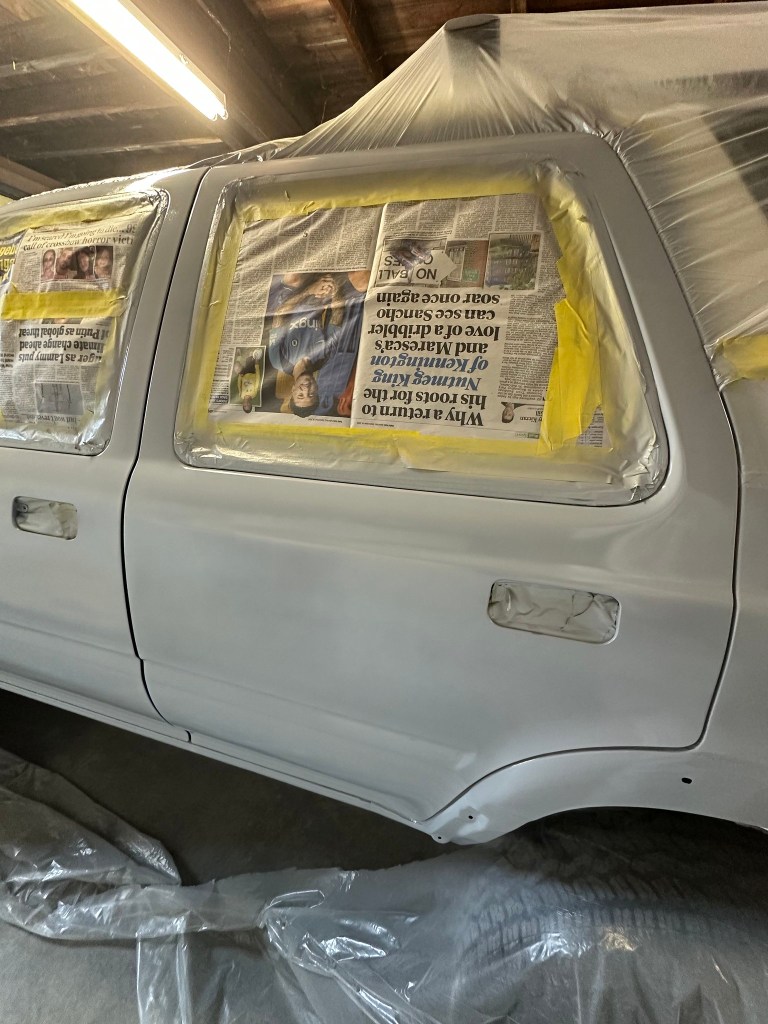
..and mask off with new Polythene Sheeting.

Optimal Primer
I used Paint Nuts Pre Paint Panel Wipe and then a Lint Free Cloth prior to Primer going down.. I know there are some who subscribe to Tack Clothes, but that is a matter for debate.
First Coat of Primer went on light, almost too light in honesty, but I knew I could make up for that with the Second Coat.


Either way, Nerves turned to Surprise at how well it was going.
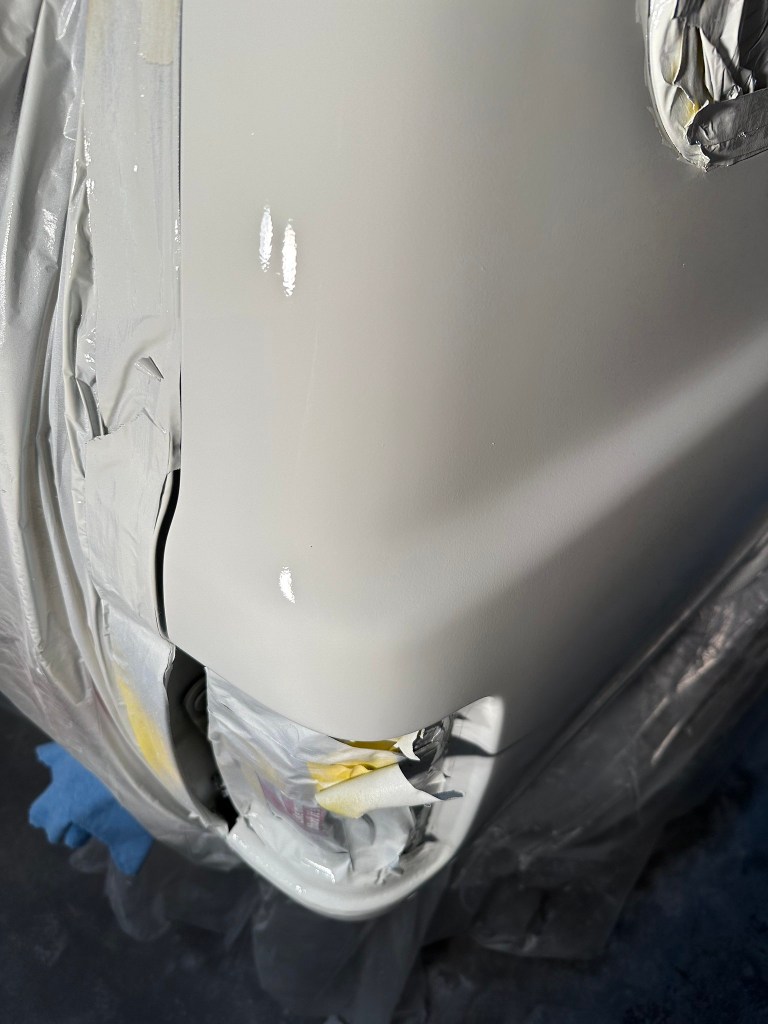
Second Coat. Went on a bit heavier, thought it was too heavy at first, but Chutzpah triumphed Trepidation.


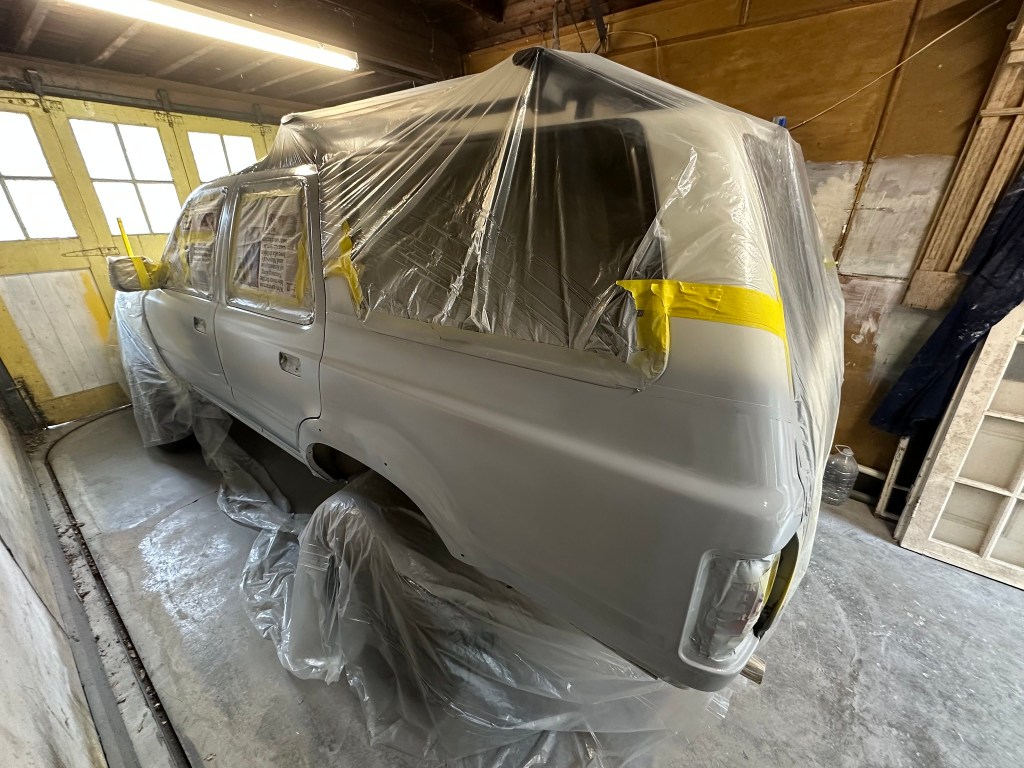

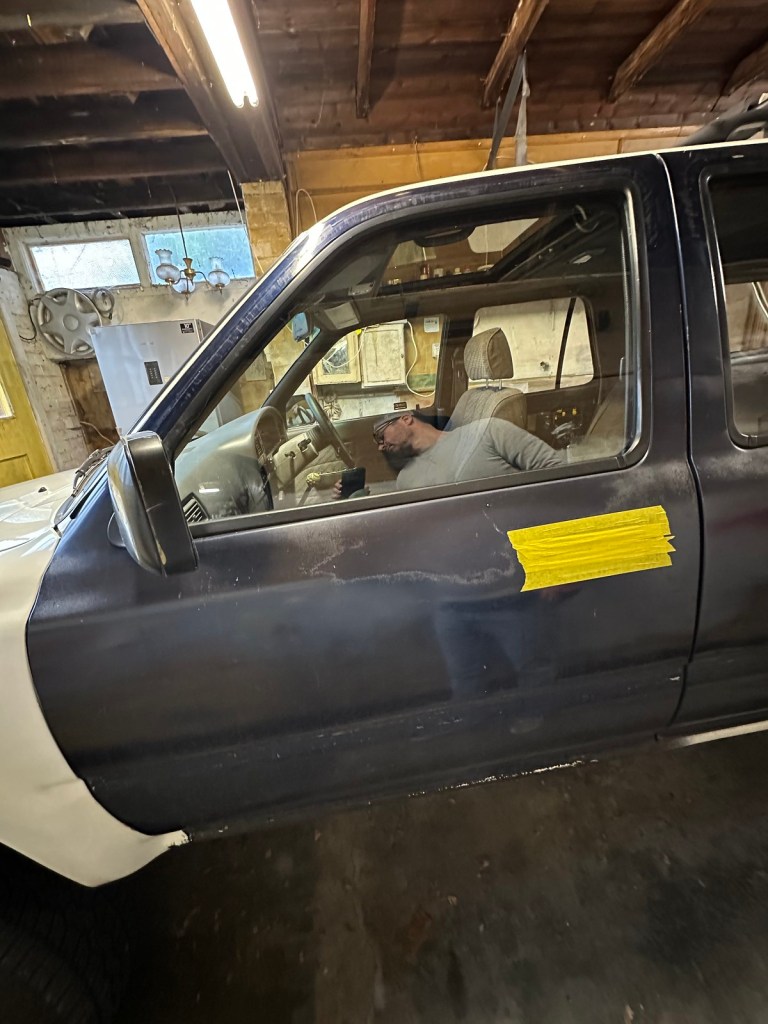
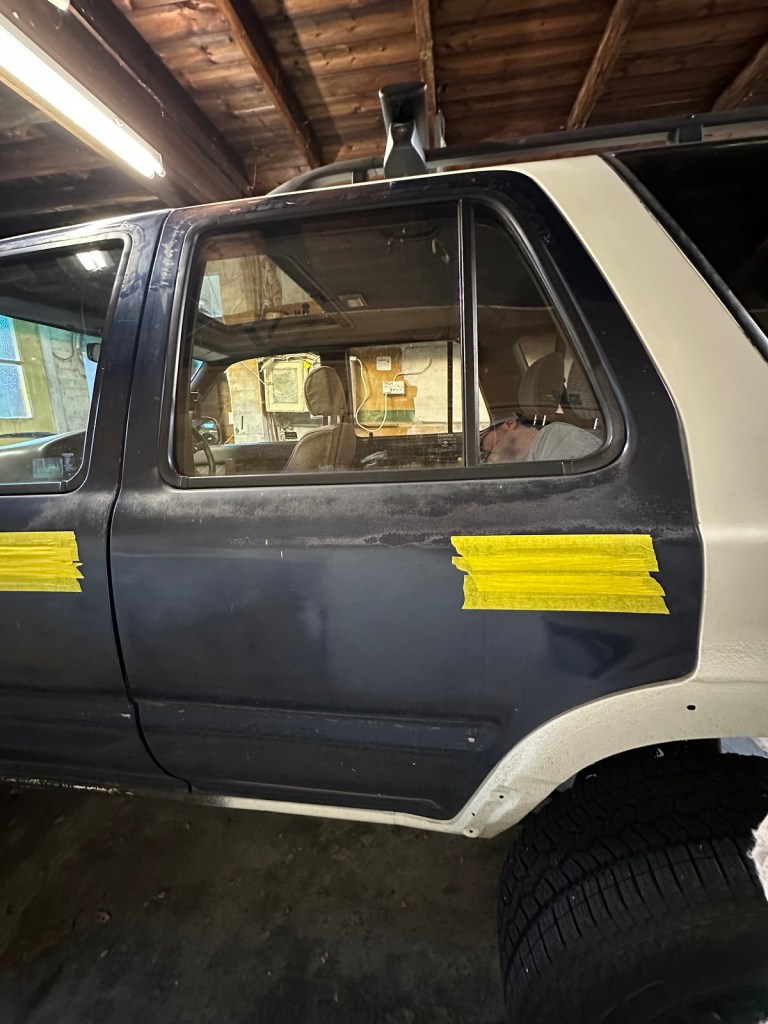
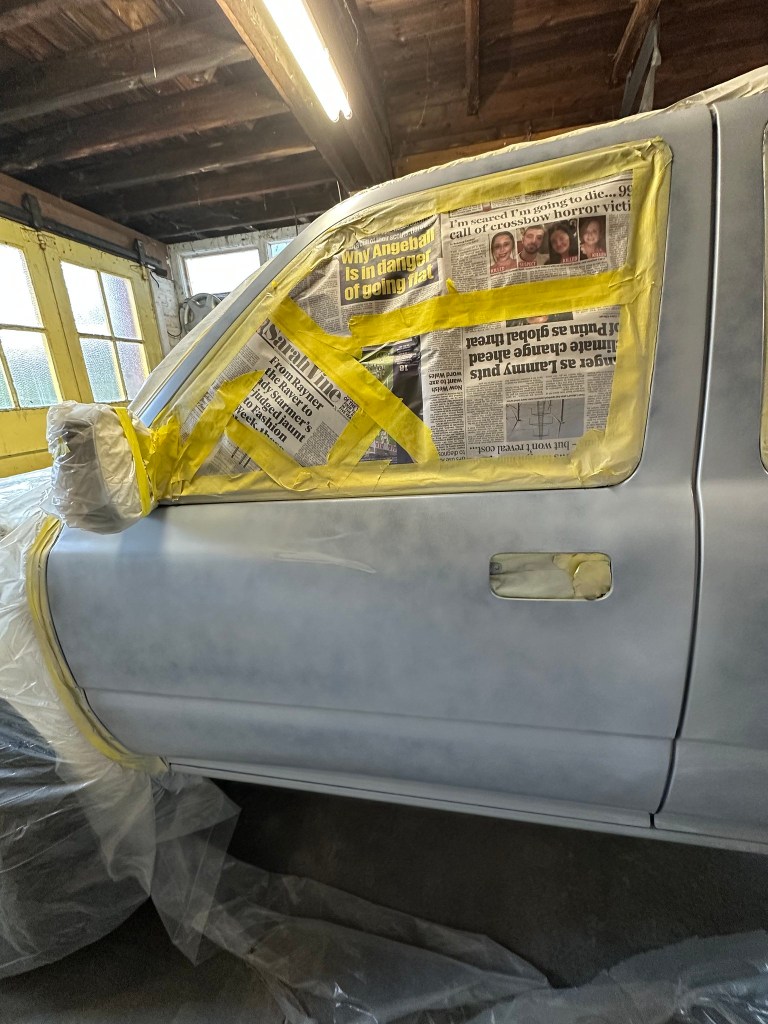
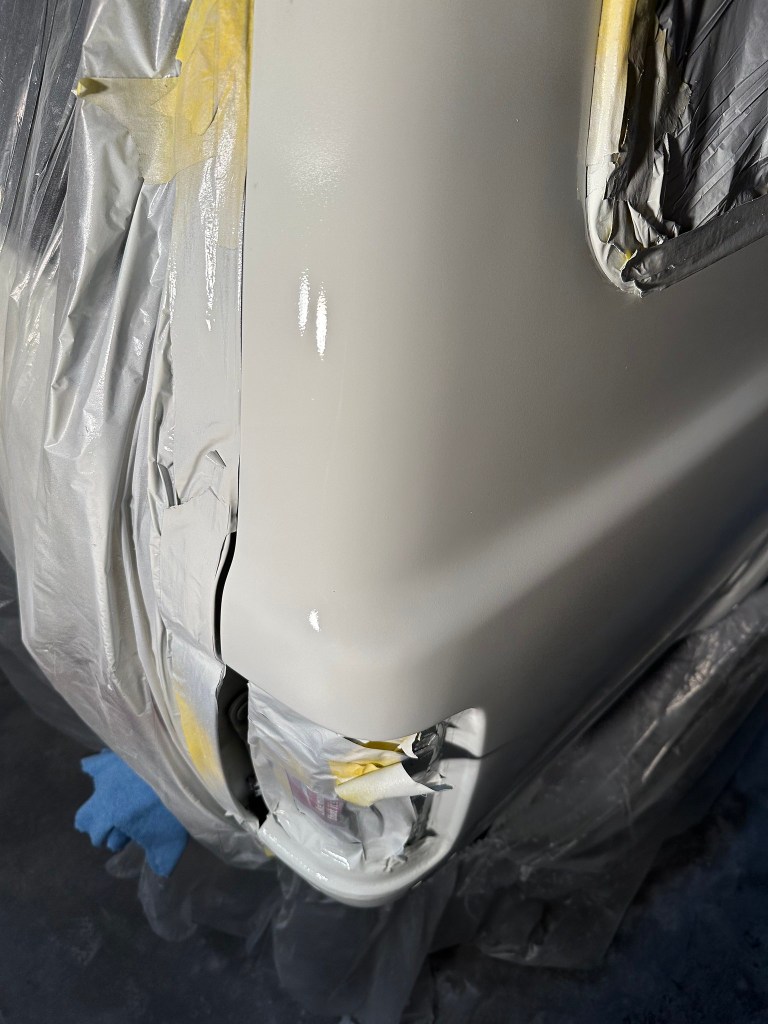
It might be that at this point, you are wondering why there is a weird line of Thin Masking Tape across the base of the D Pillar, and you’d be right. I kinda made a mistake here, forgetting to mask off the section above this and below the thicker Masking Tape further up. I intended to remove this temporary piece of masking once the Primer was down so I could feather in the Top Coat. Fortunately, I got away with it, as you will see later.
Things were looking good. Third Coat would finish the Primer Job perfectly.
Flattery
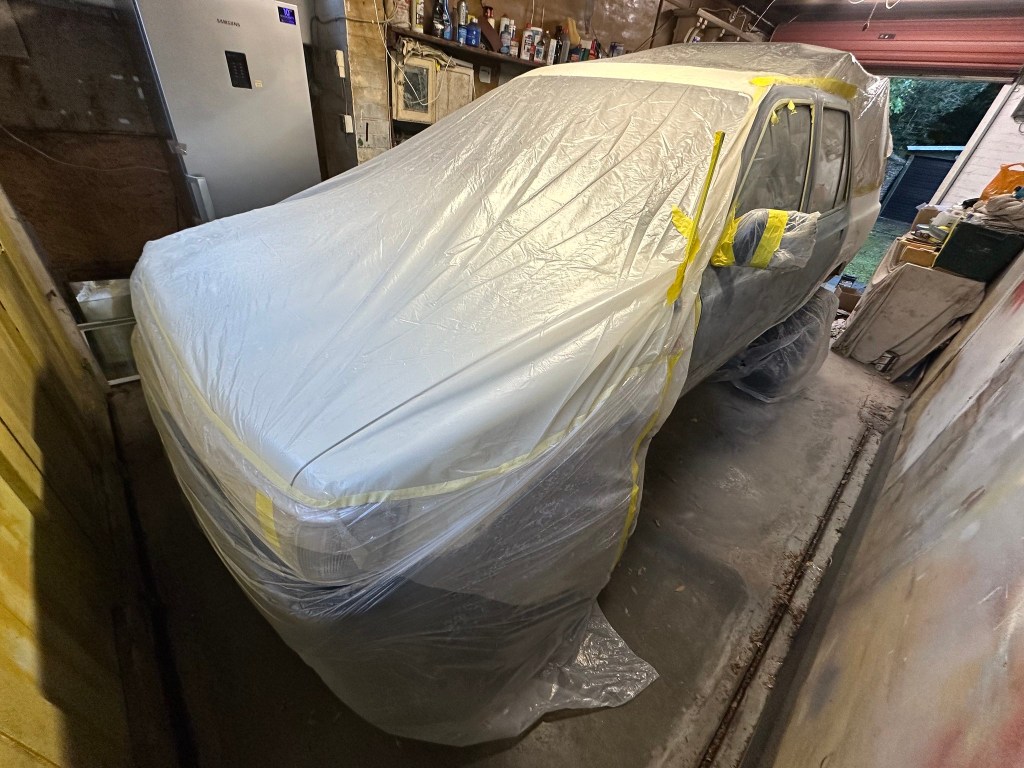
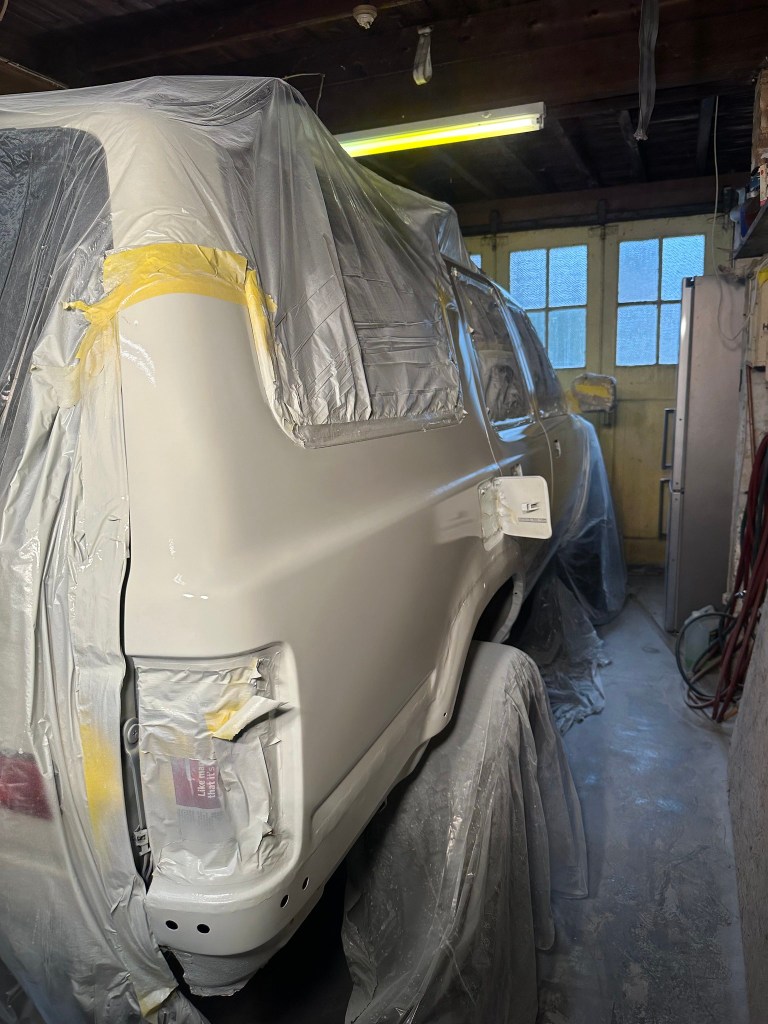
Next, Flatting Off the Primer. I used that piece of 800 I have had for a while now as well as a new piece of 1200 to get the Primer silky smooth. Here you can see I managed to back out of that Masking Error too.


The Weather took a turn for the worse and it decided to chuck it down, so I delayed laying down the Top Coat until the next day. I took this opportunity to tackle a rather annoying job.
Clusterf*ck
Whilst I was tidying up after the initial sanding down, I pulled at a sheet and something came flying out of it, flipping in the air and then missing everything soft to land on. Yep, a Rear Light Cluster.
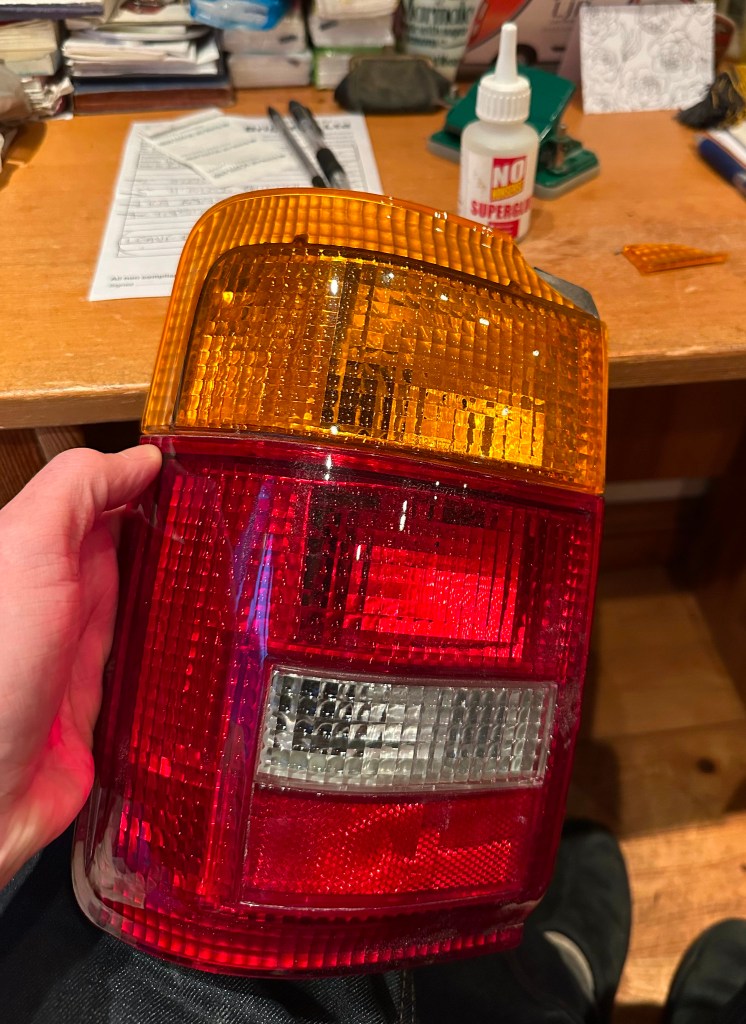
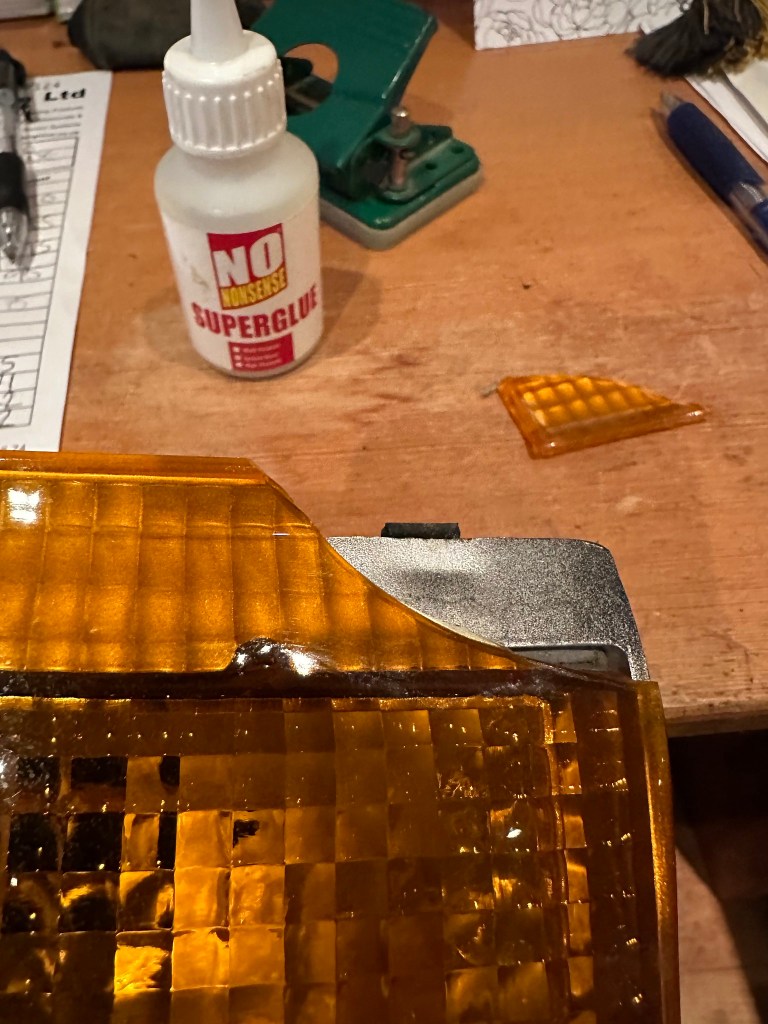

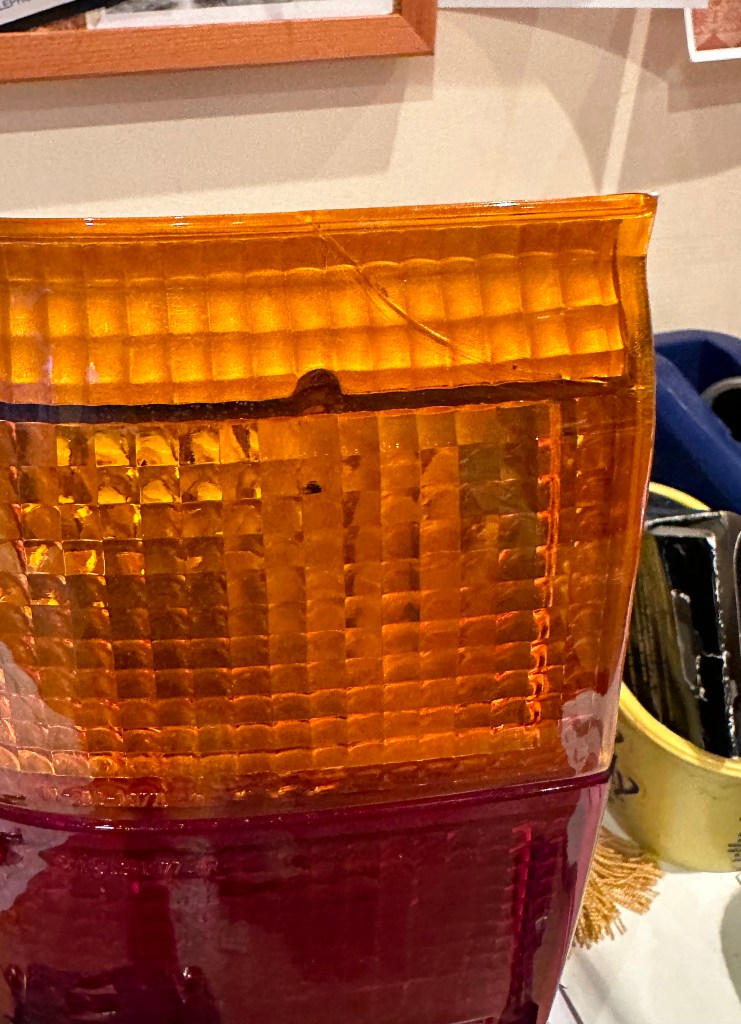
These Clusters are getting expensive, £50 a pop on RoughTrax4X4.
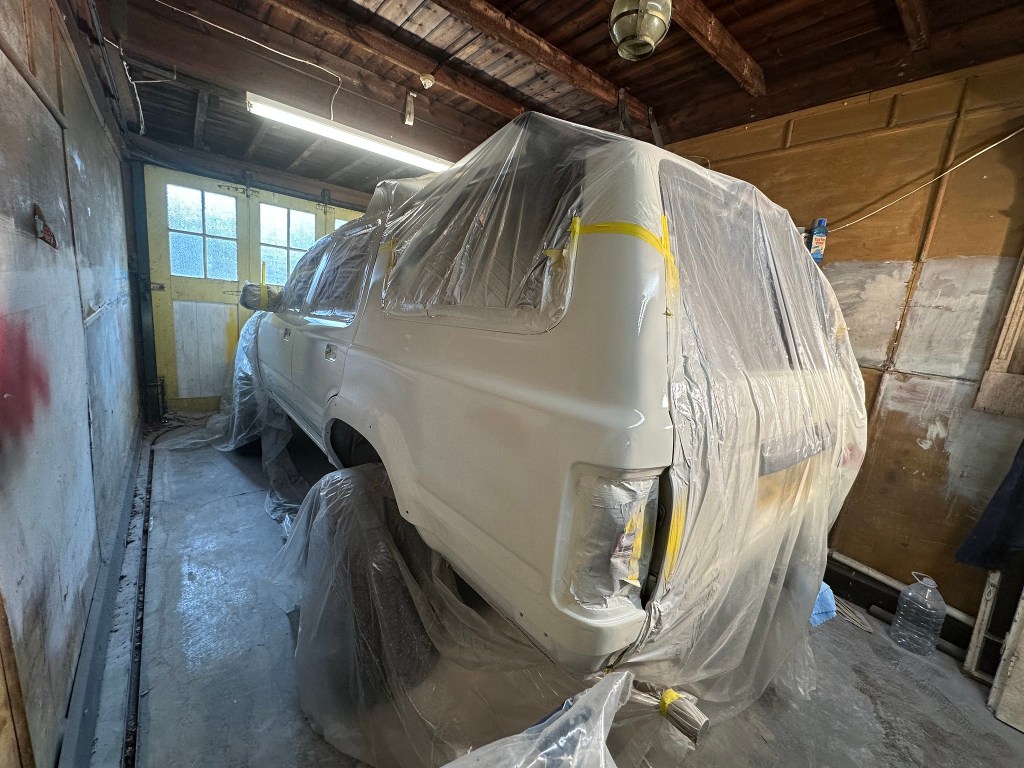
Anyways, back to the Task at Hand.. It was Monday morning, and it was dry, so Top Coating was on the Agenda.
Top & Tails
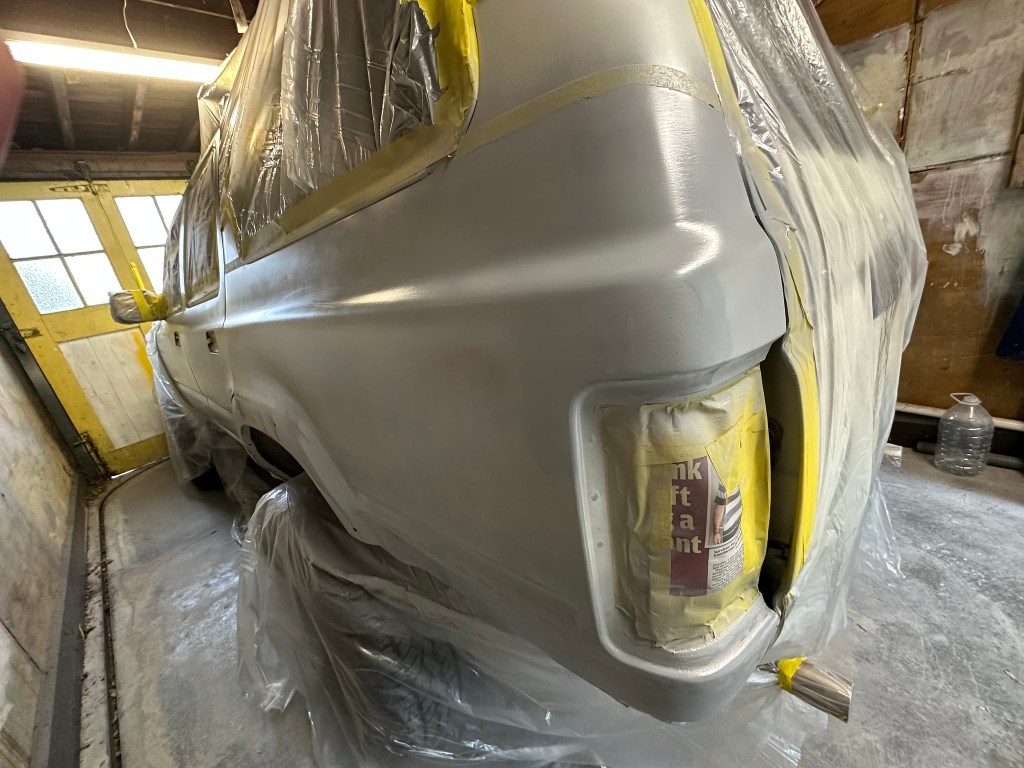
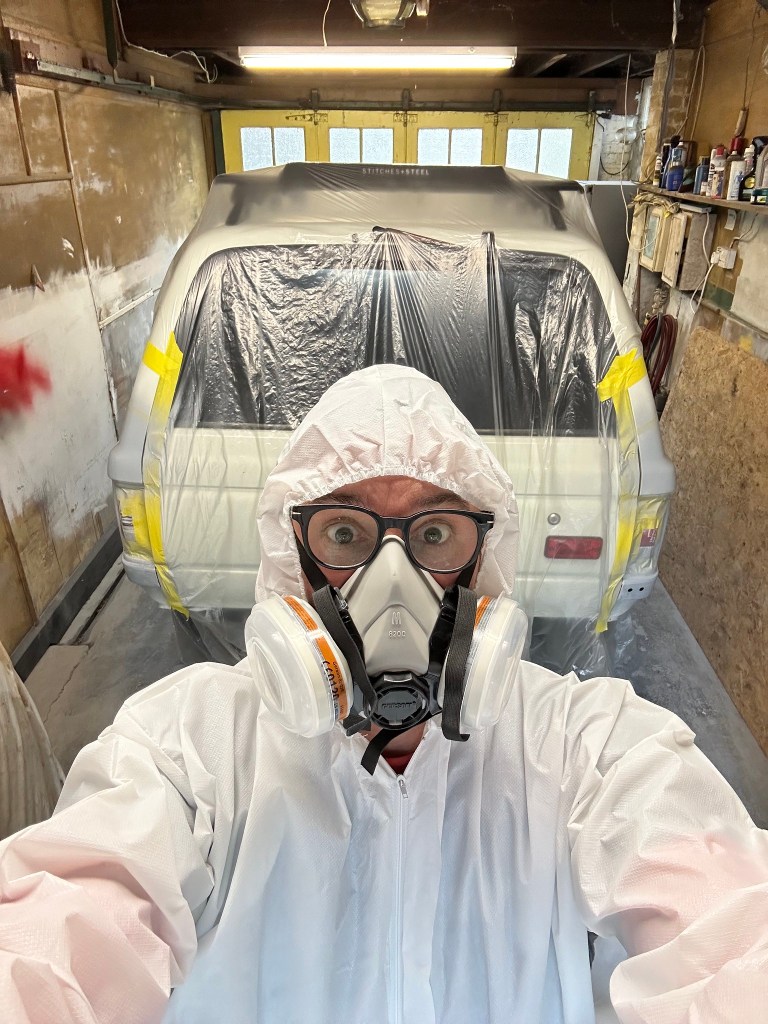
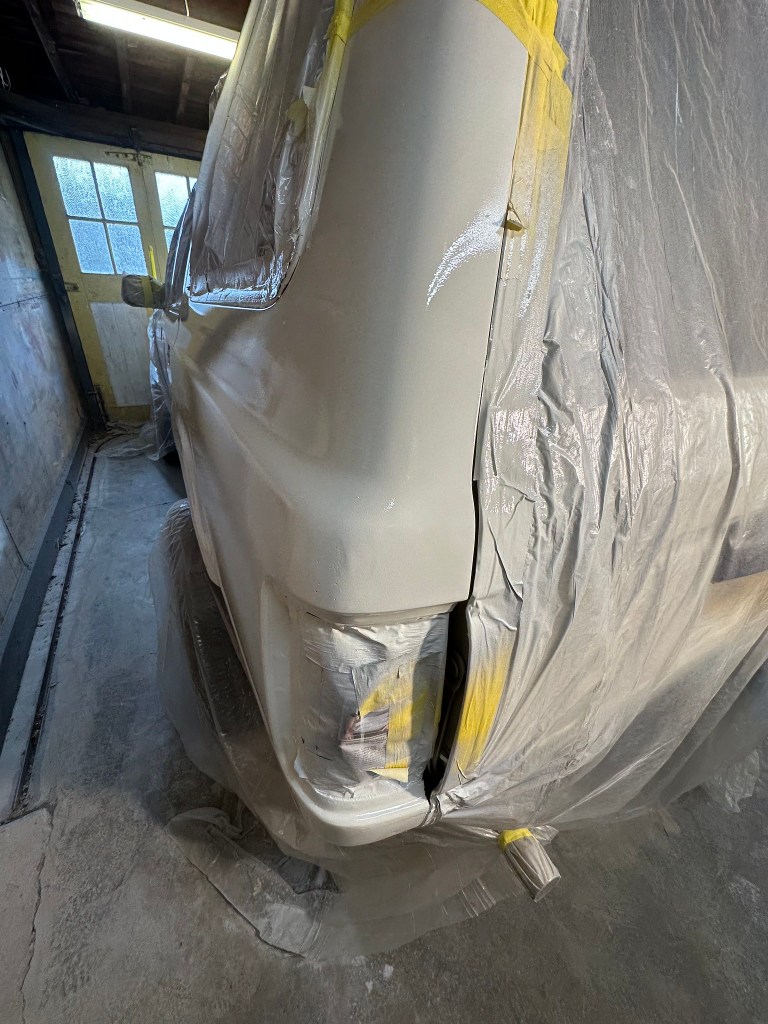
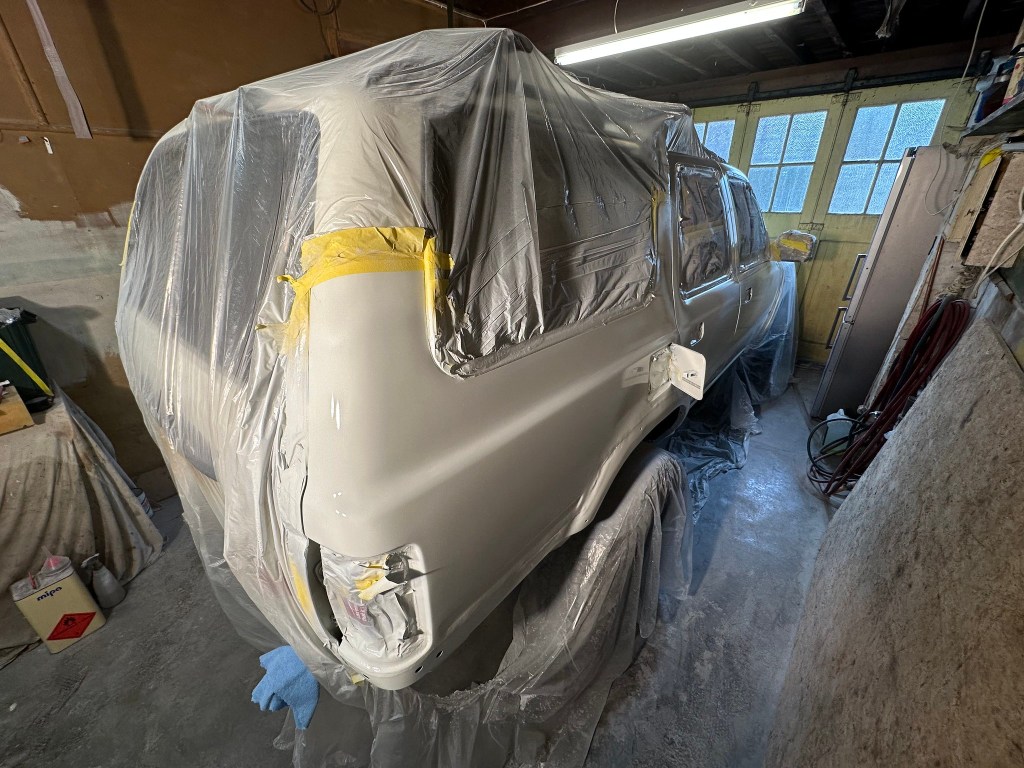
This felt like a Big Thing, because it was a Big Thing. With Primer, if there was a mistake you could always wait for it to dry then sand down and start again. Laying down the Glacier White felt like a more permanent venture, and one that only had one chance to get right. Deep-Breath-behind-a-Mask, and Spray.
First Coat..


Second Coat..
..and a Final Third Coat..
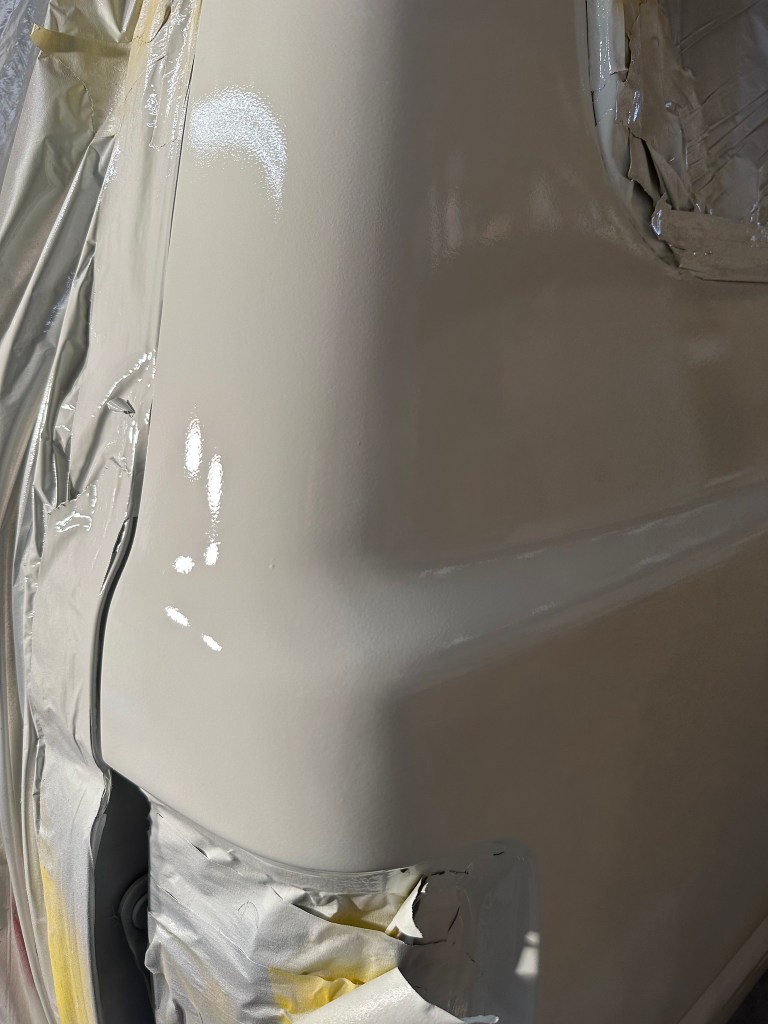

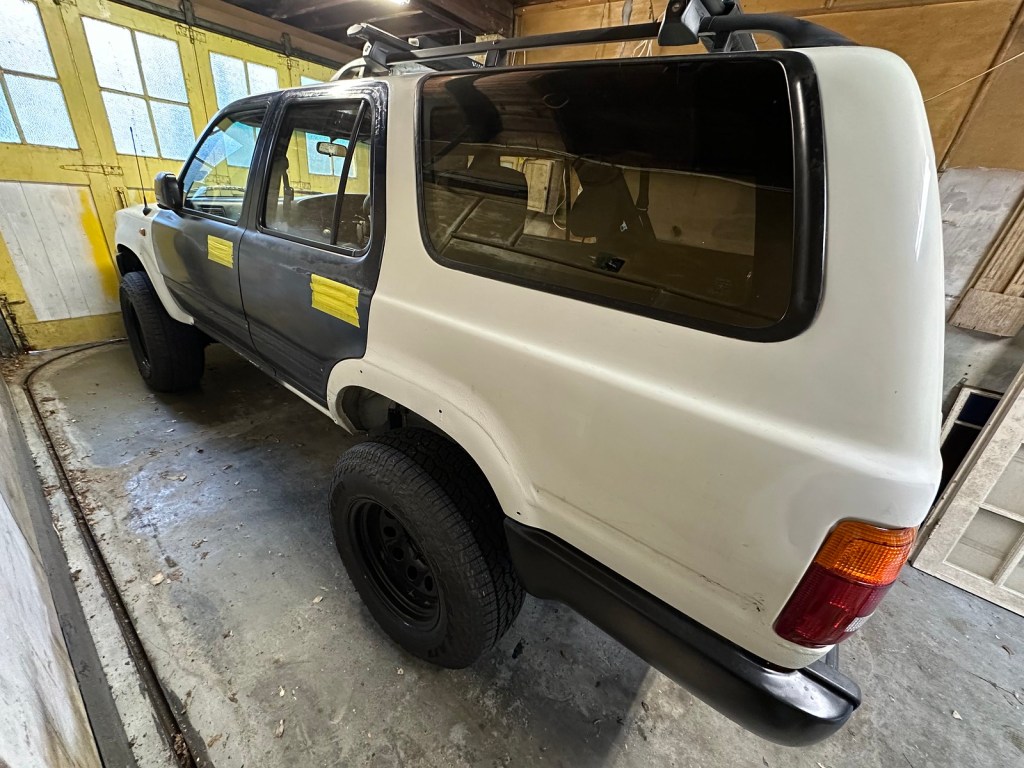
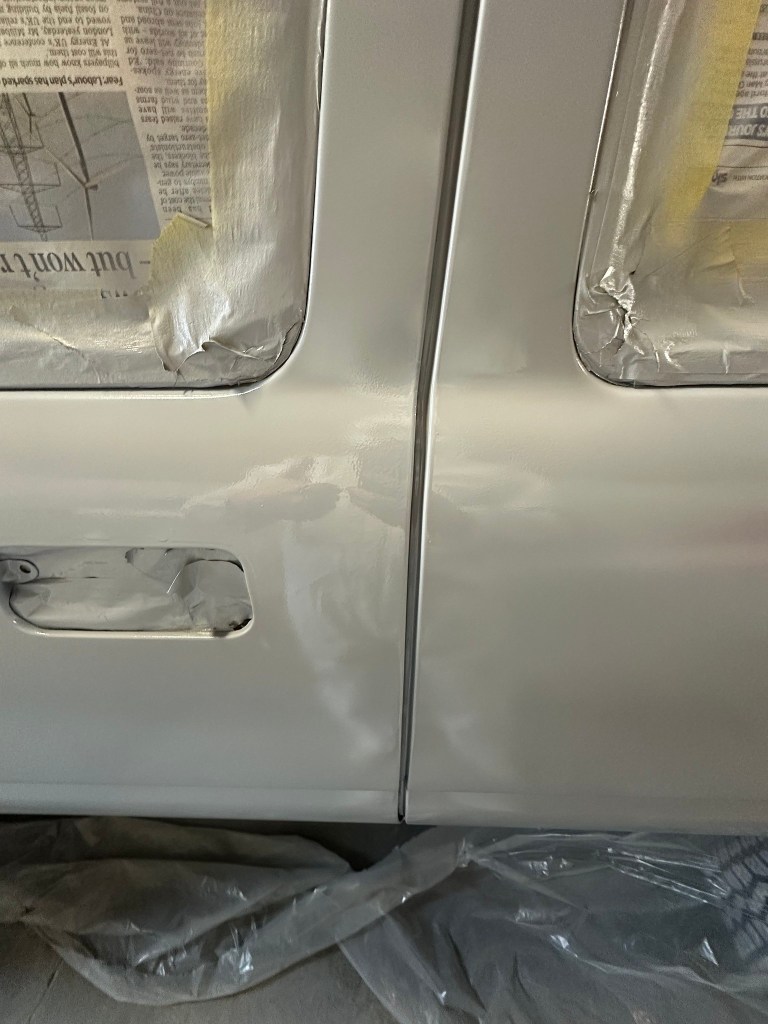
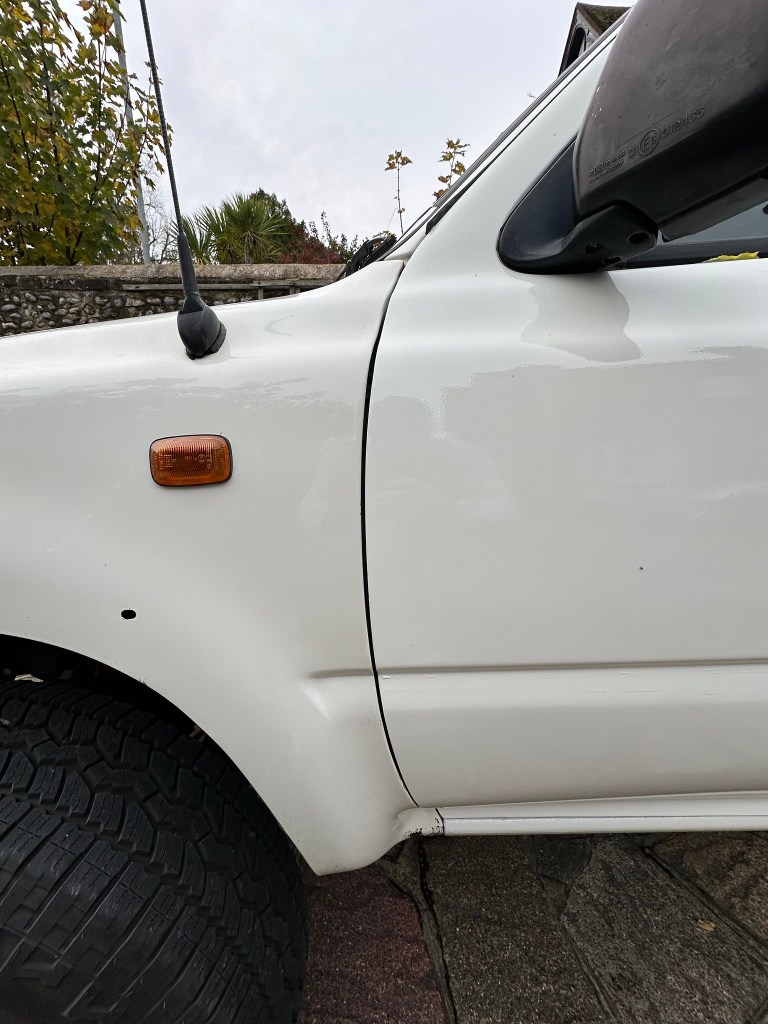
Now, I know it isn’t perfect, but that’s why I’m not a Professional Spray Painter or even anywhere near it, but damn if I wasn’t pleased with my efforts. I could have spent £Thousands [except I couldn’t..!] getting a Professional to do it, but the Graft and Satisfaction I got from doing it myself, and learning from it, is priceless and worth the imperfections. White is forgiving anyways, thank goodness.
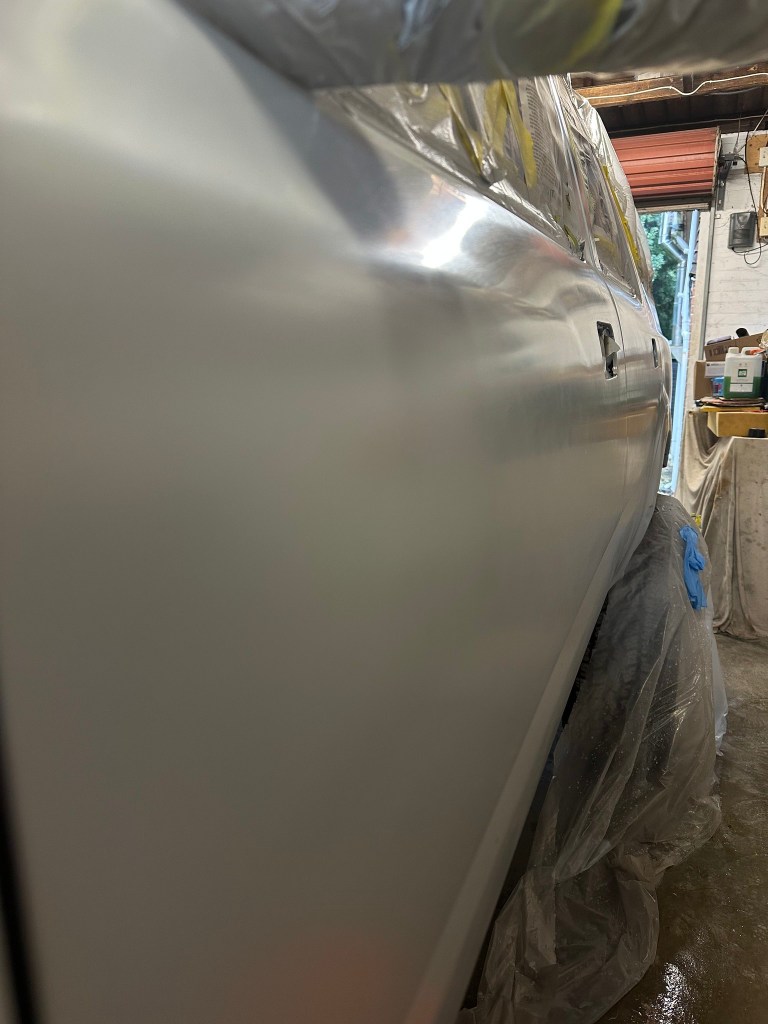
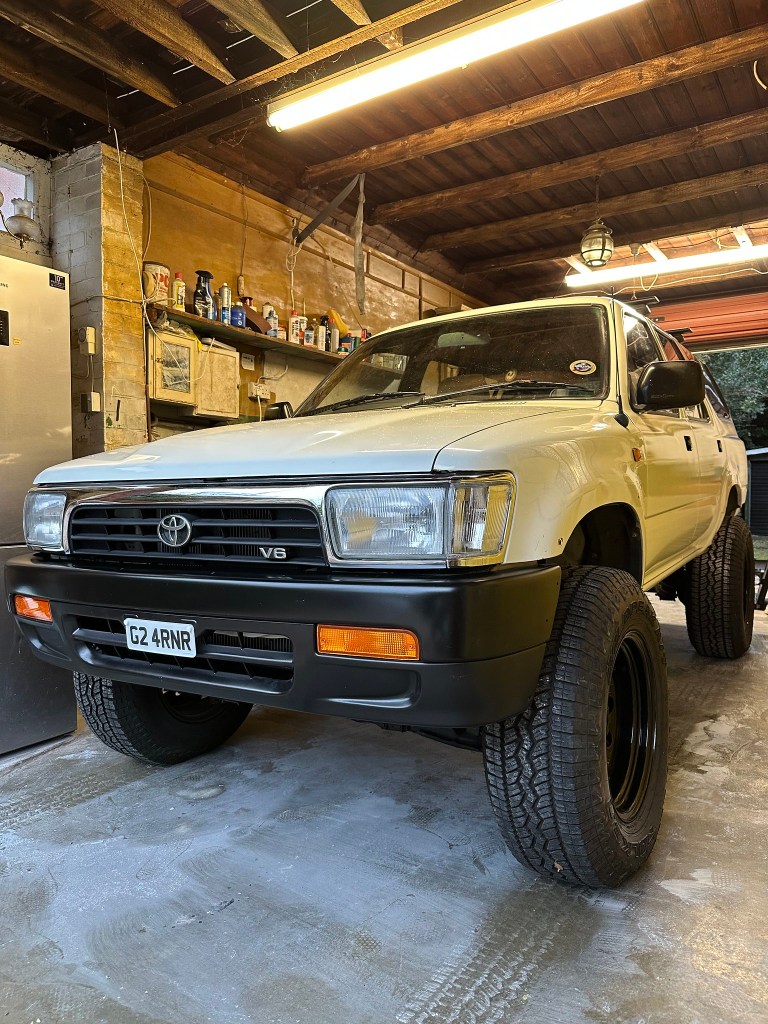
Rolled out into the Late Monday Afternoon Daylight, I was pretty happy with the result.
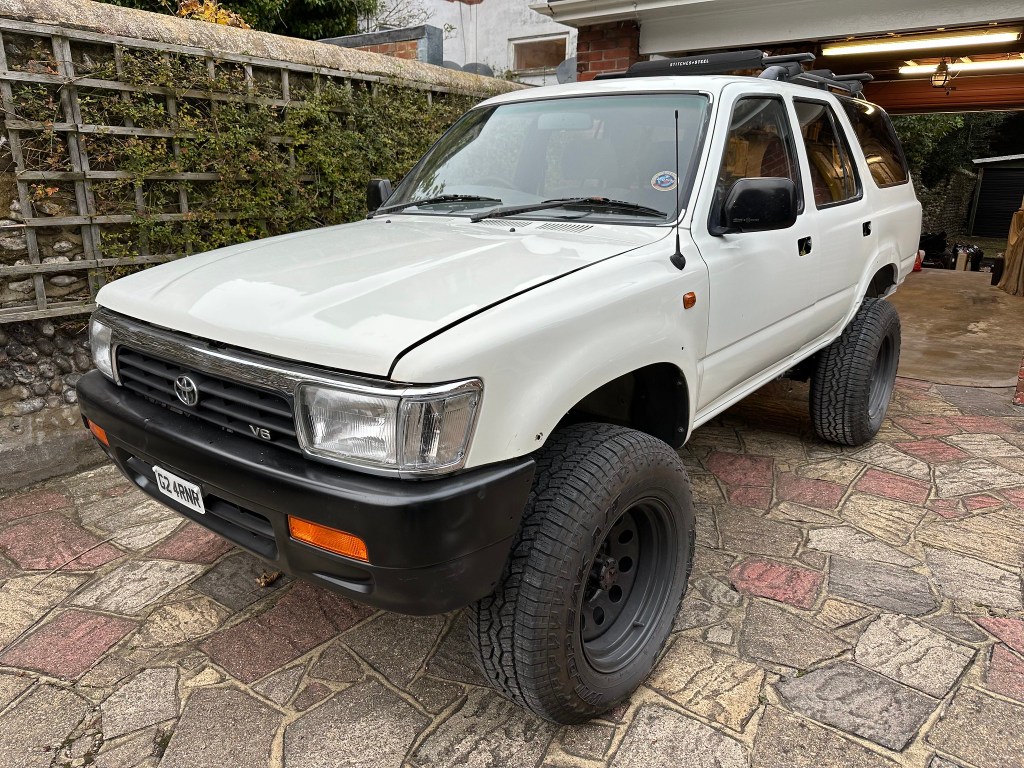

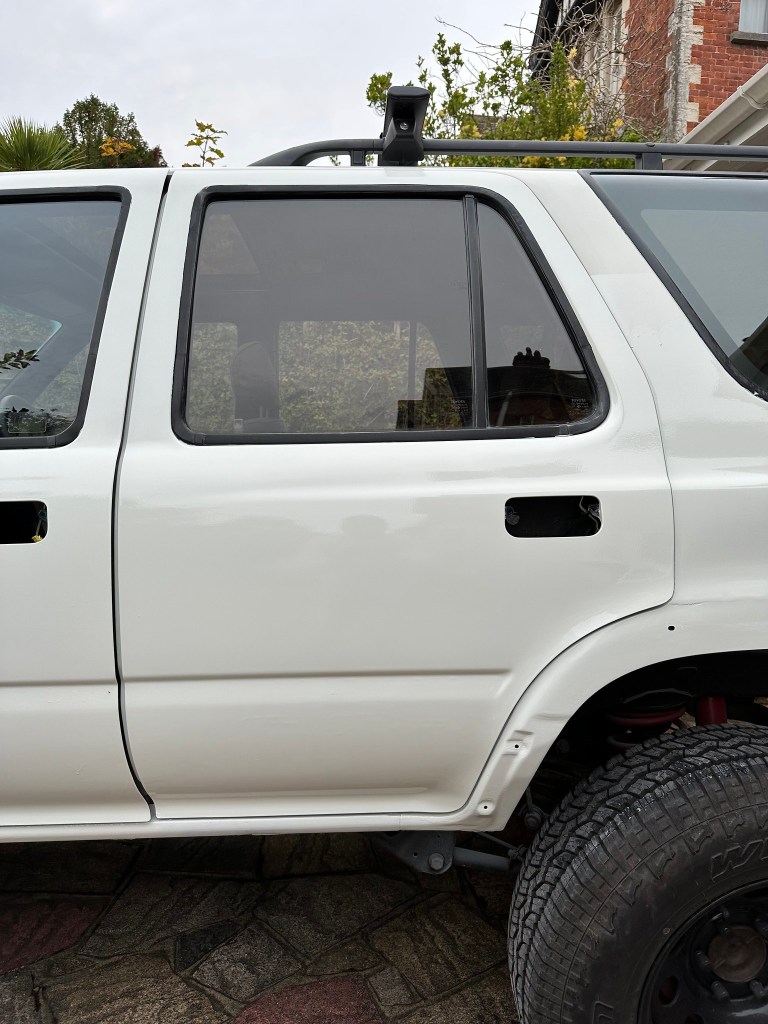
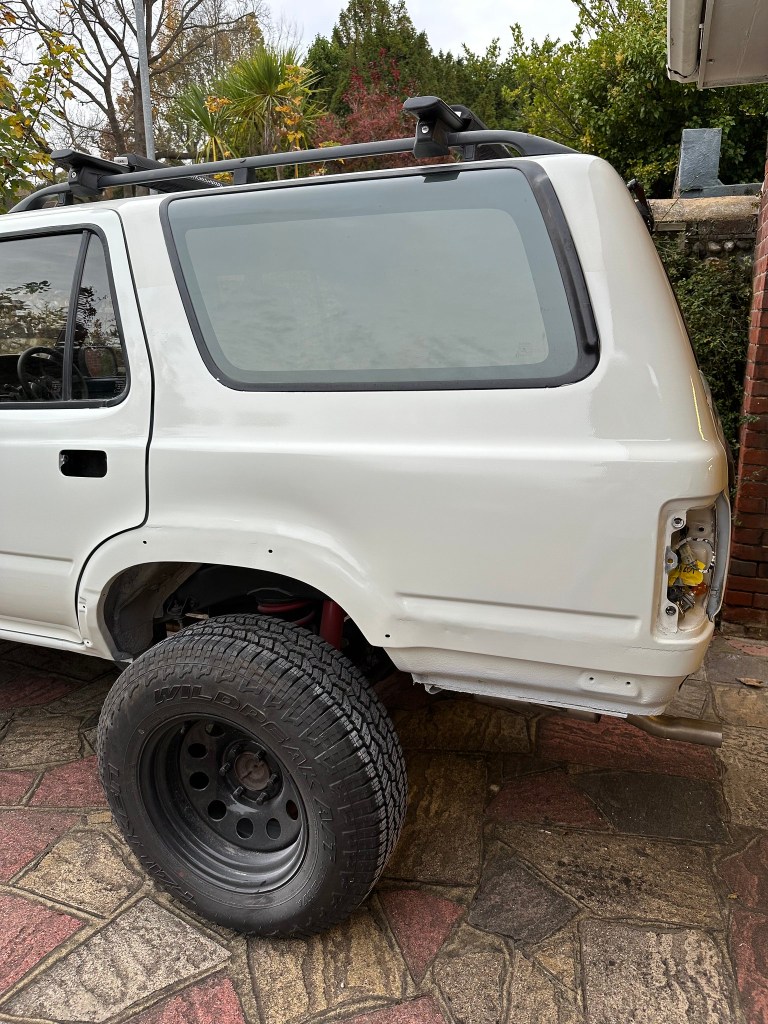

Midday Sunlight is a little more forgiving than the Neon Strip Lighting in the Garage, so it perhaps looks better than it actually is, but I’ll take that. There are of course some imperfections, but the main thing I am more than happy with is the Colour Matching. There is a difference, but that would always be the case when partially painting a 30 Year Old Motor. Perhaps that Clay & Polish Treatment wasn’t as effective as I had hoped..? But a few months of weathering and some UV [if the Sun ever comes out again] might lessen that difference.
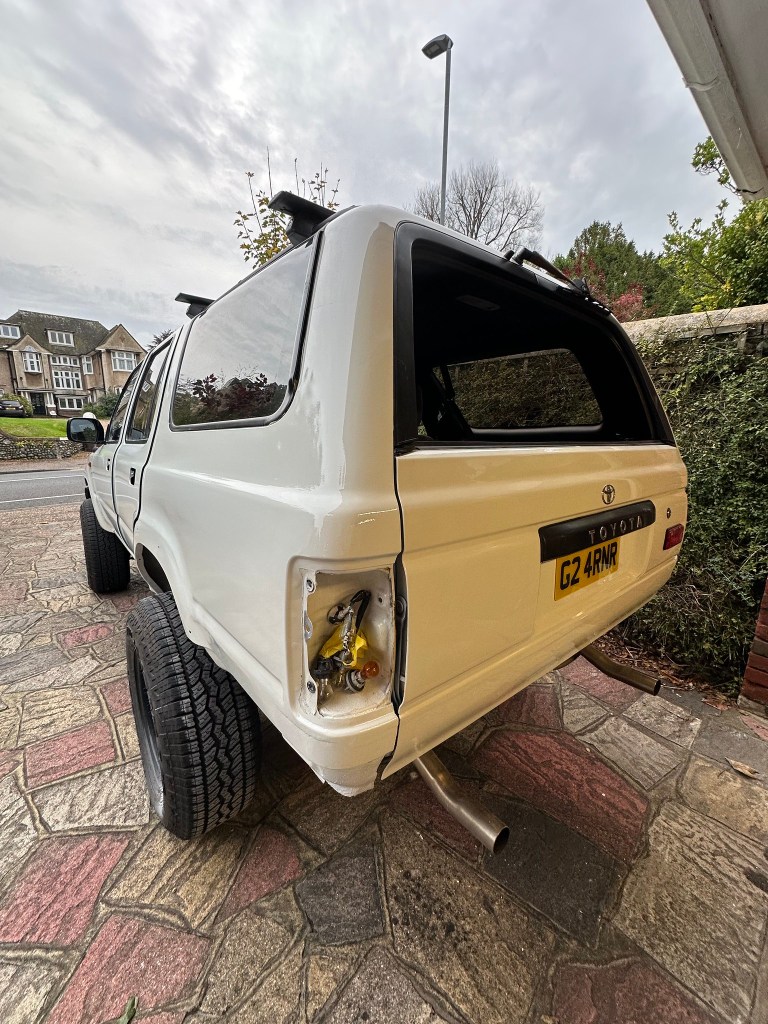
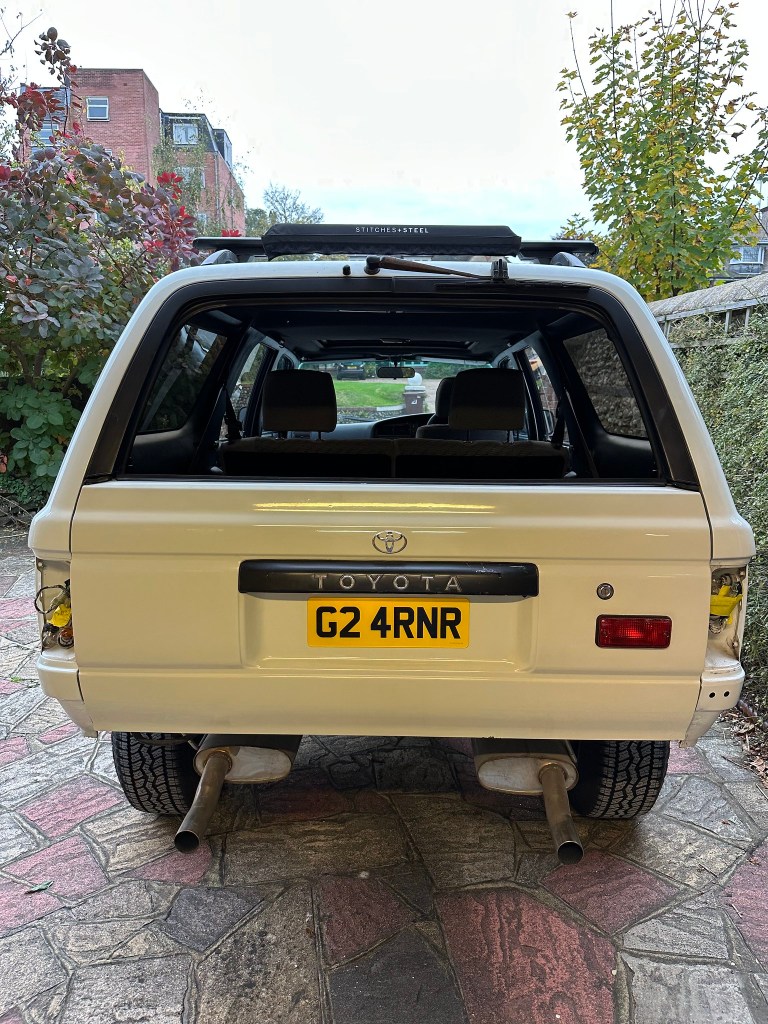
Rear Bumper & Light Clusters refitted, I ended the day on a bit of a high. I need to Flat and Polish it all, refit the original [black] Door Handles and then fit the Fenders, but those are jobs for the coming Weekend and the ones beyond it.

Categories

One thought on “Beast Restoration: Paint” Leave a comment ›