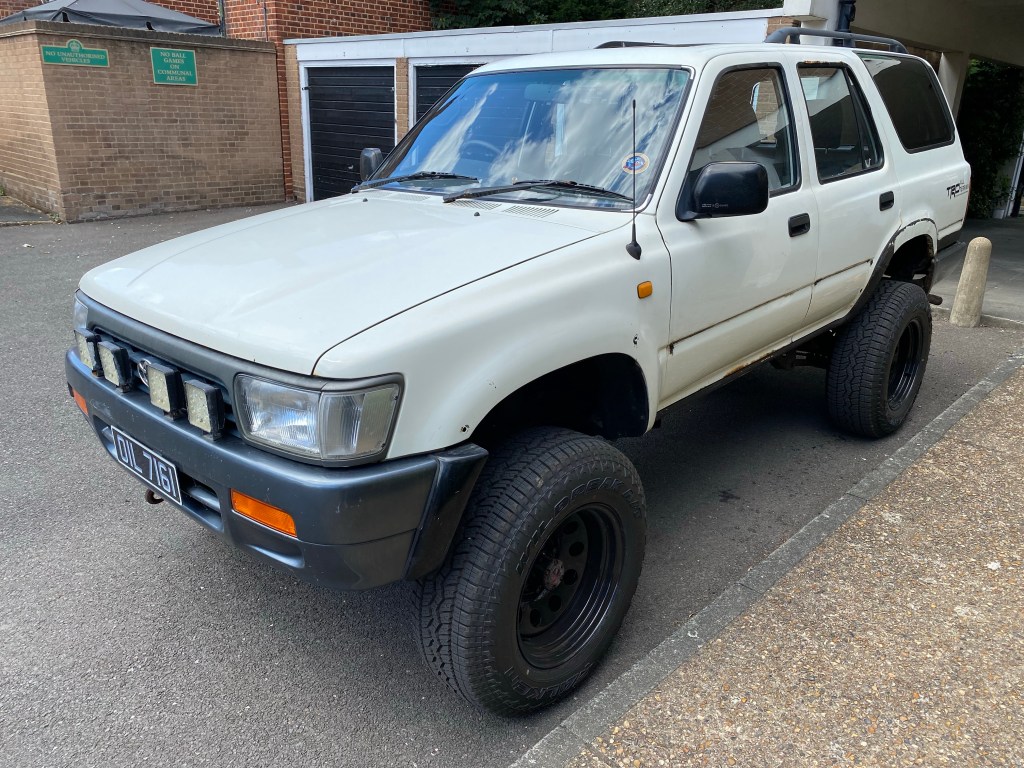
Job Lot

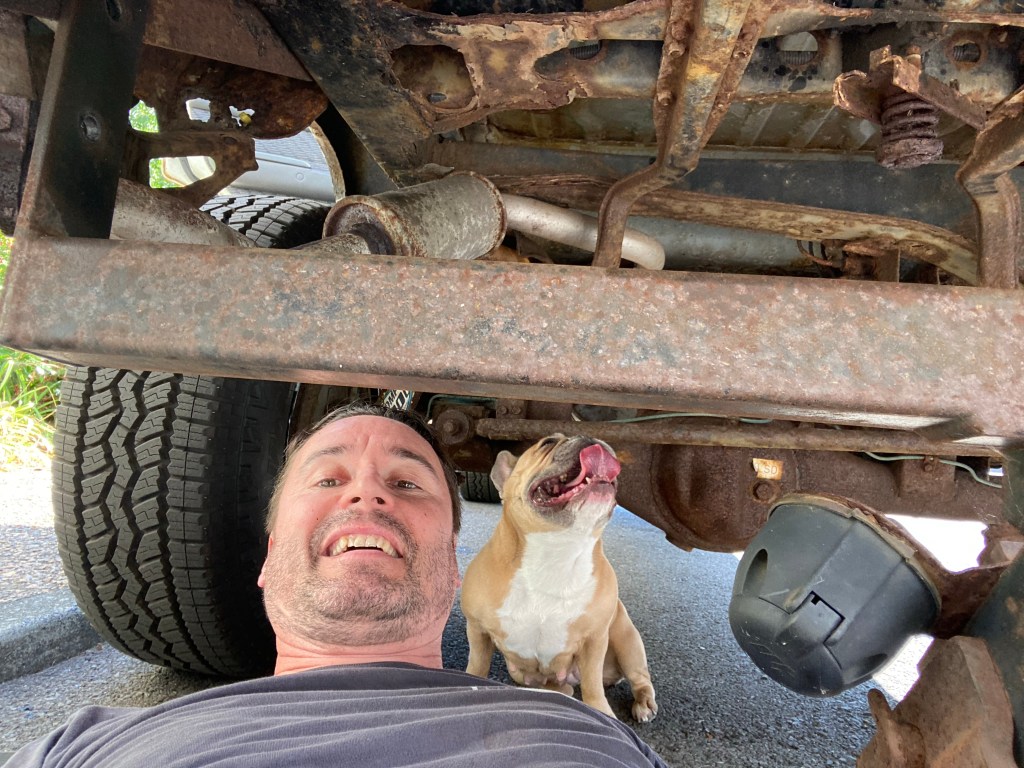
The Beast is but days away from its Body Off Chassis Restoration, so with that closer than the horizon, my mind turned to all the jobs that I’d like to complete to make that job a bit easier for Danny.
Going Spare
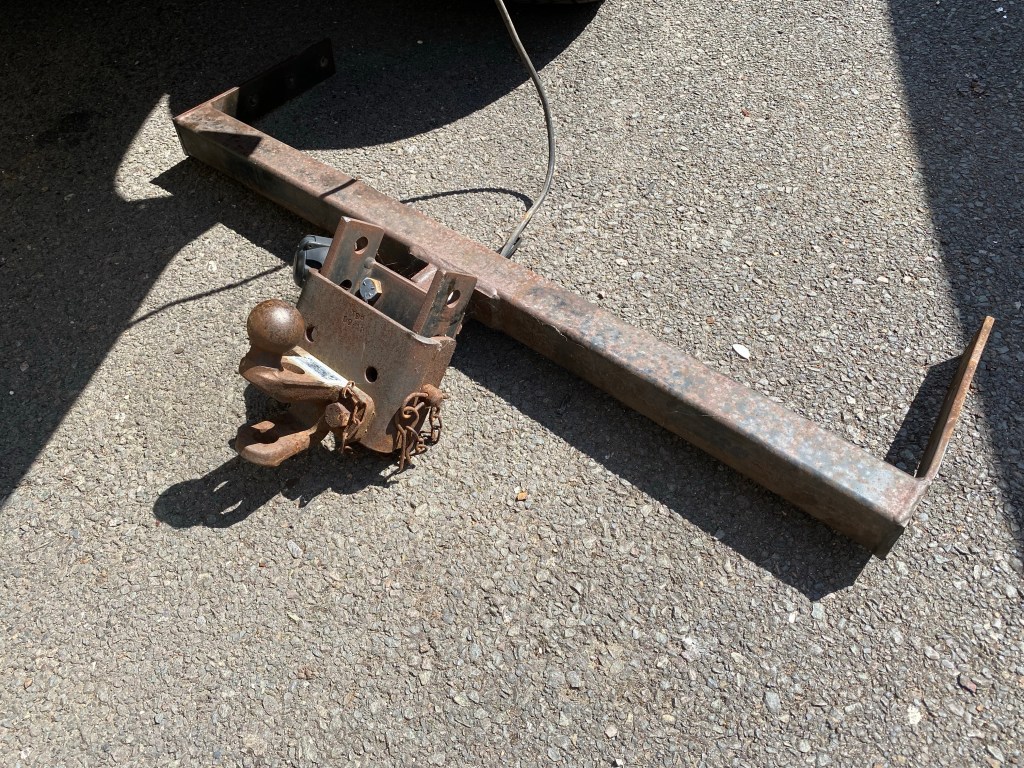
I wanted to remove the Tow Bar from the 4Runner as it was unnecessary and pretty ugly, no matter the deterrent for people parking too close to me. In order to do this, I had to remove the Spare Wheel first, which is stored under the rear. Lying on the ground looking up at it, it was not a Bolt or Nut holding it in place, but a Spring Loaded Retainer. Google to the rescue.


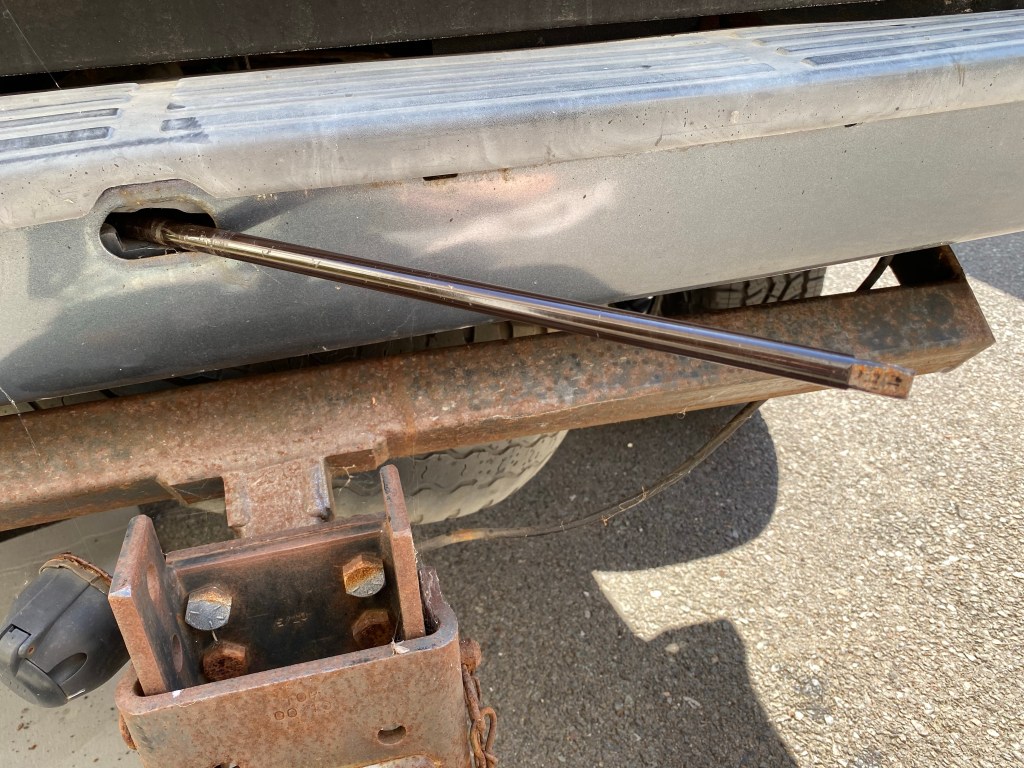

- Locate the Hole in the Rear Bumper of the 4Runner
- Retrieve the Hooked Rod from under the Rear Seats [so this is what that was for..!]
- Locate the Hook End through the Hole at the angle above
- Engage it with the Mechanism in line with the Hole.
- Then turn the Rod Counter Clockwise..
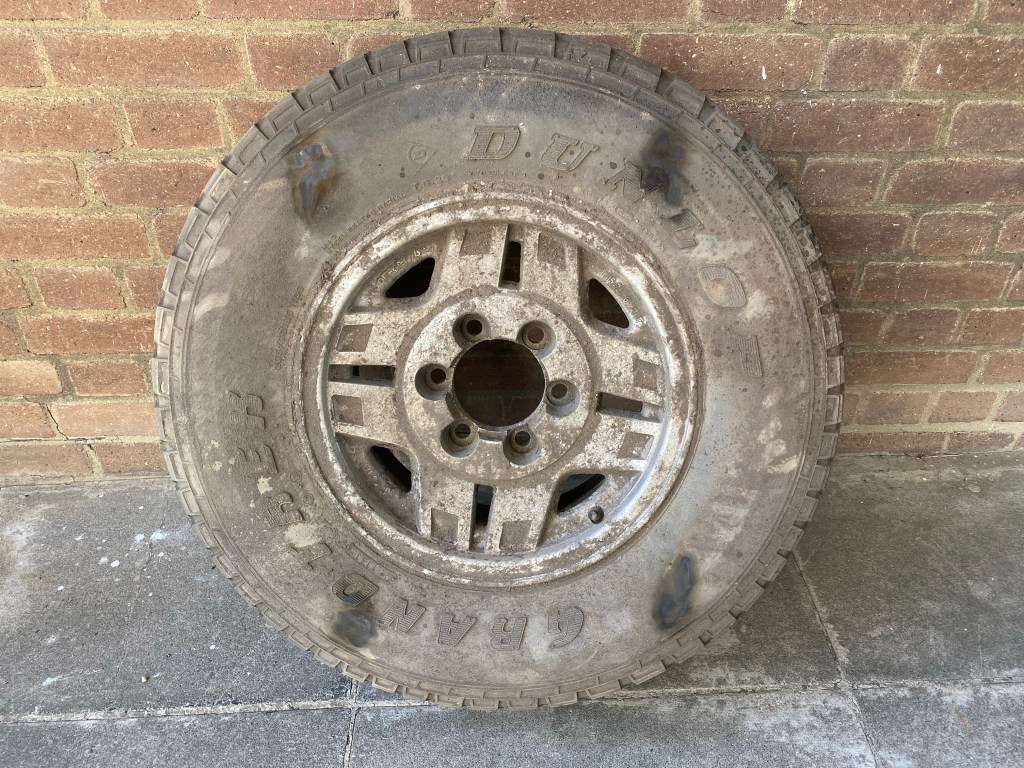
Bingo. Quite the journey of Discovery that one, but one Very Old Spare Wheel on the floor that was more Dead Weight than Reliable Replacement.
Bar None
Six very old Seized 19mm Bolts held this Deadweight to the Chassis. WD-40 and an hour or so wait later, they relinquished their hold. I terminated and taped the Wiring and tucked that into the Bodywork.

Spotless
Damn they is Ugly.. Yes, those Spots on the Front Bumper.. Sure, the Factory Headlamps might have the illuminating power of a Candle in a Storm, but the LEDs really do take away from the simplicity of the 90s design.
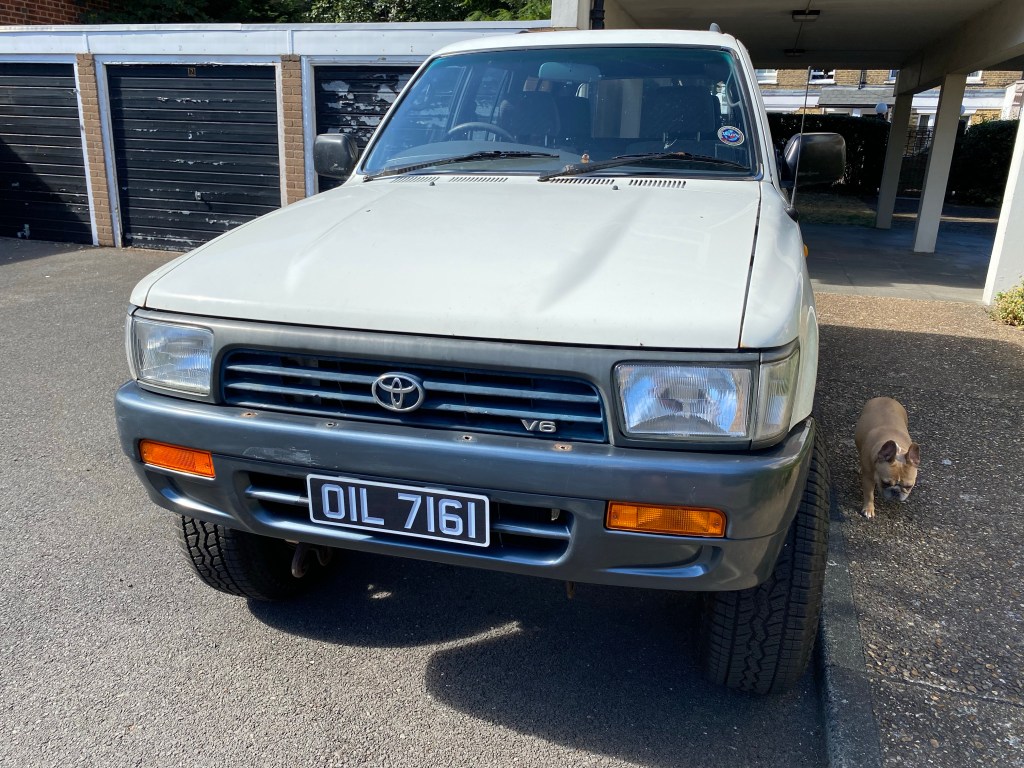

The original Spots were wired up with the electrical skills of a ten year old, so really, the wiring wasn’t that big an issue; just needed to make sure that no bare wires were exposed at the end of the job, and that the Beast fired up without issue.
Flares
Now that the Wheel Arch Flares had been removed, the only outstanding pieces to remove were the Front Bumper Flares. I’d like to say that they came off with ease and technique, but it was more brute force and a good yank.
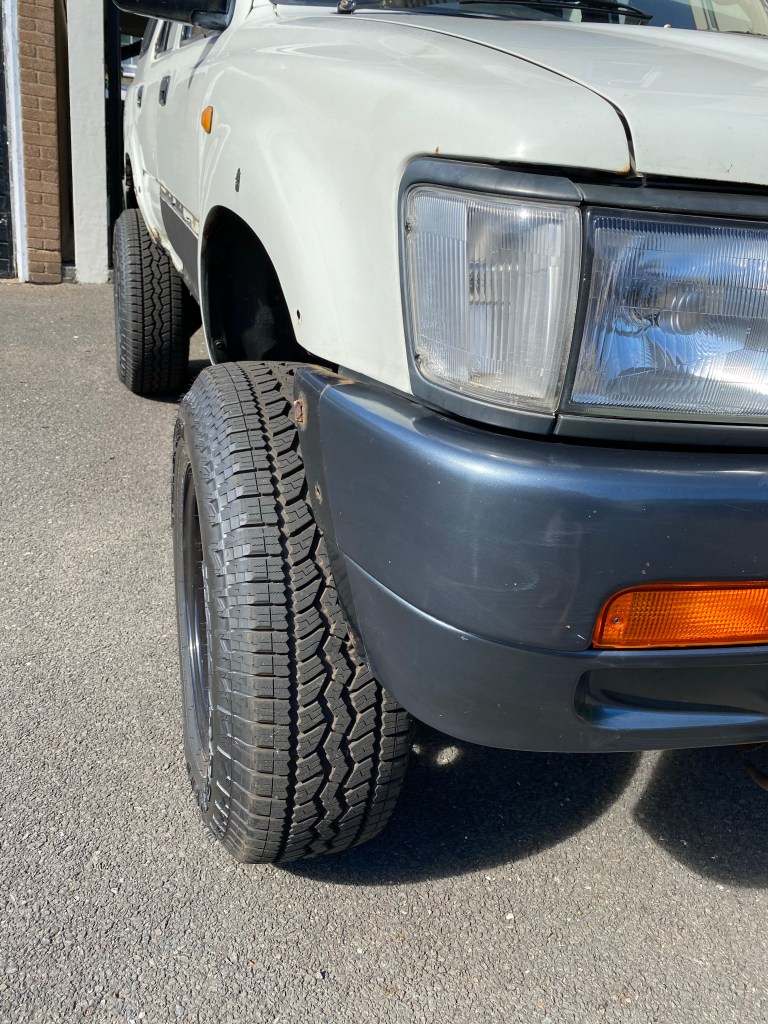
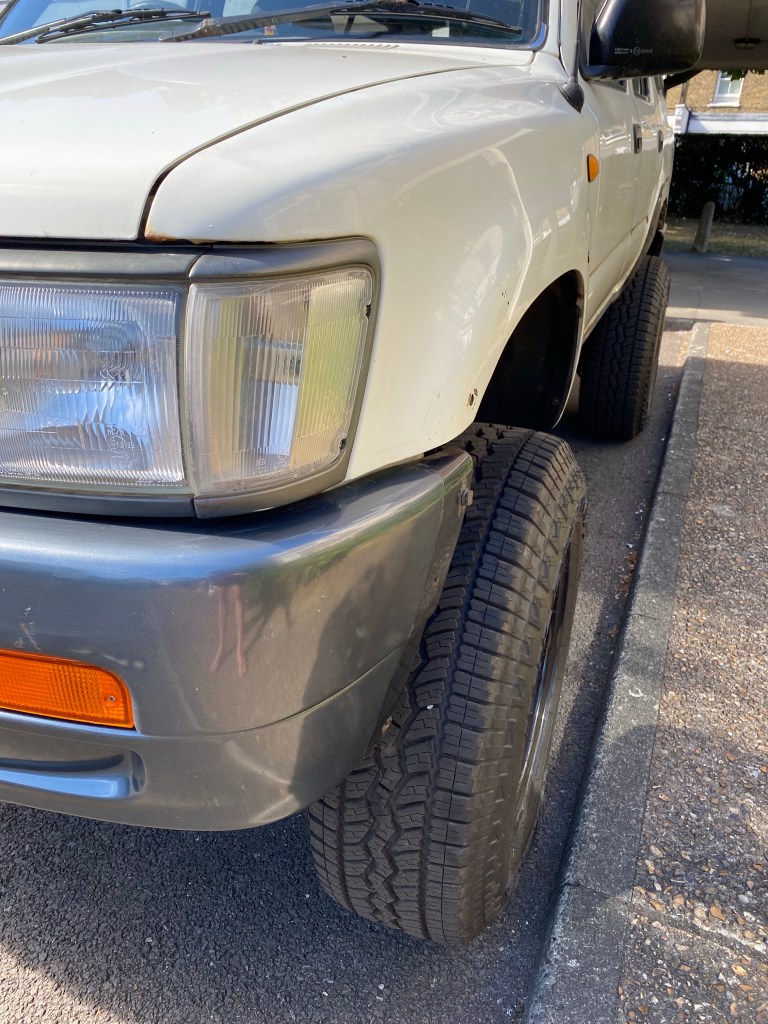
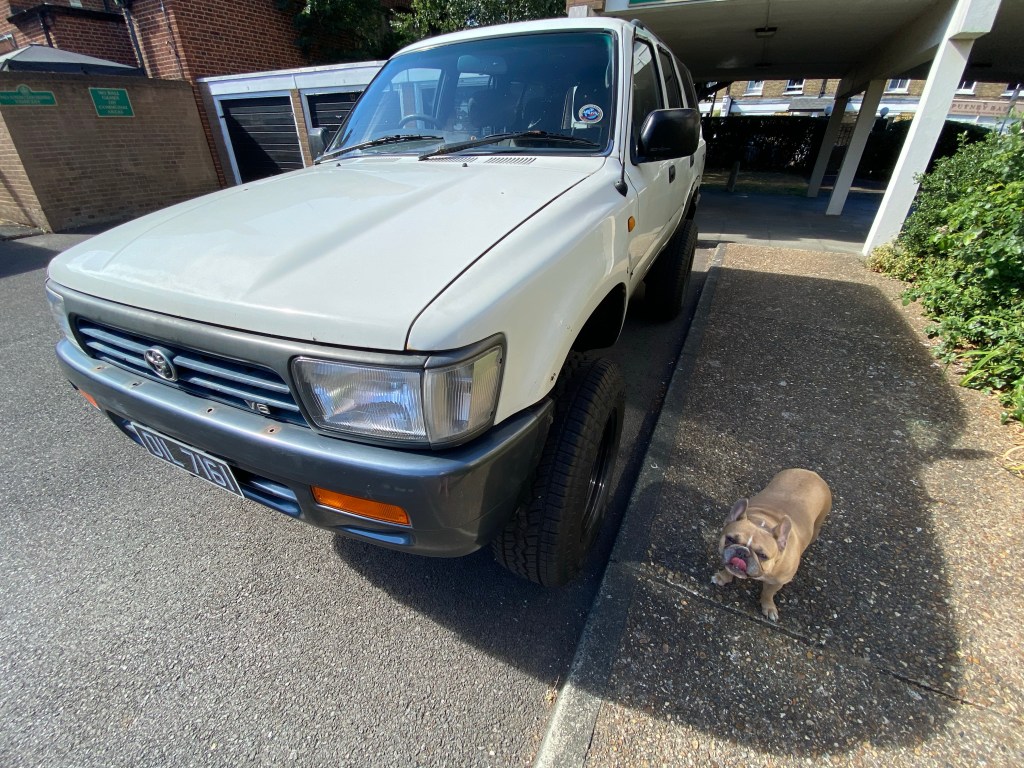


The Front Bumper will need Paint anyways, so grinding the stubborn Flare fittings off, and filling the Spotlights mounting holes, will not be out of scope. The more I notice the blue hue of the faded and sunburned Bumpers, the more inclined I am to keep them that colour. Not only for a sense of originality, but also because it stands out as an intermediary colour between the Black of the Wheels and the White of the Body..
What do you think..? Leave me a comment below..
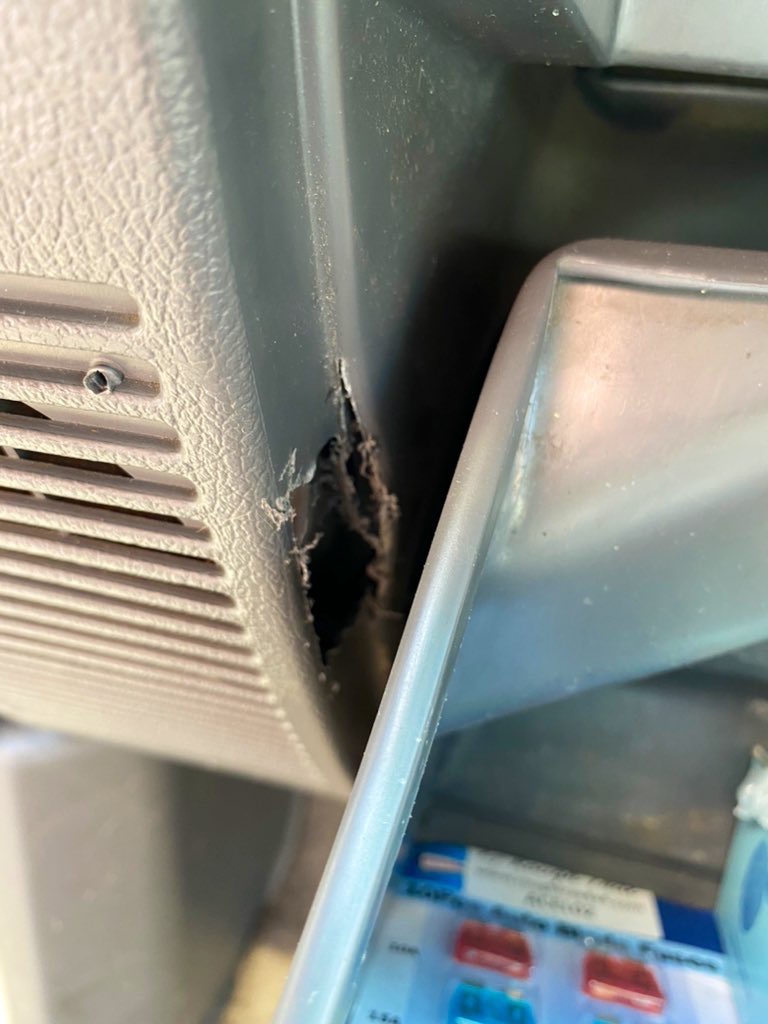
Speaker’s Corner
Lunchtime Job that has been bugging me for a while, and despite the Beast going in for its Body Off Resto next week, needed to be done whilst it was still on the Driveway.. Wonky & Damaged Glovey..
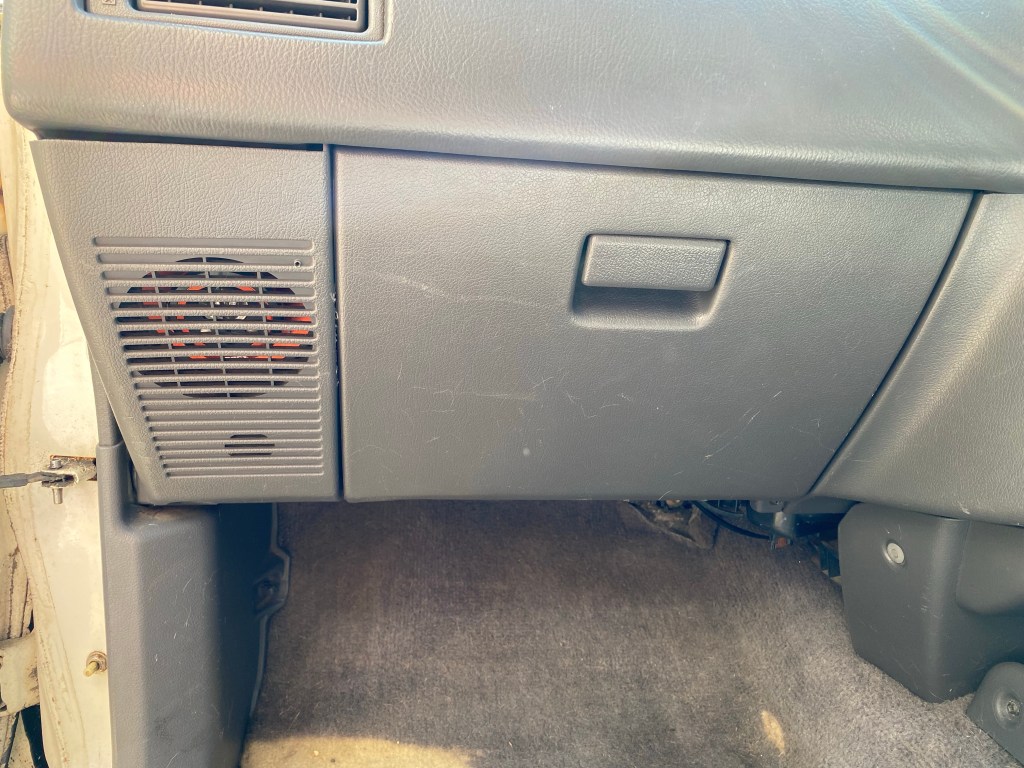
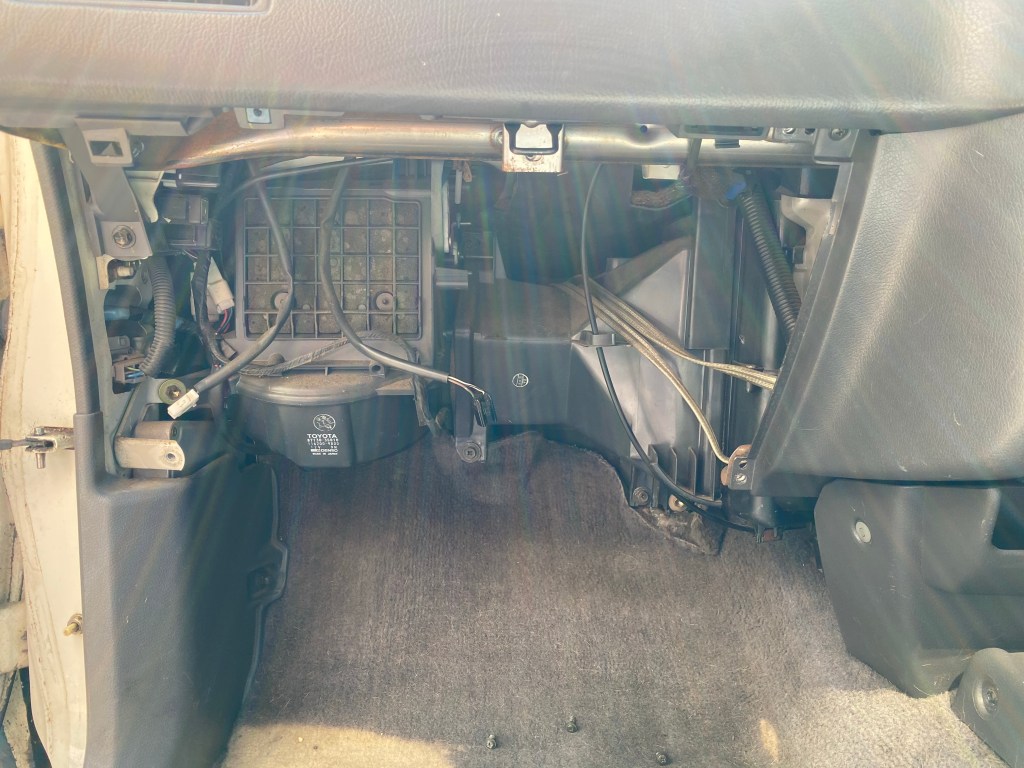

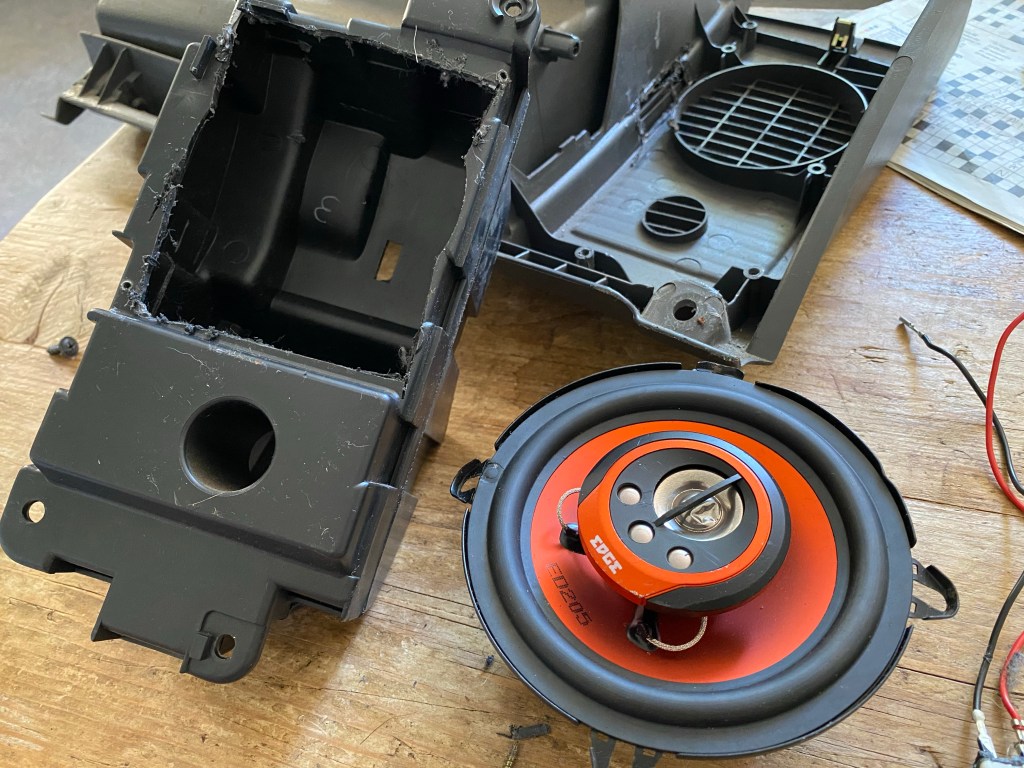

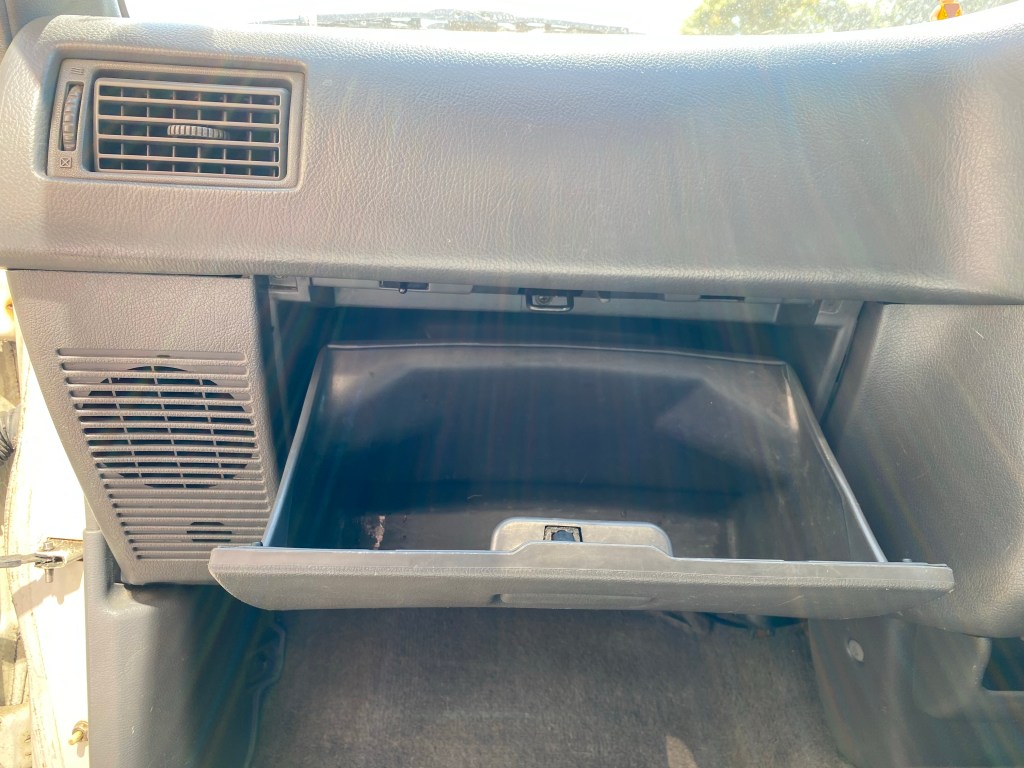

- A few Screws & one Bolt to remove the whole unit, quite simple.
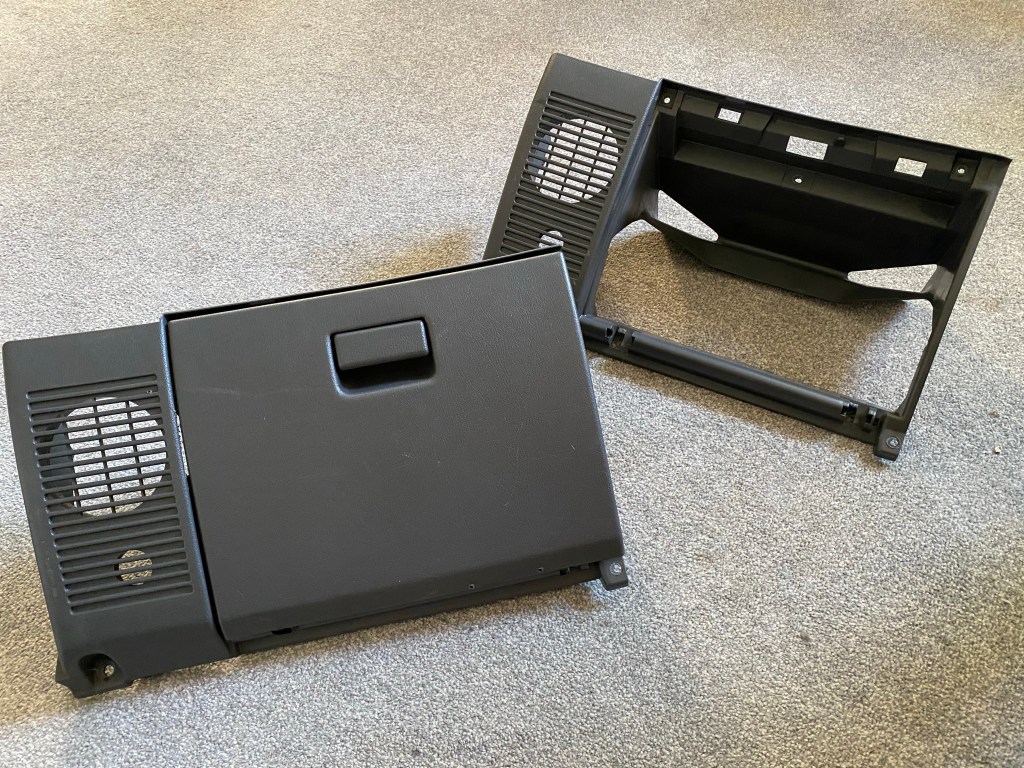
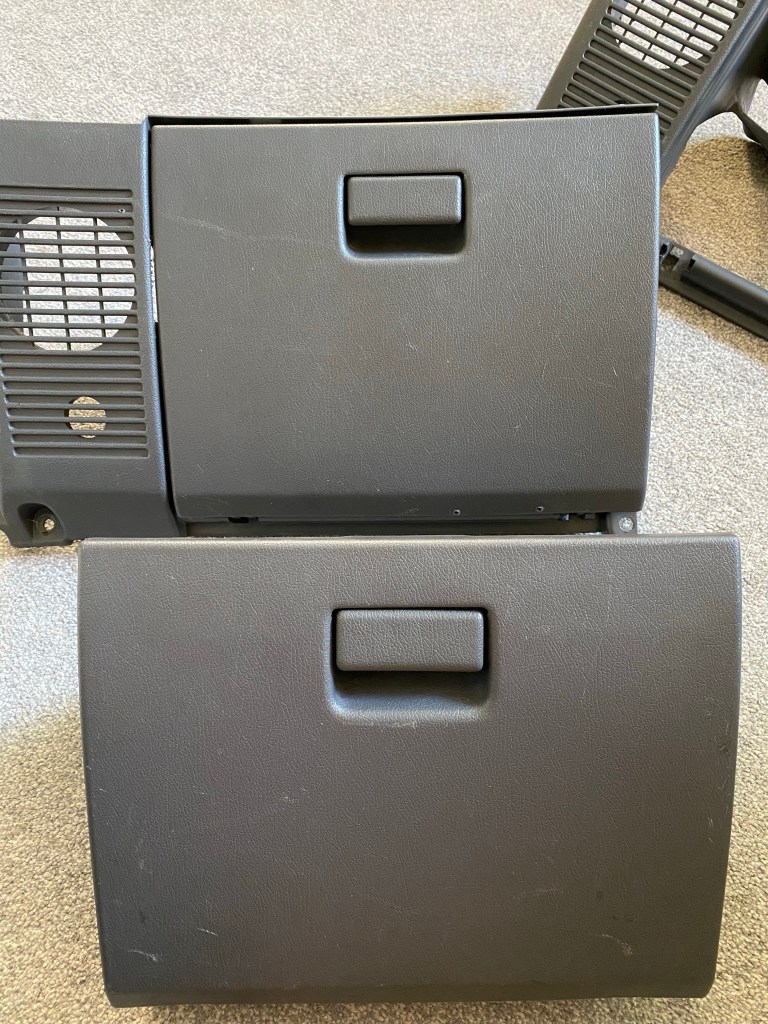
- Previous Owner’s attempt at fitting a Speaker; Screws pushed into the Plastic and original Speaker Box hacked to accommodate.. As for what happened to the Glovebox sidewall, no idea.
- Was going to swap out and use the original Drawer, but discovered a couple of random [non penetrating] Screw Holes..?? The Unit I got from EBay isn’t so bad, so fitted that one.
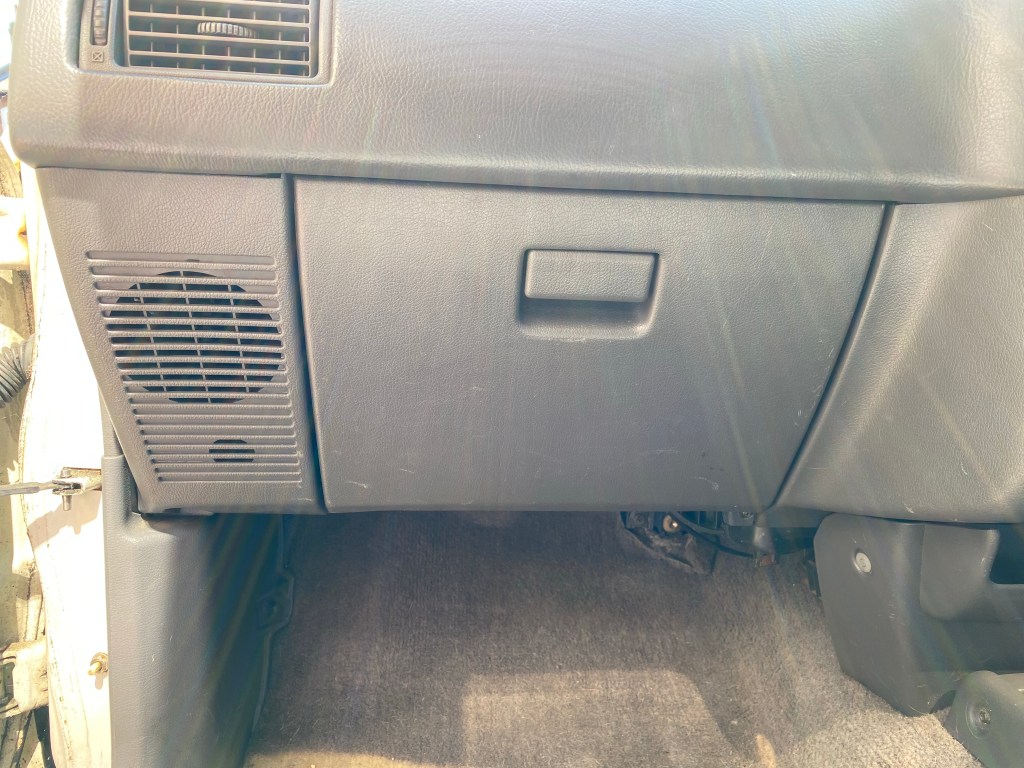
- Bolt and Screw it back into place

I didn’t refit the Speaker Box, but will source an unmolested one. I’m considering a Screen, probably Apple Play, for the Centre Console, and imagine listening to Music might require Speakers neatly fixed.
Categories
