Sitting Comfortably..?

Summer ’25
It’s been a minute..! And what a Summer it was.. An absolute scorcher, so much so that a Hosepipe Ban in Kent has meant that the 4Runner hasn’t seen a Sponge since early July..
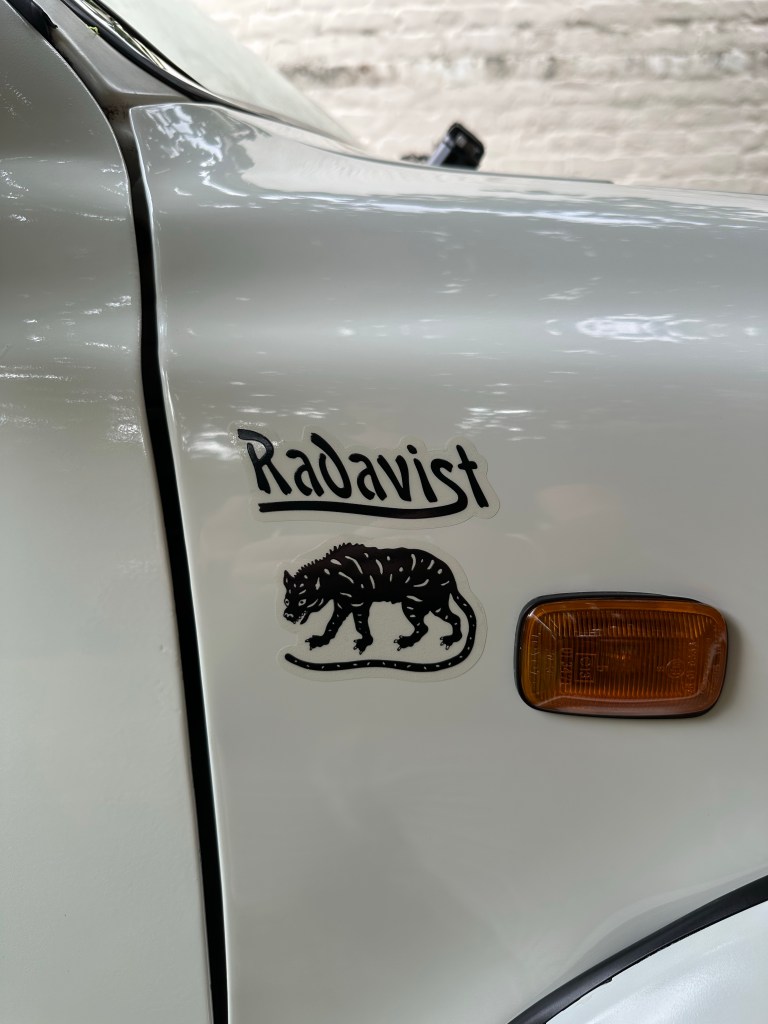
The July Wash & Wax has done a good job though, protecting the Beast from the worst of it.. I added a little detail too from my favourite Biking Forum, the Radavist..


I turned my attention to the Cabin later in the Summer, after a few Long Hot Journeys highlighted the need for a Seating Upgrade, or Update even..
On The Rails
I had sourced a set of Juran Racing Sliding Rails some time ago, specifically for the Toyota N130 platform and while a little pricey at £75 each, I knew they would be a perfect fit.. I don’t find shoehorning the odd piece here and there into the 4Runner, but I did figure that Seats might be a Safety First concern.. >> https://www.rhdjapan.com/juran-racin…30-ncp131.html
I spotted a Bowler and the Recaro CS Seats within and set my mind on something similar.. Recaro are expensive, Corbeau less so, but even then the price point was just a little to high; then I stumbled upon a set of Recaro CS copies by Vevor, at £225 for the pair from a reseller..! And that included Sliding Rails which were surplus to requirements.. >> https://www.vevor.co.uk/racing-seats…p_010279844314
First port of call was getting the Seat to fit the Juran Frames, so measurements taken on each and a look through the Adaptor Kits on Demon Tweeks..
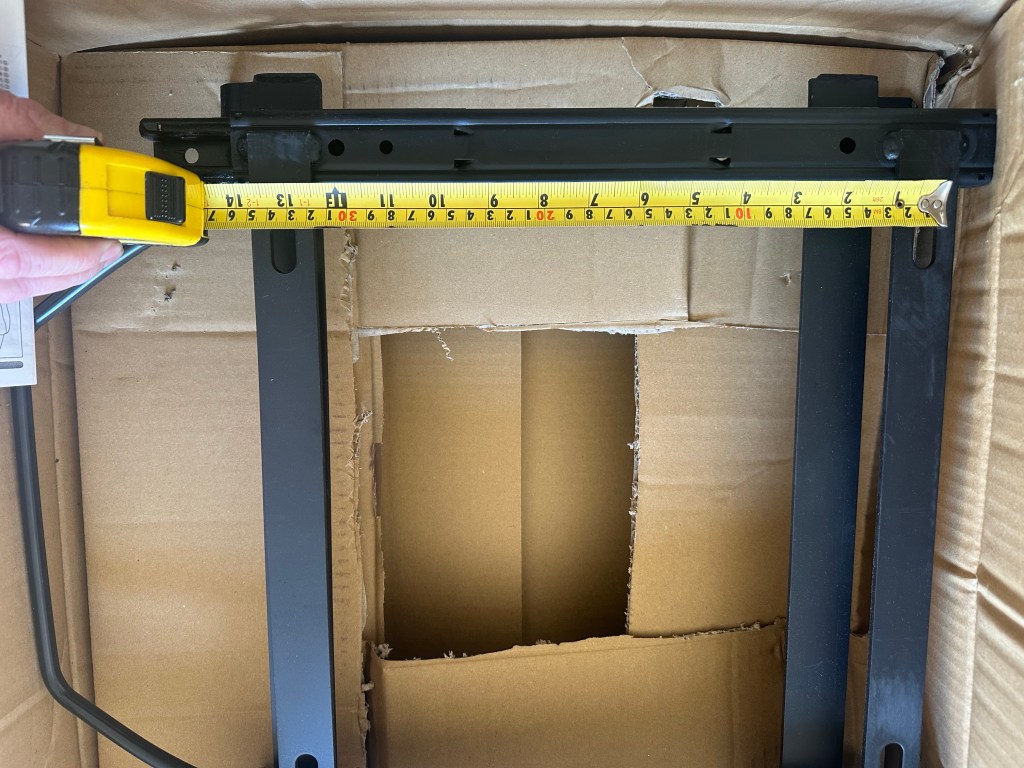

I made up some cardboard templates that I could compress the measurements onto, so that I could see how distant the mounting holes were; it wasn’t so bad, but wondered if I might need a custom soutin to this..
I found a set of Adaptors that I could tweek to fit from Speeding Parts >> https://www.speedingparts.co.uk/p/in…mount-fia.html << but once i had done all the fitting which included sourcing M8 and M12 Bolts and Nylon LockNuts..

..and bolted one into the 4Runner, they sat too high.. So much so that the Shoulder of the Vevor rubbed the B Pillar and Seat Belt Mount..


Back to the Drawing Board..
Drawing Board
I had another look through the Seat Frame Adaptor selections on many websites and found what I thought might work, purely from look as no measurements or specifications were provided; I firgured this was going to be a Hit & Hope Operation from this point, making sure I could send the Parts back if they were not suitable [anyone wanna buy a nice set of adaptors from Speeding Parts..??]
Demon Tweeks had a curious solution that involved a Side to Side solution, rather than a Front to Back one, and at £35 each they fitted the Budget.. >> https://www.demon-tweeks.com/uk/cobr…er-cobsubfr08/
When they arrived, I offered them up to my Cardboard Templates, and voila..
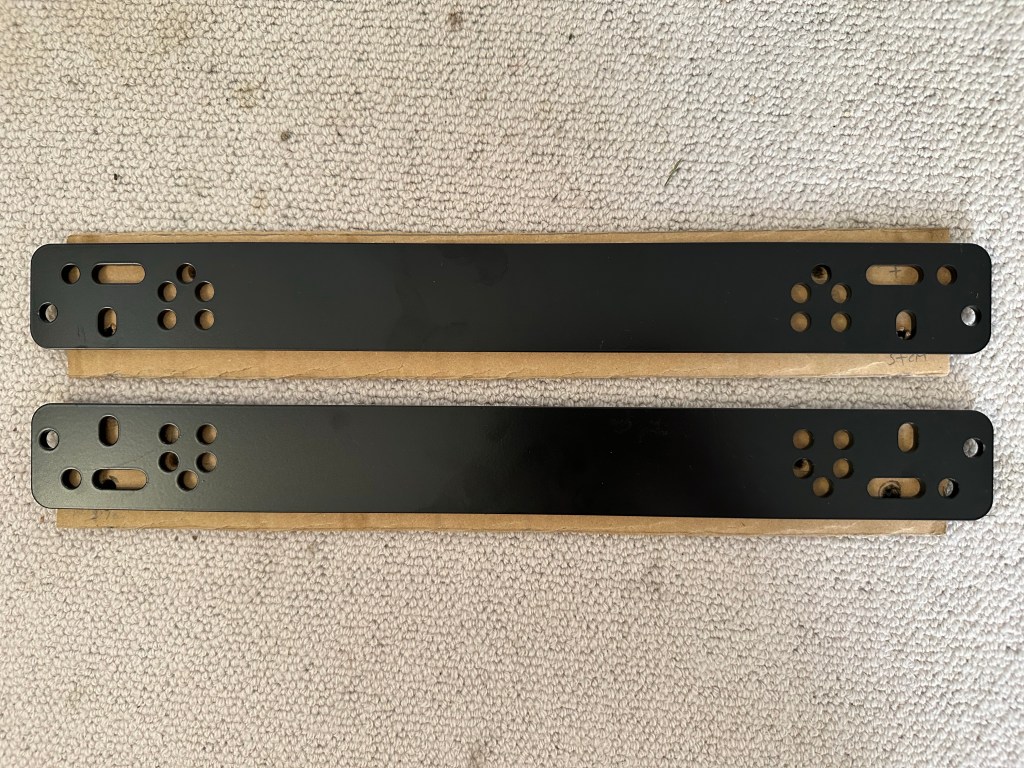
You can just about make out my Sharpie Holes..
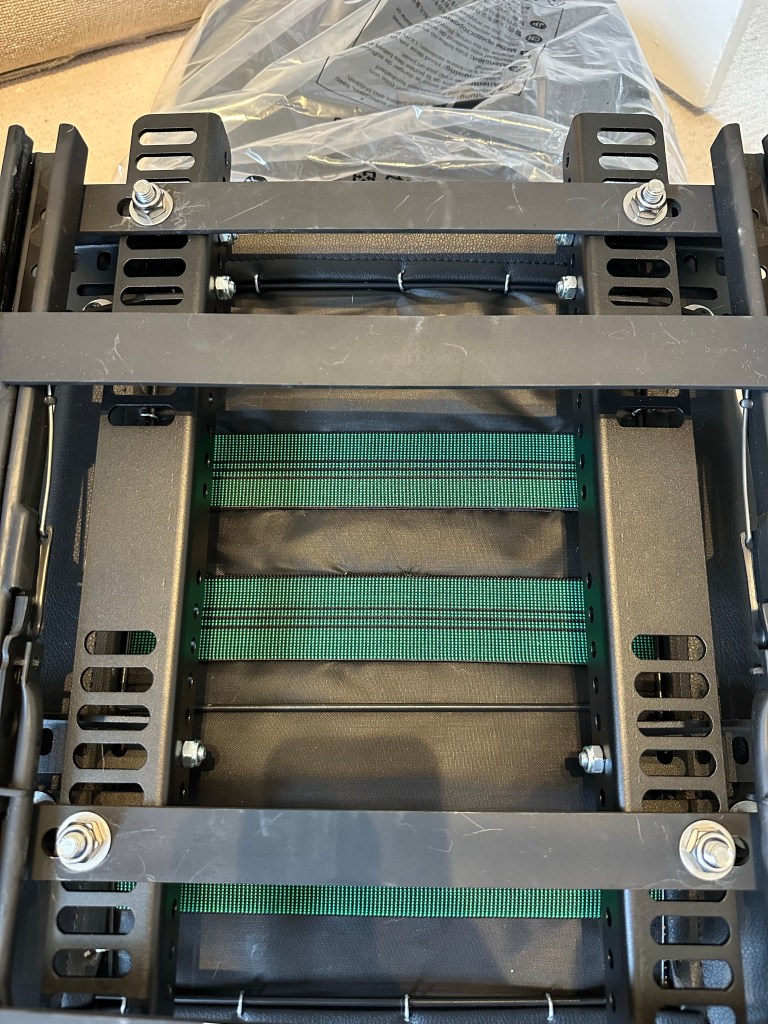
After a few attempts at getting everything bolted together in the correct order, it was actually a fairly easy procedure.. Having lined up the Adaptors and Rails with my Templates, I first bolted the Adaptors to the Seats and then the Rails to the Adaptors..
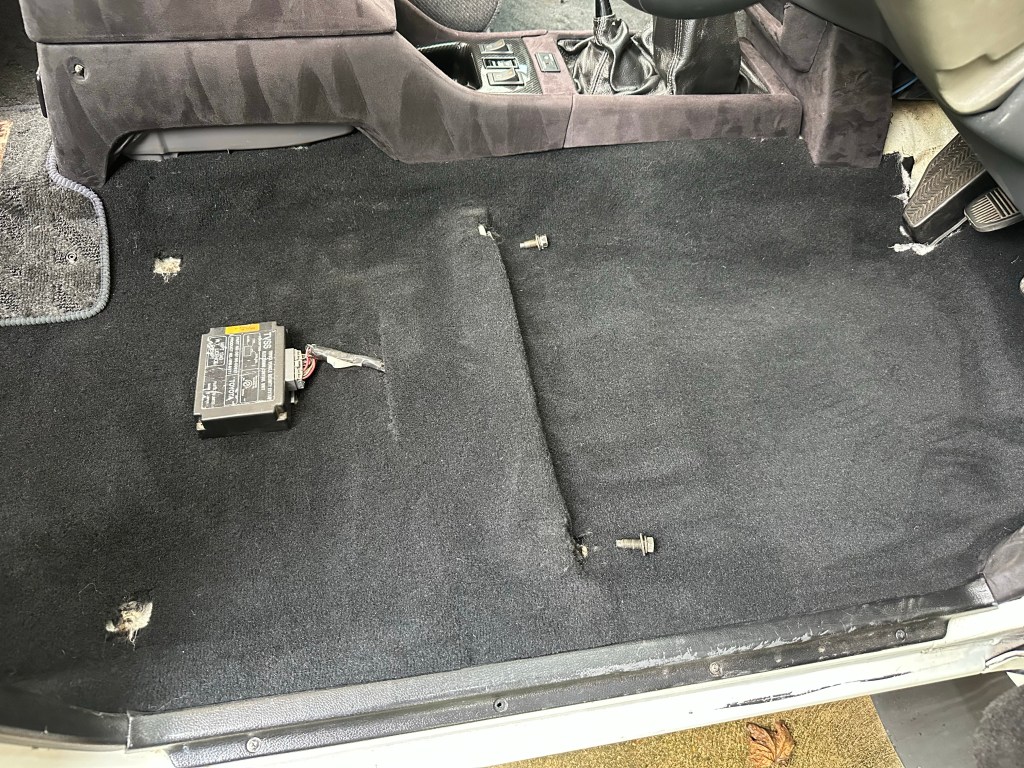
Ensuring that before I did the latter, I had threaded the Seat Belt Receiver Buckle Bolt from the inside of the Rails; I toyed with the idea of using an After Market replacement Buckle, but getting the right specification was proving elusive, so I went with reusing the ones from the original Seats..

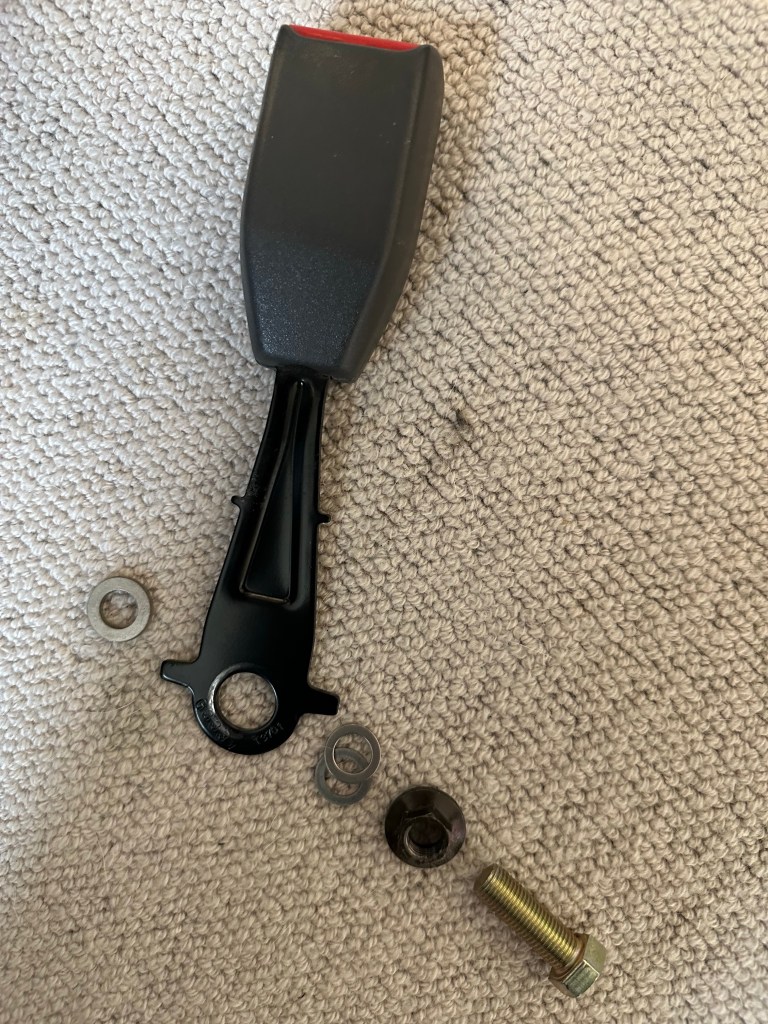
Note here, you need to use a couple of Washers to act as a Shim around which the Buckle Hole fits and rotates [semi] freely, with a wider Washer on the inside and outside of the Buckle “arm” and then the OEM Nut to secure it all in place.. I’ll keep an eye on these as I was a little nerbvus that they might work loose over time, despite using a bit of Threadlock to secure in place..
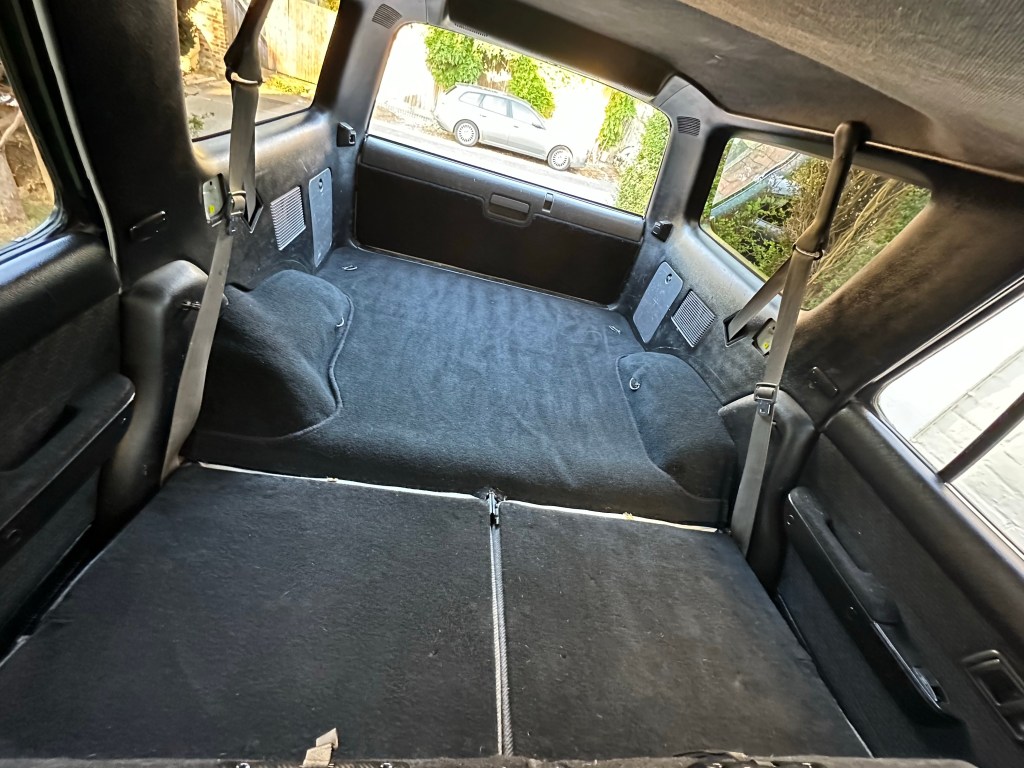
Hoovering under the Old Seats didn’t prove as fruitful as previous ventures [no lost money found], but it did give an opportunity to clean up after a Dusty Summer..
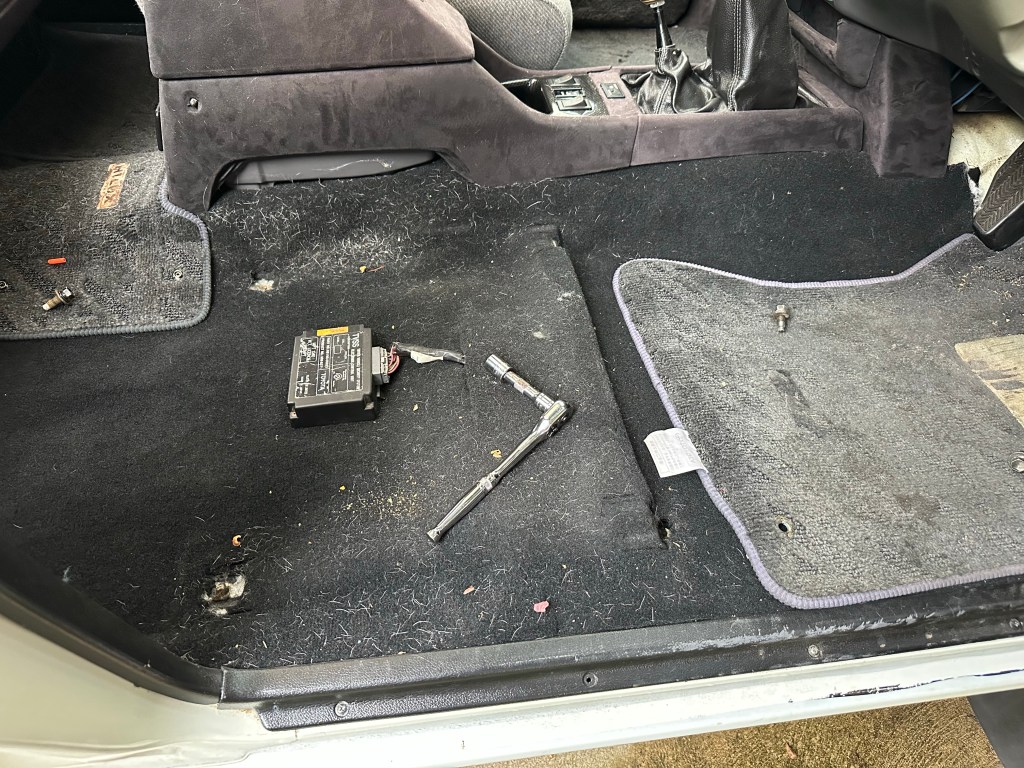
Bolting in place is a straight forward affair, and the difference to the Cabin is quite extraordinary..
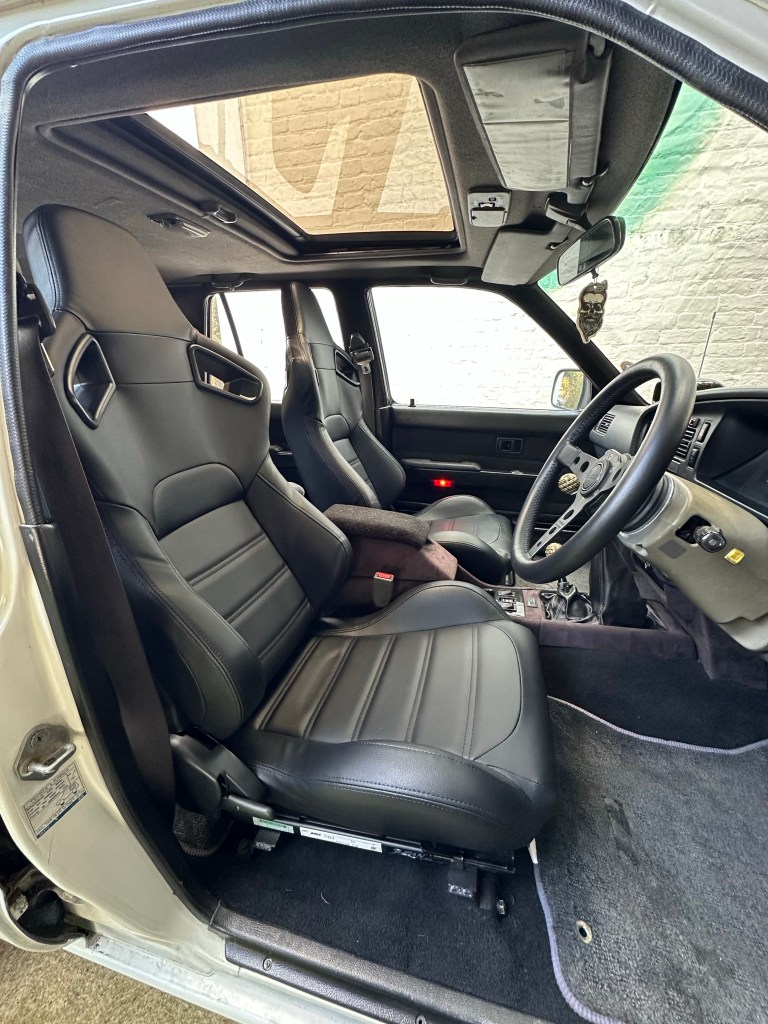
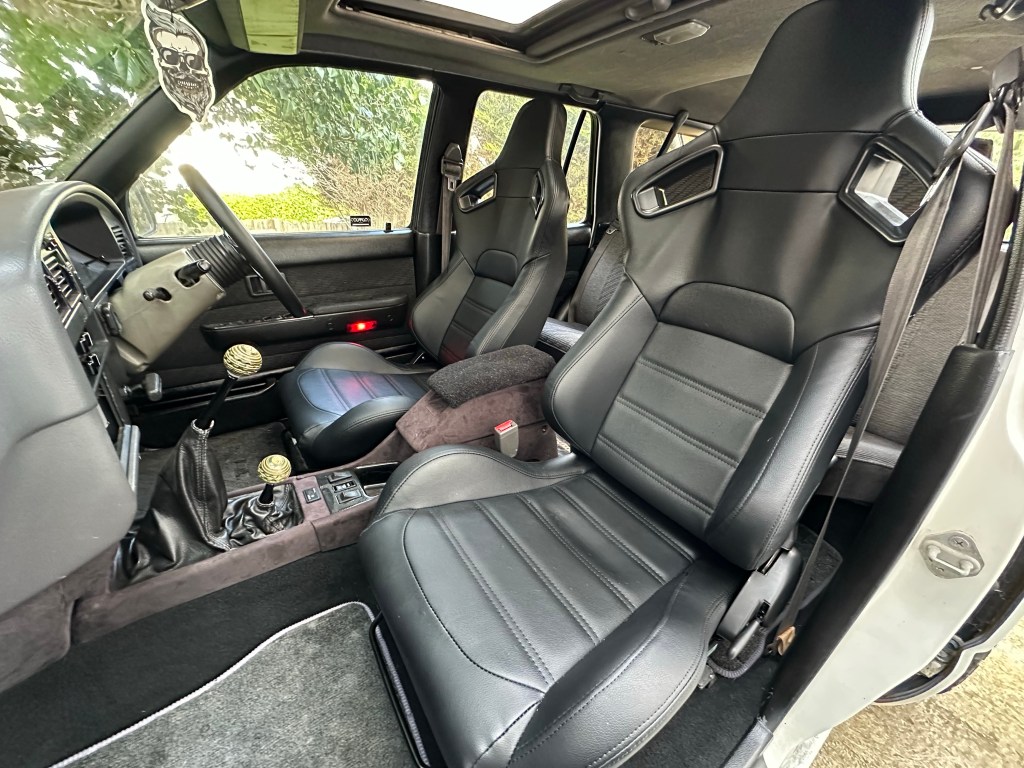


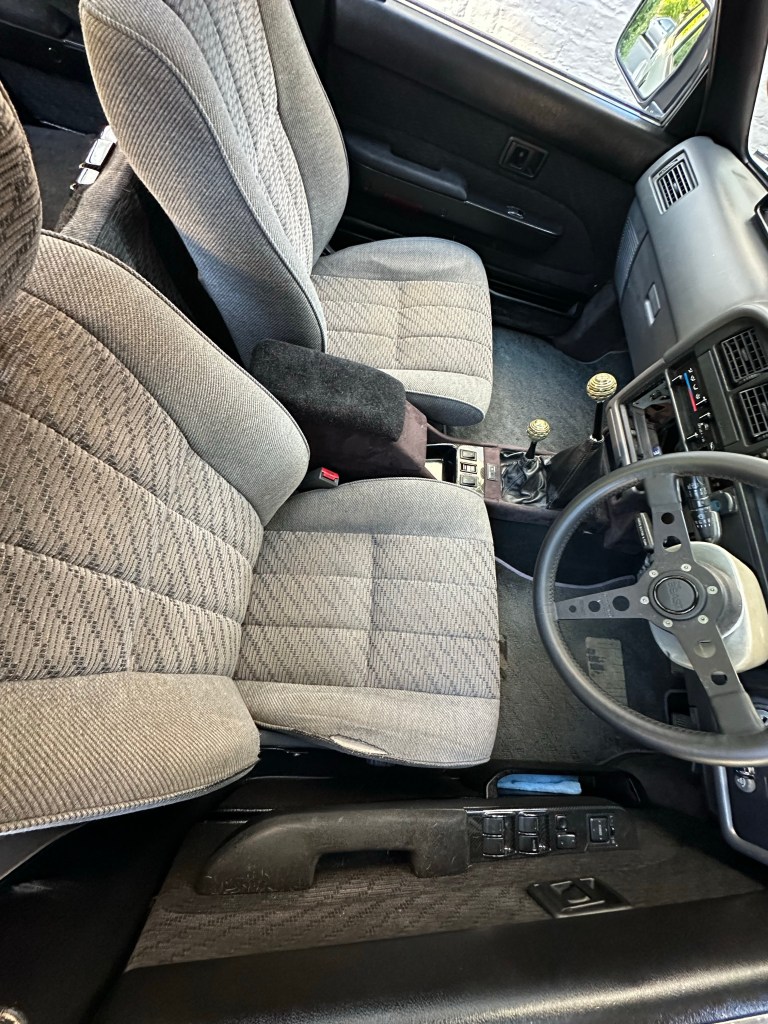
As with all New Improvements, they tend to highlight the Old or Not So Good, and in these Photos it’s clear to me that the Centre Console needs reworking, possibly without the Alcantara Covering, as well as the Steering Column Cowel, and maybe getting some New Floor Mats, and getting the Lower Dash Trim tidied up too.. The List goes on..
Categories
