Beast Restoration: Post Paint

Wax On, Wax Off
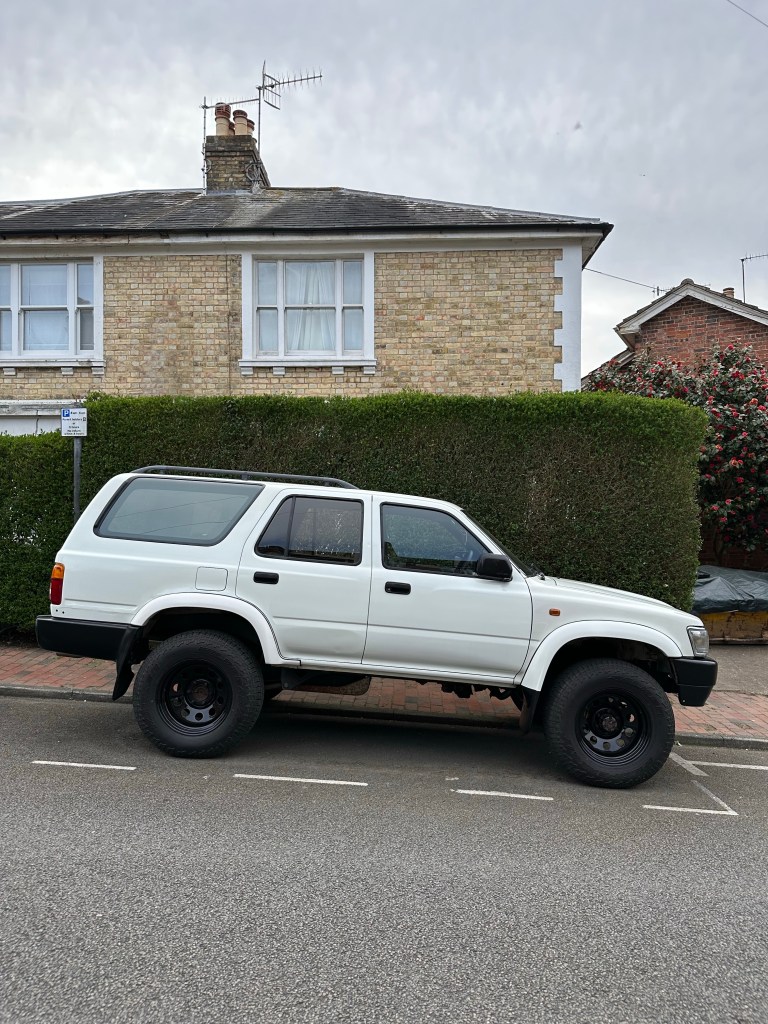
Tackled the Flatting and Polishing one Weekend since it looked as though it wouldn’t rain for a long enough period to make it a problem.. Turns out I was wrong, it did rain.. And of course, it only rained when I really didn’t need it to..
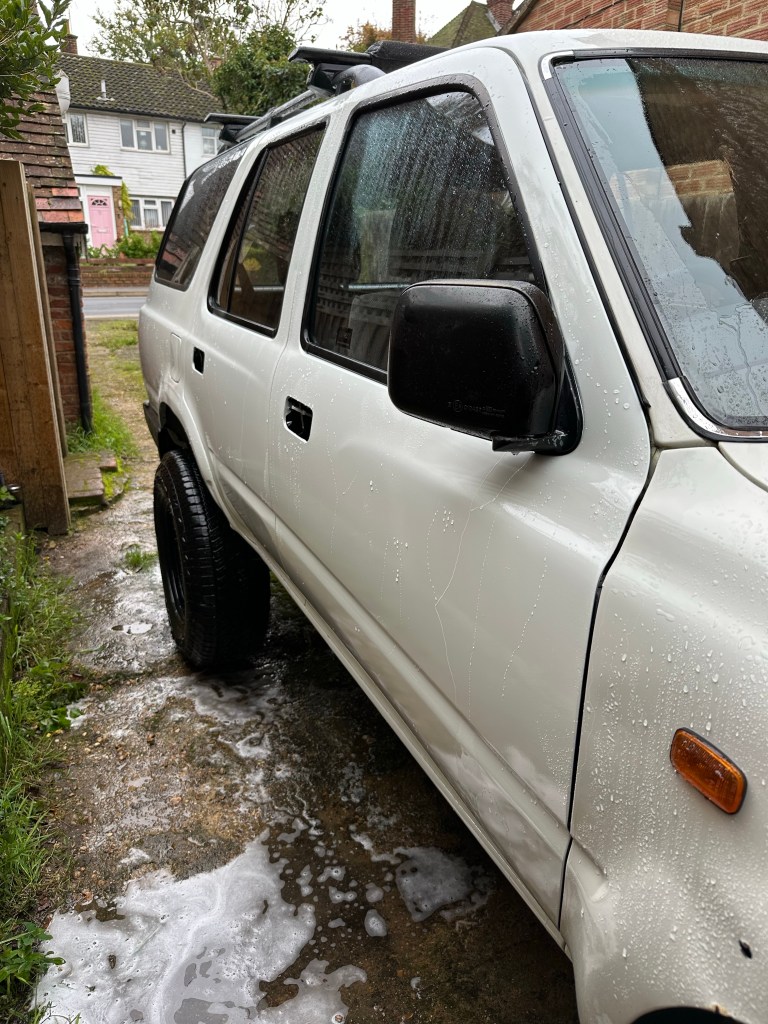
One side at a time due to the constraint of the driveway, so started with the Offside.. Gave it a good wash to start..
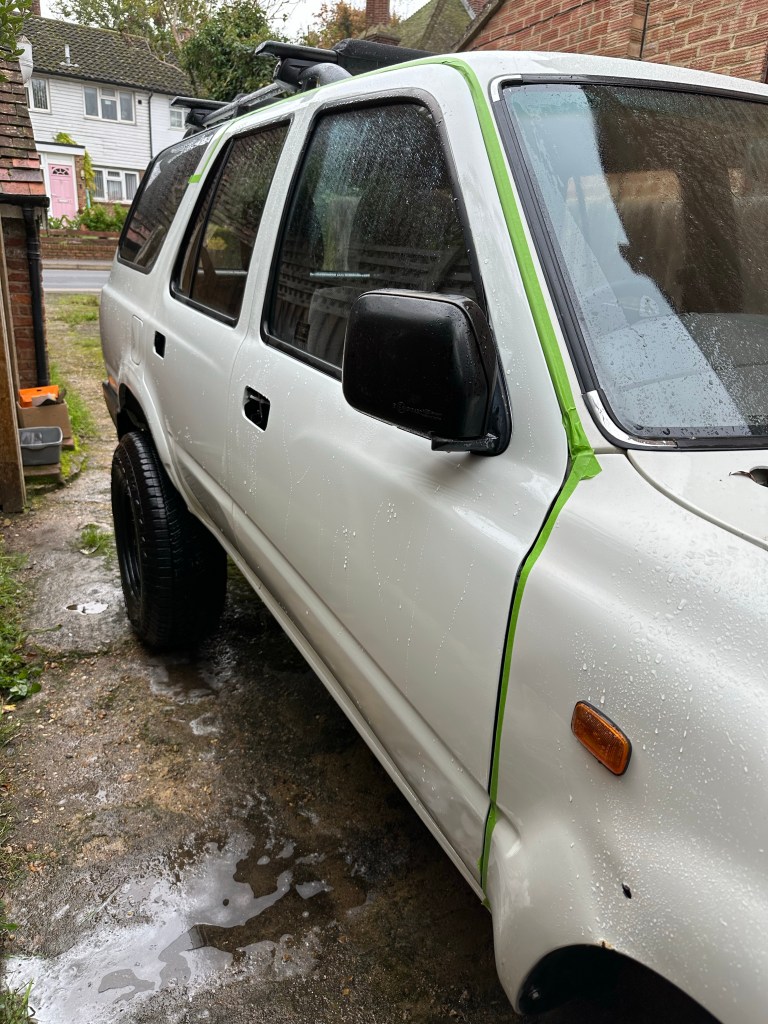
..then masked it up so I wouldn’t flat any of the surrounding Bodywork.. I used a well worn piece of 1200 and plenty of water..
I have to admit to being a little nervous of this whole process, I have flatted and polished before, but never on somewhere/something so visible and that would be so affected by the process..
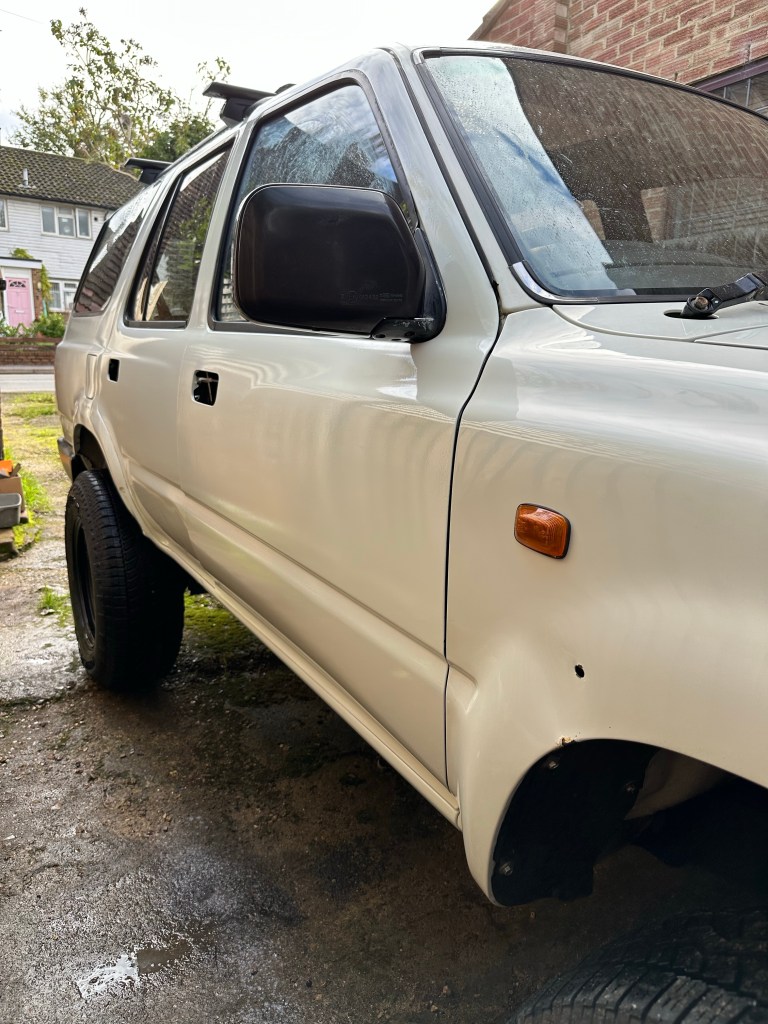
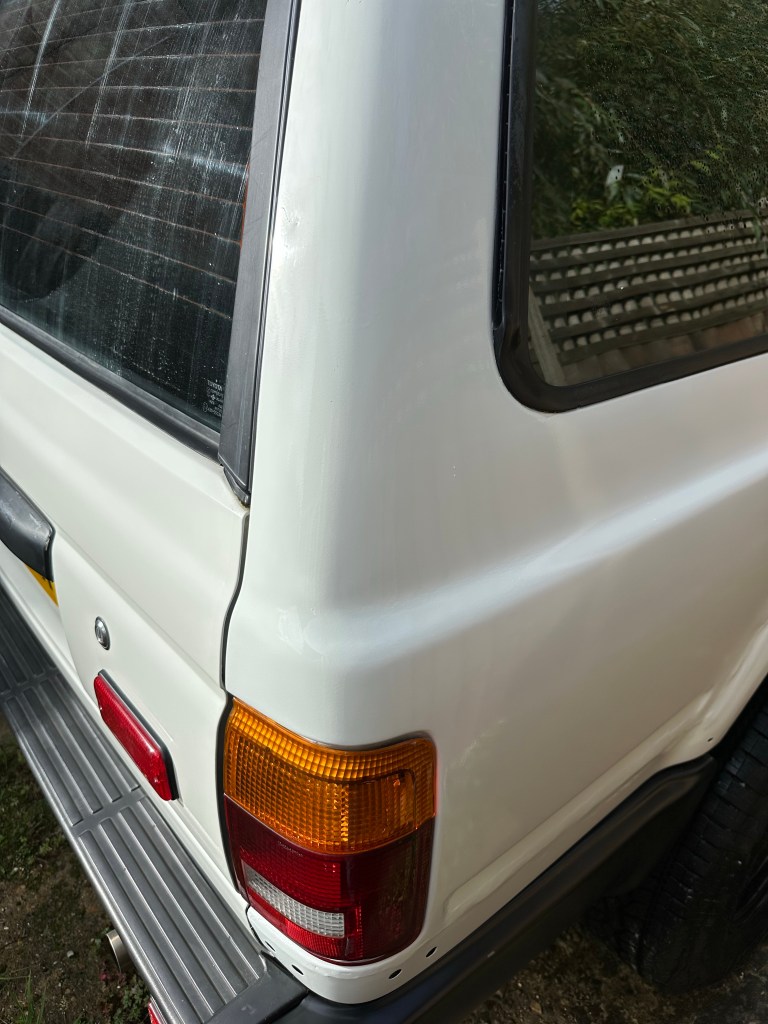
Next I opted to go over with the DA and the Fine Grade Cutting Compound.. I worried that I had taken it too far with the Flatting.. It came up good though, with a nice deep shine..

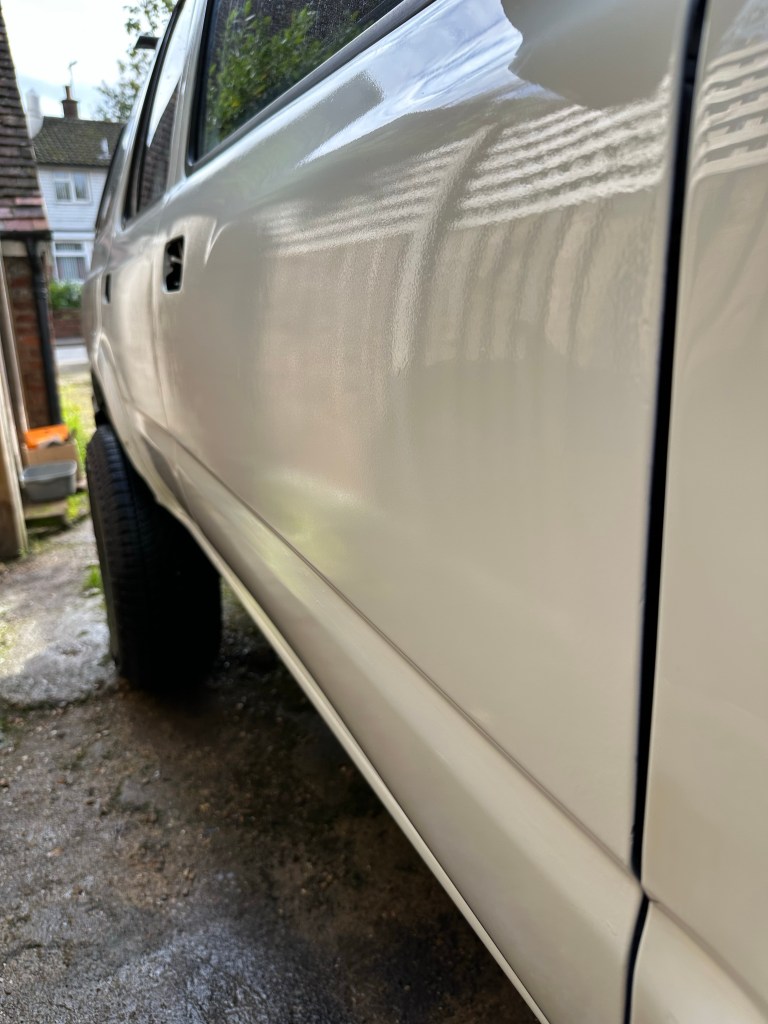
Blend lines on the D Pillars looked very good..

You Can’t Handle The Truth
Slotted the original black Door Handles back in, a much simpler job when you know what it takes to get them out.. It also helps to have someone on the inside of the 4Runner [cue Wife] pulling on the Door Latch so that the Rods were in a more accessible position..
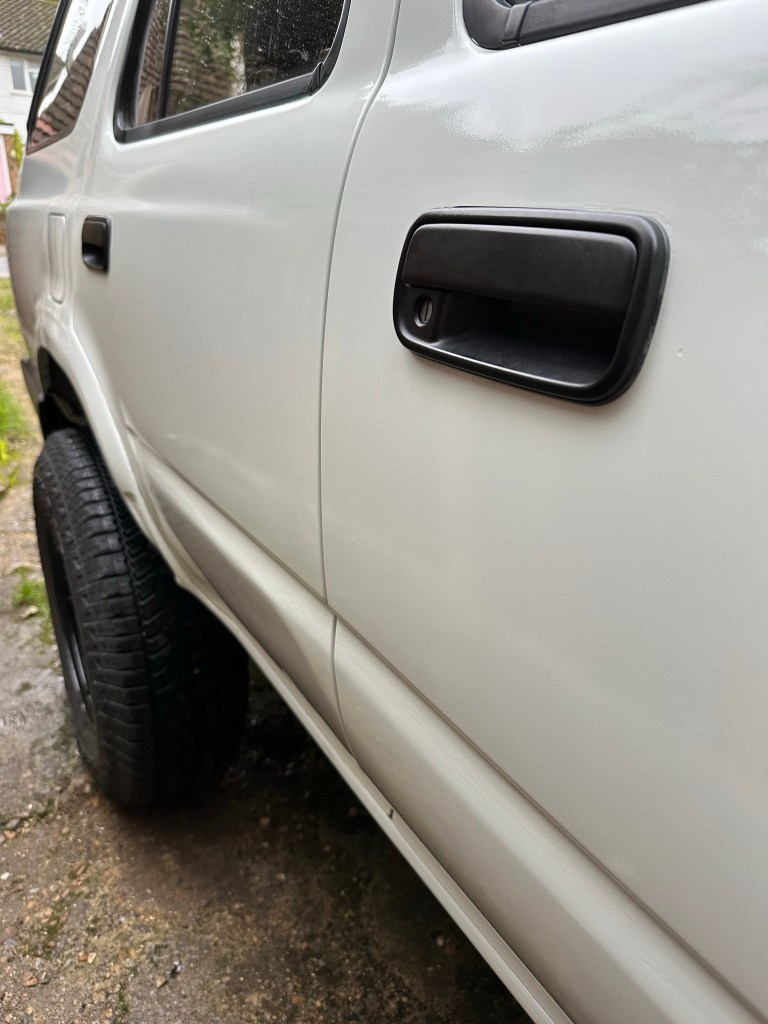

That looks better.. Repeat on the Nearside..
Flare
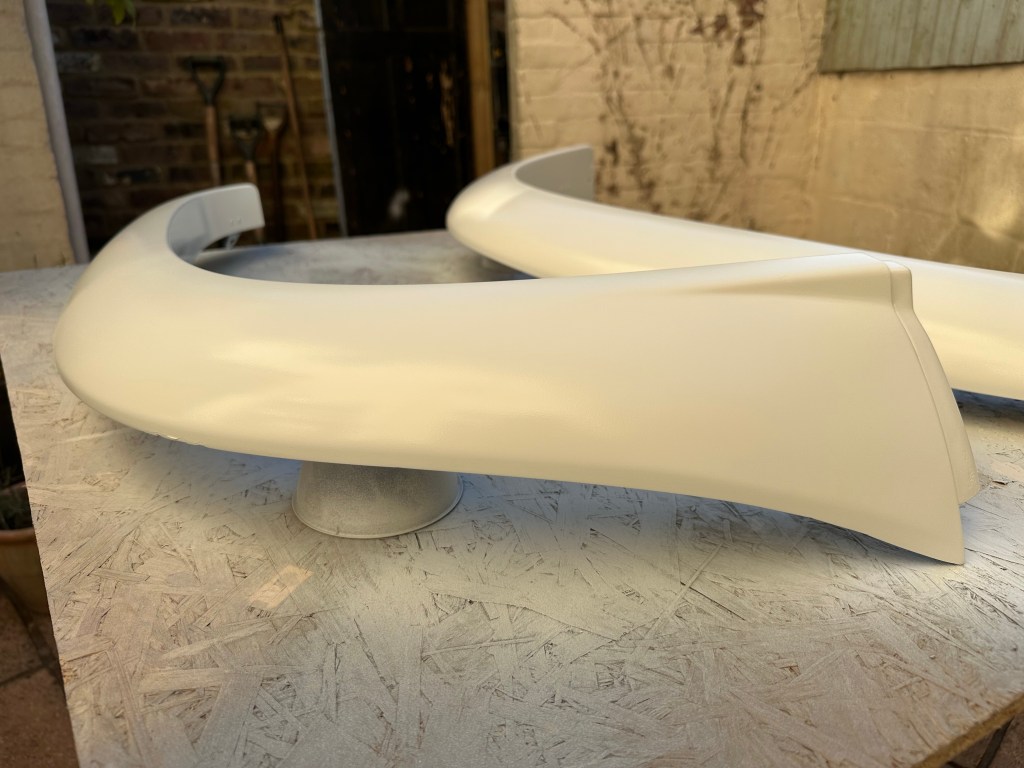
So, about those Fender Flares..
Sourced a set from a trusted Breaker Yard for a great price, no cracks, dents or major chips, and all the mounting hardware too.. Wash, Abrade, Wash again and Plastic Prime.


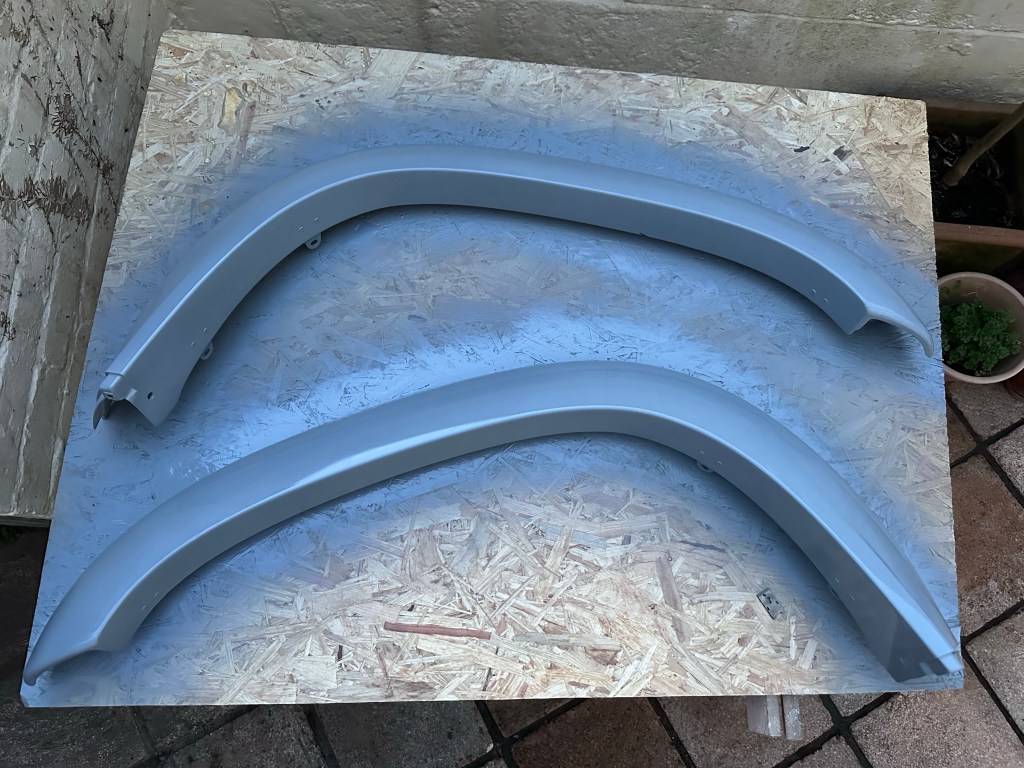

Paint supplied by Paint Nuts, colour matched TOY045 Colour Code..
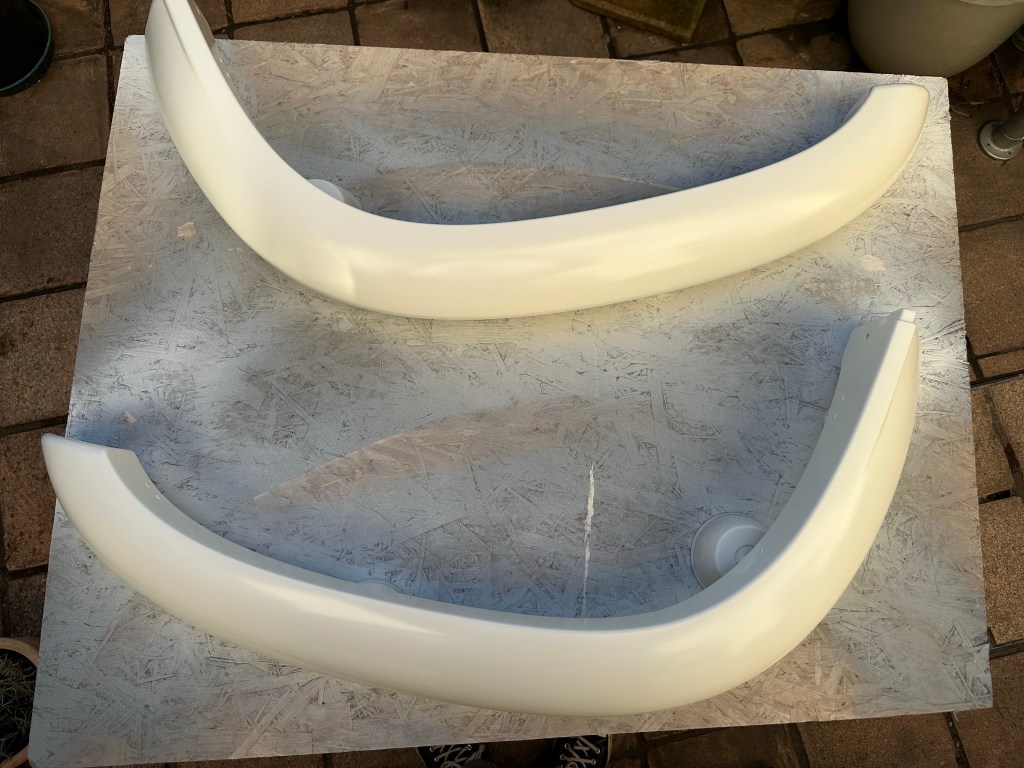
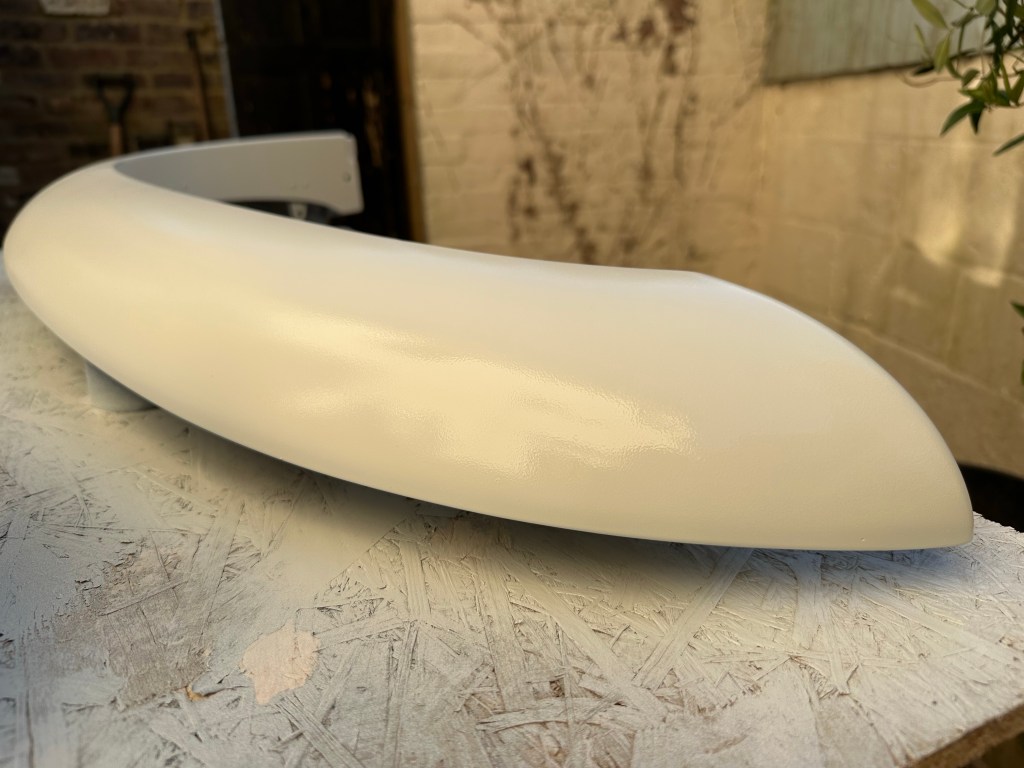
I will admit that the Paint didn’t go down so well on the first pass.. The Can spat a bit, meaning I had to be sure the Wet & Dry got rid of any imperfections before the Final Coat..


A bit frustrating [Swear Jar earned its keep], but ultimately meaning I did a very good job on the Paint all up..

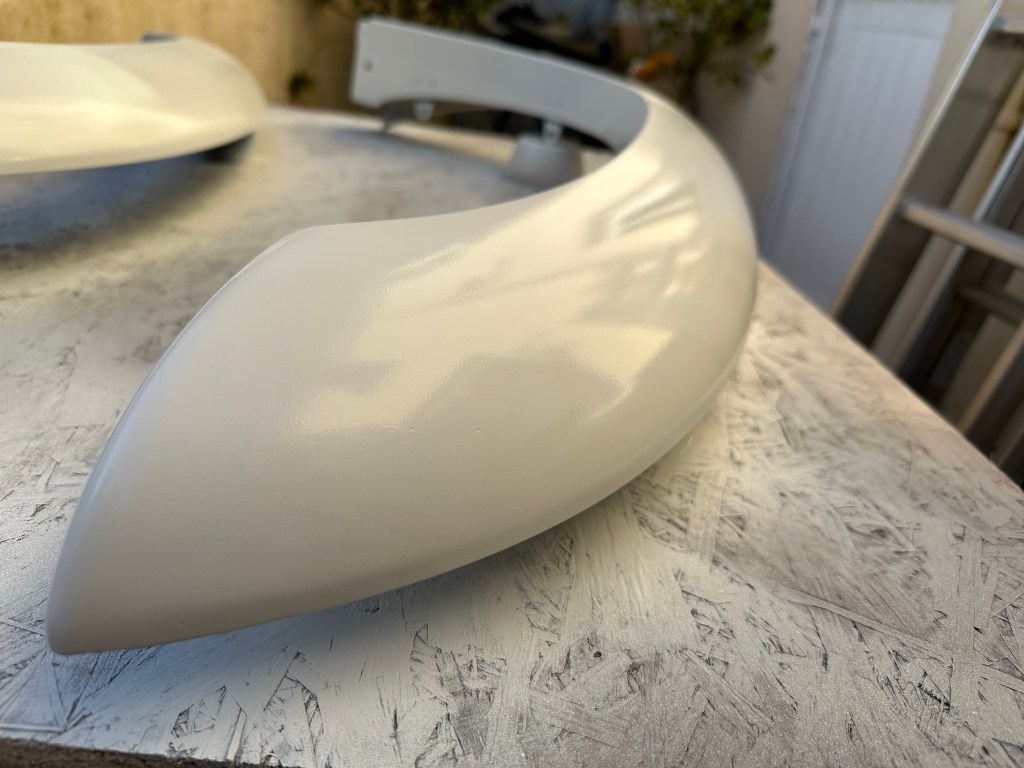
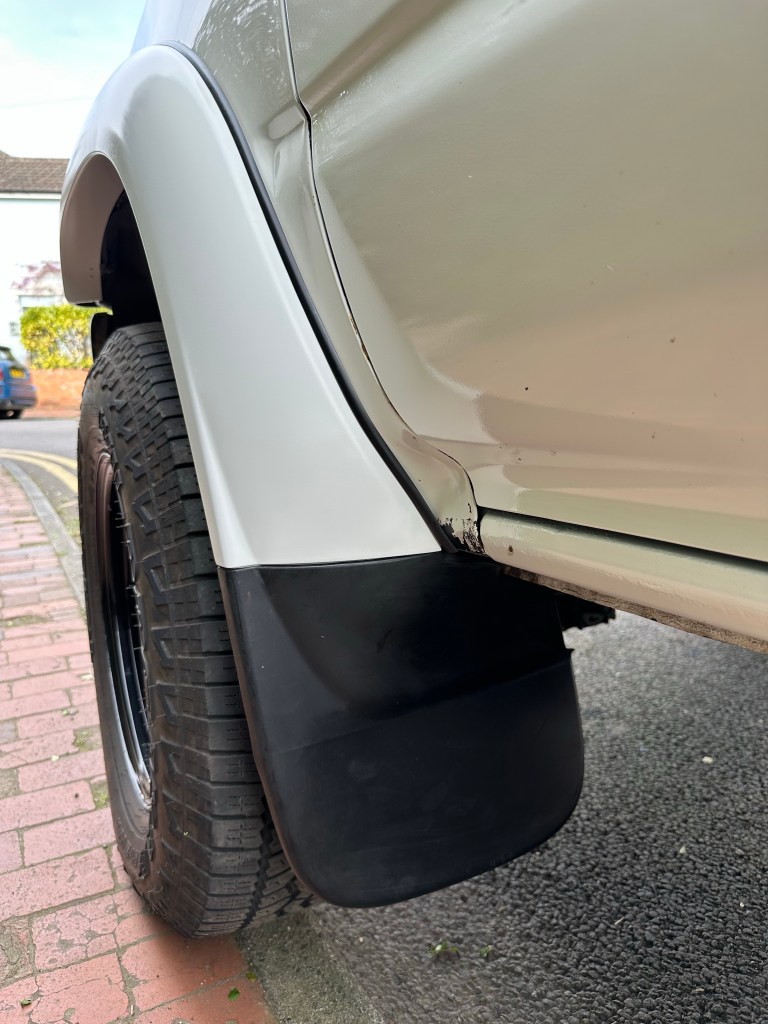
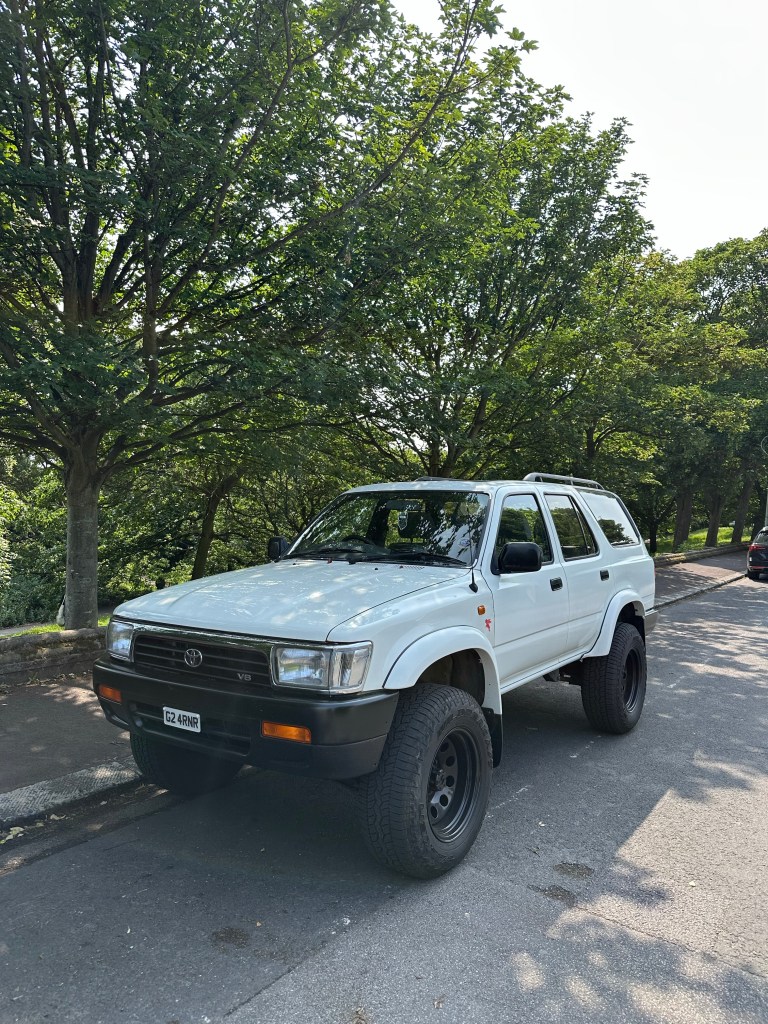
Front and Rear bolted on straight forward, once I had applied the Rubber Seal..


Nearly there..

Mudflaps soured from the same Breaker, and with a bit of a wash, and some Black Magic, they came up great..
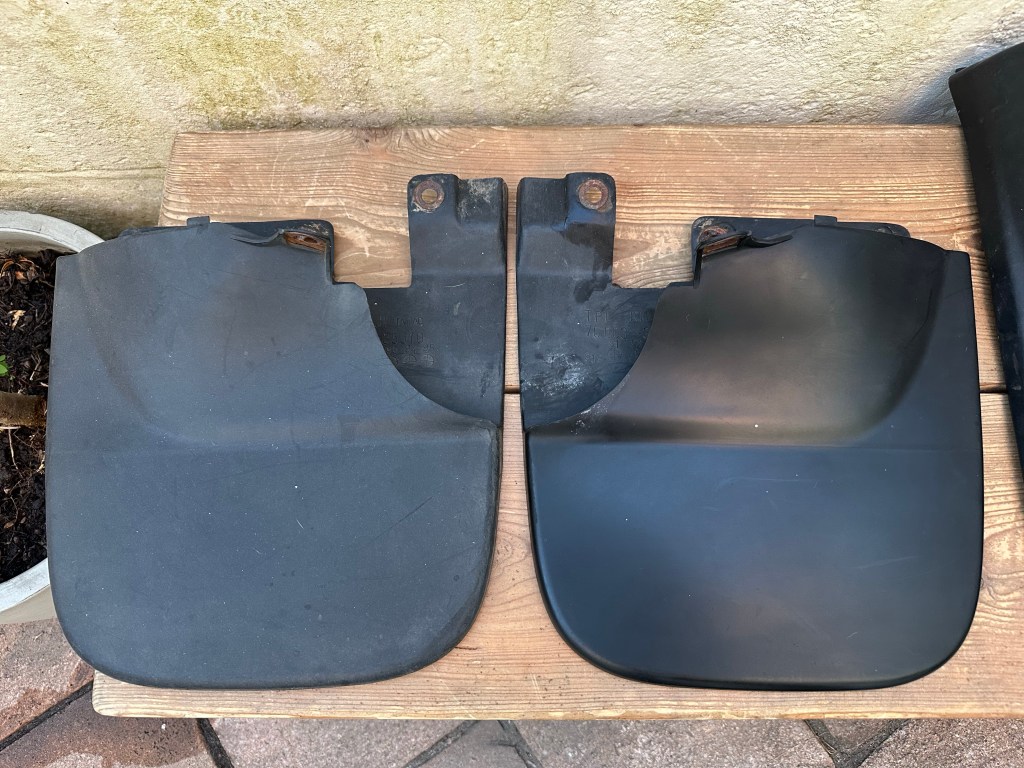
You can see here that the two on the right in both Photos were brought back to Black with some Meguiars..

Again, all the Mounting Tabs and Holes were as good as gold, so bolted in place securely with a bit of Anti Seize applied..

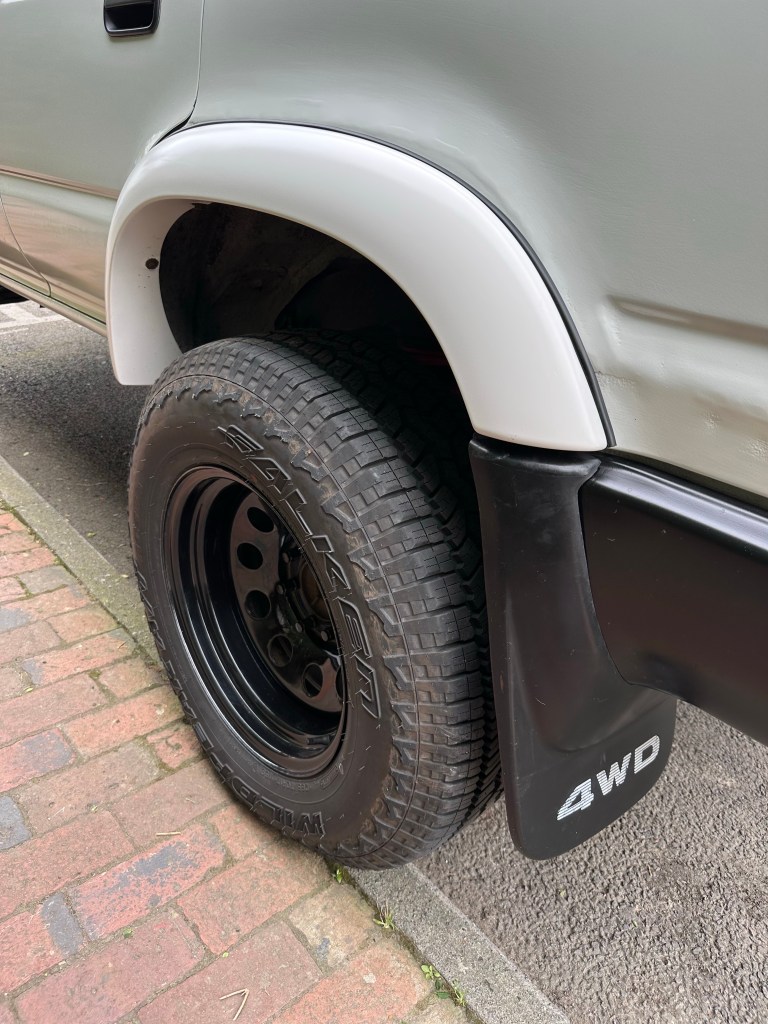

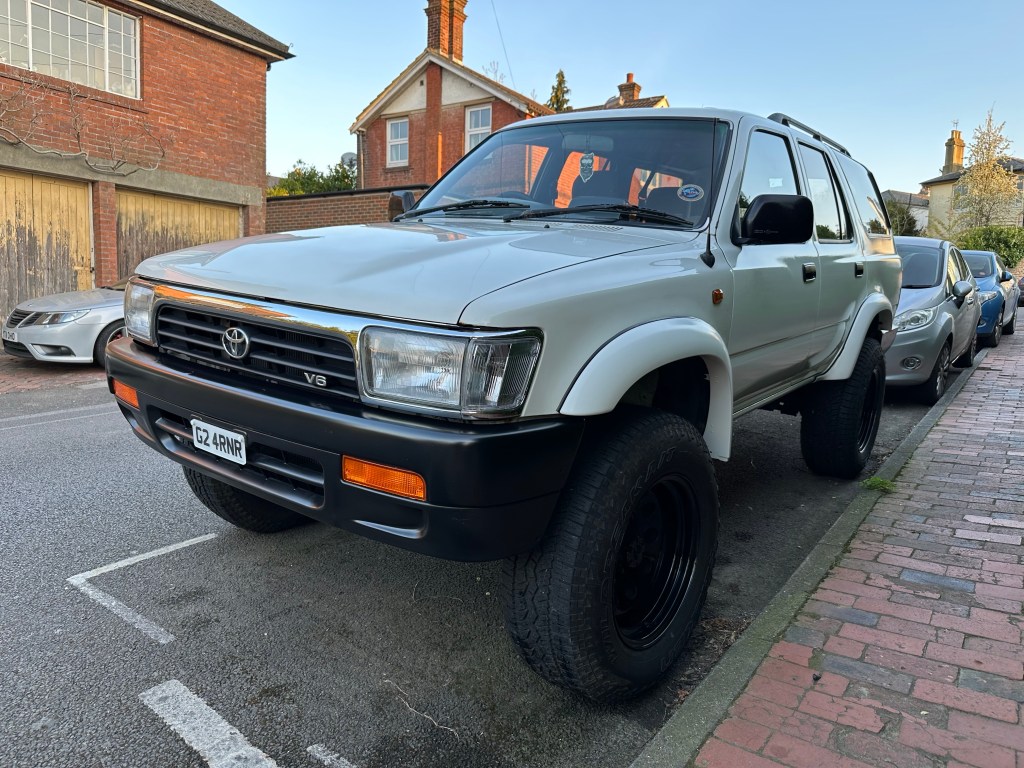
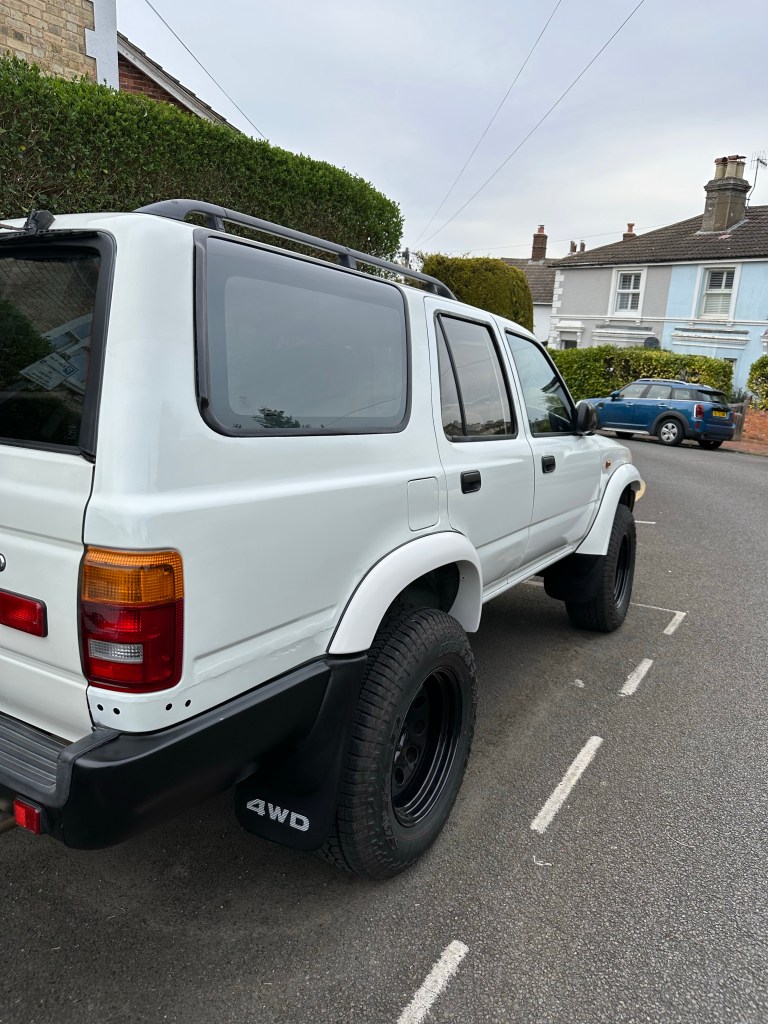
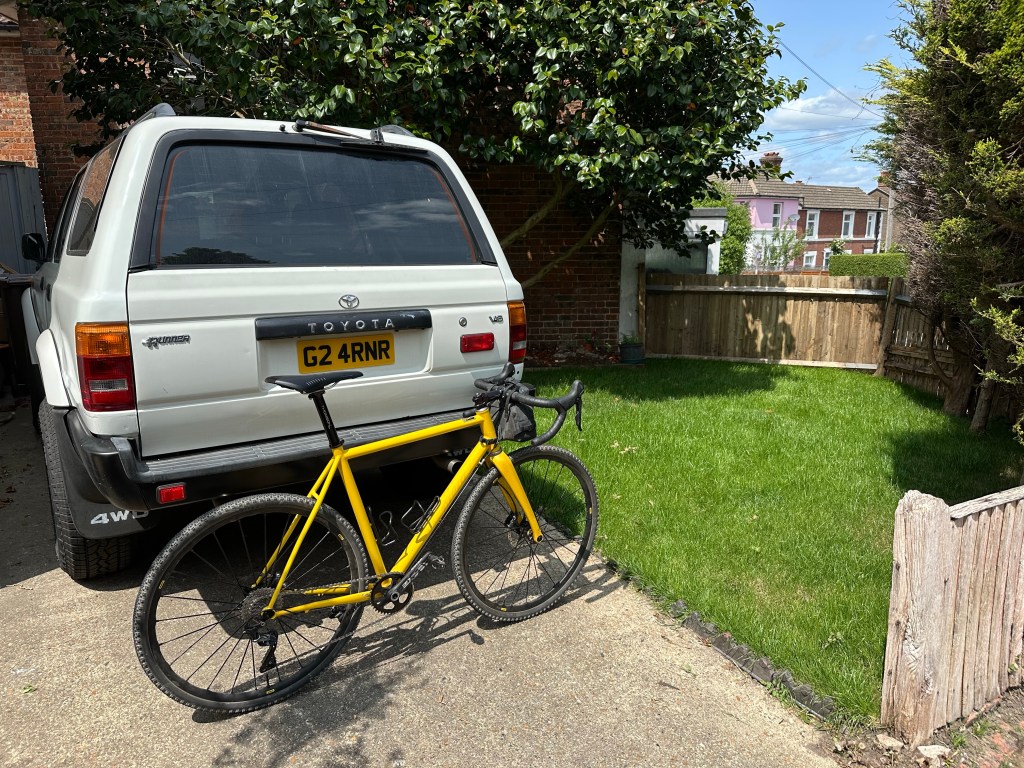
Ah, that’s better, all complete..

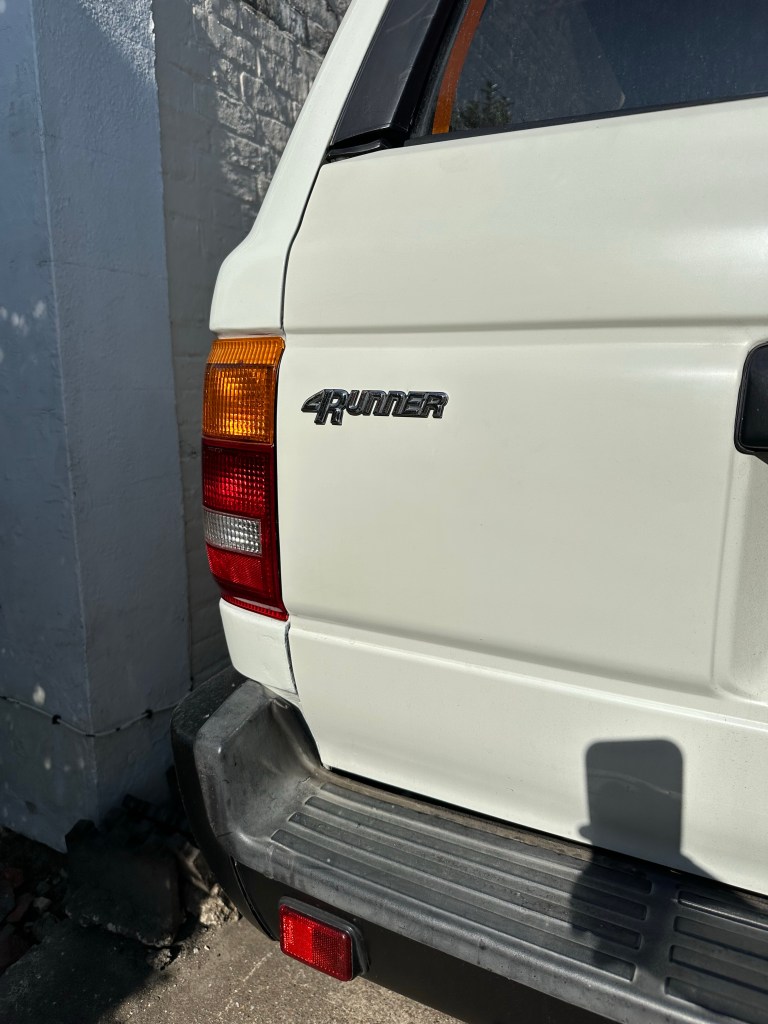
Badge of Honour
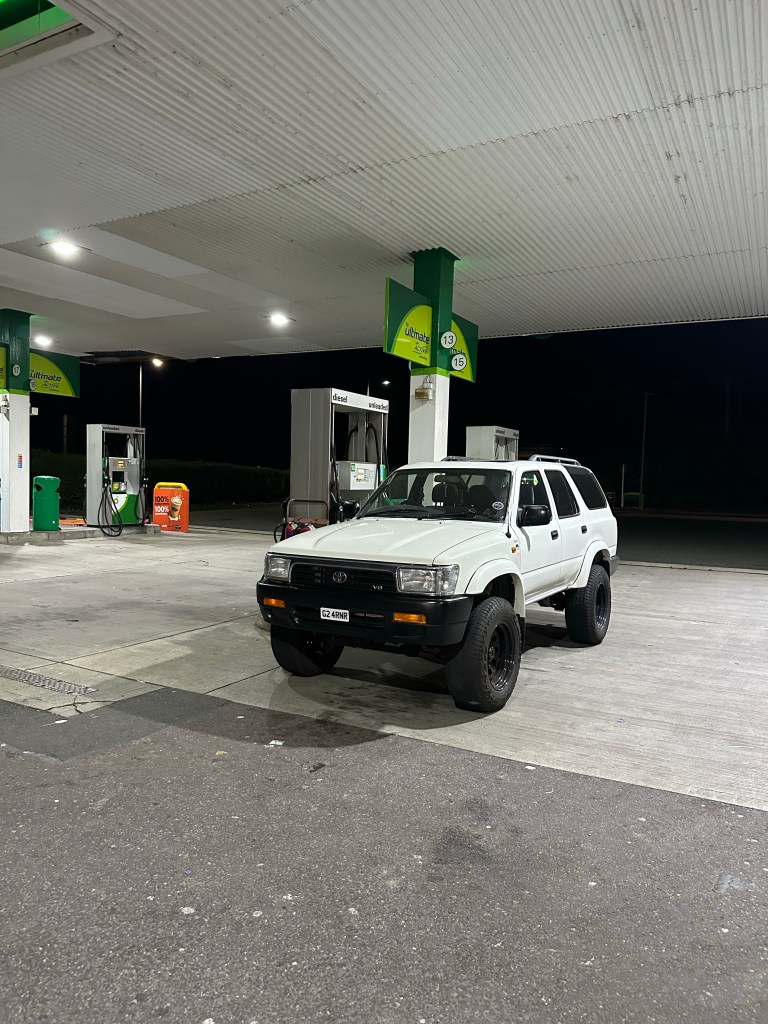
I have been driving around without the definitive V6 and 4Runner badges that set this VZN130 apart, since Paint, so high time they were reinstated..


Bit of Goo Gone to remove the old backing tape.. And some tailored 3M Double Sided Tape used to affix..


By now it was April, and I had Late Spring and a scorcher of a Summer ahead to enjoy all the work that had been done to the 4Runner.. Cue open Windows, open Roads and a backing track of Electric Guitar Riffs..


Categories
